The first time I made cheesecake, I bought a pre-made crust from the store and was disappointed by how bland and crumbly it tasted. My sister laughed and told me I was missing out on the easiest part of cheesecake-making. She showed me her graham cracker crust recipe, and I couldn’t believe how simple it was—just three ingredients mixed in a bowl and pressed into a pan. That homemade crust was a revelation, with its buttery flavor and perfect crunch that held together beautifully. Now I make this graham cracker crust recipe for everything from cheesecakes to key lime pies, and I’ll never buy a pre-made crust again.
Why You’ll Love This Graham Cracker Crust Recipe
This graham cracker crust recipe is incredibly simple, requiring only three basic ingredients and about five minutes of hands-on work. You don’t need any special equipment—just a food processor or a sealed bag and a rolling pin to crush the crackers. The result is infinitely better than store-bought crusts, with a rich, buttery flavor and satisfying crunch that complements any filling. You can customize the sweetness level and even add spices or different flavors to match your dessert. This crust works beautifully for both baked and no-bake pies, giving you maximum versatility. It’s also much more economical than buying pre-made crusts, and you probably have all the ingredients in your pantry right now. Best of all, this crust actually holds together when you slice your pie, unlike many store-bought versions that crumble apart.
What Is Graham Cracker Crust?
Graham cracker crust is a pressed cookie crust made from crushed graham crackers, melted butter, and sugar. This graham cracker crust recipe creates the foundation for countless desserts, particularly no-bake pies and cheesecakes. The crackers are ground into fine crumbs, mixed with butter that acts as a binder, and pressed firmly into a pie pan before baking or chilling. The butter solidifies as it cools, holding the crumbs together in a sturdy, sliceable crust. Graham crackers provide a slightly sweet, honey-flavored base with a hint of cinnamon that complements both fruity and creamy fillings. The texture is crisp and crumbly, offering a pleasant contrast to smooth fillings like cheesecake or pudding. This type of crust became popular in American baking because it’s faster and easier than traditional pastry crusts while still providing excellent flavor and structure.
Common Mistakes to Avoid
The biggest mistake with this graham cracker crust recipe is not crushing the crackers finely enough. Large crumbs won’t pack together properly and create a crust that falls apart when sliced. Process the crackers until they resemble fine sand with no large pieces remaining.
Using too little butter results in a dry, crumbly crust that won’t hold together. The crackers should feel like wet sand when you squeeze them—if they don’t clump together, you need more butter.
Conversely, too much butter makes the crust greasy and soft. Stick to the recipe measurements for the right balance. The mixture should hold together when pressed but not feel soggy or oily.
Not pressing the crust firmly enough is another common error. You need to pack the crumbs down with significant pressure using the bottom of a measuring cup or glass. Loose crumbs will create a fragile crust.
Forgetting to press the crust up the sides of the pan causes problems when you slice the dessert. The sides help contain the filling and create clean slices.
Finally, underbaking the crust when a baked version is required means it won’t be crispy enough and may taste raw. Even though it looks done, it needs the full baking time to develop proper texture.
How to Know When Your Crust Is Done
For baked versions of this graham cracker crust recipe, the crust should be golden brown around the edges with a slightly darker color than when it went into the oven. The surface should look dry and set rather than wet or shiny.
The crust should smell toasty and fragrant, not raw or doughy. That nutty, caramelized aroma indicates the butter and sugars have properly baked.
When you touch the center lightly, it should feel firm and dry, not soft or giving. The edges may be slightly darker than the center, which is normal.
Typical baking time is 10 minutes at 350°F for a pre-baked crust that will be filled with a no-bake filling. If you’re making cheesecake where the crust bakes with the filling, it doesn’t need pre-baking.
For no-bake versions of this recipe, the crust is ready after chilling in the refrigerator for at least 2 hours, or 30 minutes in the freezer. It should feel firm and hold its shape when touched.
The butter will have solidified during chilling, binding all the crumbs together into a cohesive crust that slices cleanly.
What to Serve With Graham Cracker Crust
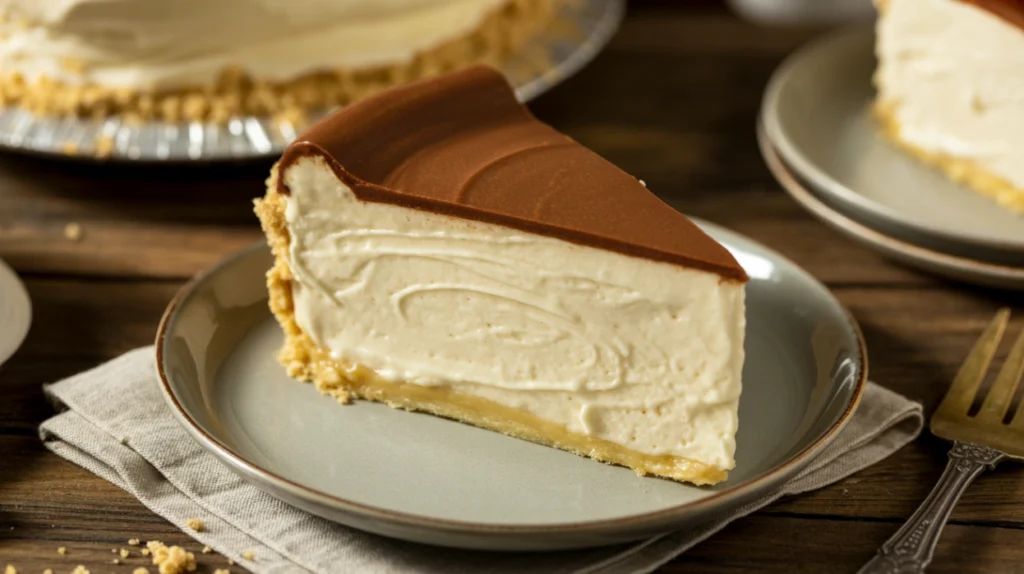
This graham cracker crust recipe is the perfect base for classic no-bake cheesecake. The buttery crust complements the creamy, tangy filling beautifully without overpowering it.
Key lime pie is another traditional pairing where the sweet, slightly cinnamon-flavored crust balances the tart, citrusy filling perfectly.
Chocolate cream pie, banana cream pie, and coconut cream pie all work wonderfully with this versatile crust. The graham cracker flavor enhances without competing with these rich fillings.
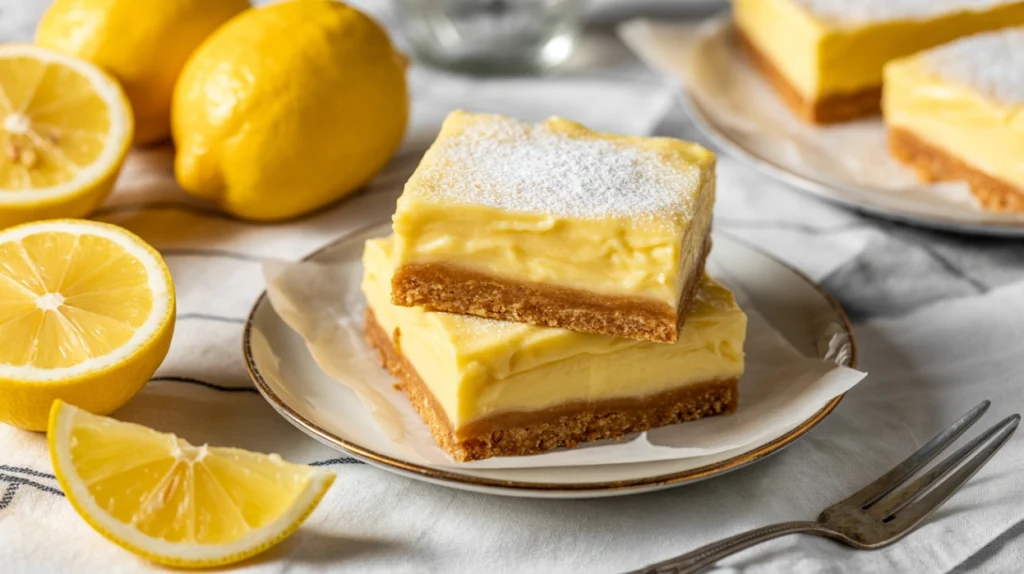
Lemon bars can be made with this crust instead of traditional shortbread for a slightly different flavor profile that many people prefer.
Fresh strawberry pie or other fruit pies benefit from the sturdy structure this crust provides while the subtle sweetness doesn’t overshadow fresh fruit flavors.
Pumpkin pie tastes fantastic with graham cracker crust, especially if you add a bit of extra cinnamon to the crust mixture to complement the filling’s spices.
Ice cream pies are perfect candidates for this crust, as it stays crispy even when frozen and provides excellent textural contrast.
Storage Tips
An unbaked graham cracker crust can be prepared ahead and stored tightly wrapped in plastic wrap in the refrigerator for up to 3 days before filling and baking or chilling.
You can also freeze unbaked crusts for up to 3 months. Wrap them tightly in plastic wrap, then aluminum foil. There’s no need to thaw before baking—just add a minute or two to the baking time.
A baked but unfilled crust stores at room temperature, tightly covered, for up to 5 days. Keep it in a cool, dry place to maintain crispness.
Once this graham cracker crust recipe is filled, storage depends on the filling. Most cream pies and cheesecakes need refrigeration and should be covered loosely to prevent condensation from making the crust soggy.
If your filled pie will be stored for more than a day, consider brushing the crust with melted white chocolate before adding wet fillings. This creates a moisture barrier that keeps the crust crisp longer.
Freeze filled pies only if the filling freezes well. Most cheesecakes and cream pies freeze successfully for up to 2 months when wrapped properly.
To maintain maximum crispness, store the crust and filling separately until shortly before serving when possible.
Estimated Nutrition (Per Serving, 8 Servings)
Calories: 185 | Total Fat: 11g | Saturated Fat: 6g | Cholesterol: 25mg | Sodium: 145mg | Total Carbohydrates: 20g | Dietary Fiber: 0g | Sugars: 10g | Protein: 1g
Note: Nutritional information is approximate and for the crust only, not including any filling.
Recipe Overview
Prep Time: 10 minutes
Cook Time: 10 minutes (if baking)
Total Time: 20 minutes (plus cooling/chilling time)
Difficulty: Easy
Servings: Makes one 9-inch crust (8 servings)
Ingredients
- 1½ cups graham cracker crumbs (about 10-12 full graham crackers)
- ⅓ cup granulated sugar
- 6 tablespoons unsalted butter, melted
- Optional: ¼ teaspoon ground cinnamon for extra flavor
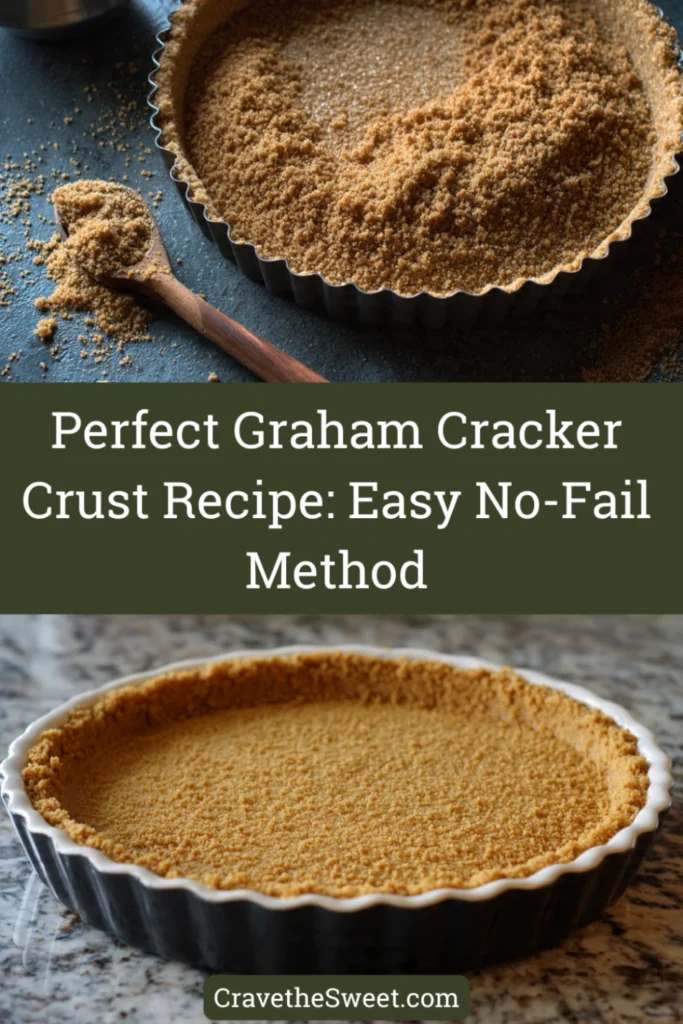
Step-by-Step Instructions
Step 1: If your graham crackers aren’t already crushed, place them in a food processor and pulse until you have fine, uniform crumbs. Alternatively, place crackers in a sealed plastic bag and crush with a rolling pin until finely ground.
Step 2: Measure out 1½ cups of crumbs and place them in a medium mixing bowl. Make sure you have exactly 1½ cups—too much or too little affects the crust’s texture.
Step 3: Add the sugar to the graham cracker crumbs. If using cinnamon, add it now as well. Stir the dry ingredients together with a fork until evenly combined.
Step 4: Melt the butter in the microwave or on the stovetop until completely liquid. Let it cool slightly so it’s not scorching hot, but it should still be fully melted.
Step 5: Pour the melted butter over the crumb mixture. Using a fork or your hands, mix thoroughly until all the crumbs are evenly moistened. The mixture should look like wet sand and clump together when squeezed.
Step 6: Pour the mixture into a 9-inch pie pan. Start by distributing the crumbs evenly across the bottom and up the sides of the pan.
Step 7: Using the bottom of a flat measuring cup, glass, or your fingers, press the crumbs firmly into the bottom of the pan first. Apply significant pressure to compact the crumbs—this is key to a crust that holds together.
Step 8: Press the remaining crumbs up the sides of the pan, creating an even layer about ¼-inch thick. Use your fingers to smooth and pack the sides firmly, making sure there are no gaps.
Step 9: For a baked crust, preheat your oven to 350°F. Bake the crust for 10 minutes until it’s fragrant and lightly golden brown around the edges. Remove from oven and cool completely on a wire rack before filling, about 30 minutes.
Step 10: For a no-bake crust, place the pressed crust in the refrigerator and chill for at least 2 hours, or in the freezer for 30 minutes, until firm. The butter needs to solidify to bind the crumbs together.
Step 11: Once your crust is baked and cooled or chilled and firm, it’s ready to fill with your chosen filling. Pour or spread your filling into the crust according to your specific recipe.
Step 12: Follow your pie or cheesecake recipe for final chilling or baking instructions. The crust is now the perfect base for your delicious dessert!
Your homemade crust will be infinitely better than anything store-bought—enjoy!