
I’ll never forget my first real lemon tart at a French bistro in New York. Until that moment, I thought lemon desserts were just okay—pleasant but nothing special. But this tart was a revelation with its buttery, crisp crust and silky filling that balanced sweet and tart so perfectly I couldn’t stop thinking about it. I became a bit obsessed and tested this lemon tart recipe at least a dozen times to get that exact creamy, custardy texture with just the right amount of pucker. Now it’s my signature dessert, the one I make when I really want to impress someone or celebrate something special.
Why You’ll Love This Lemon Tart Recipe
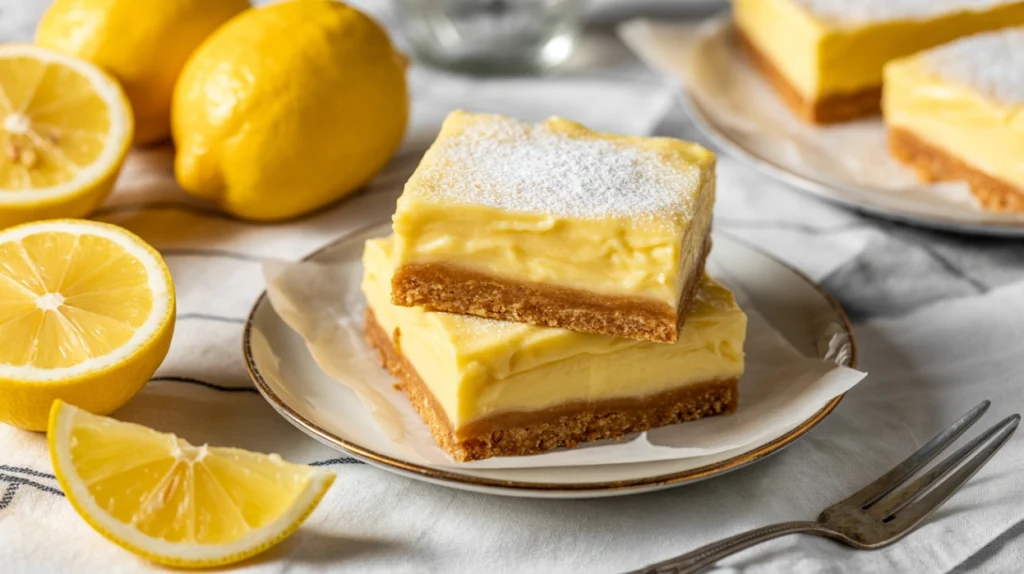
This lemon tart recipe creates an elegant French dessert with bright, intense lemon flavor that’s perfectly balanced between sweet and tart. The filling has a luxurious, silky texture that’s firmer than pudding but softer than cheesecake—almost like a creamy curd. The buttery shortbread crust provides the perfect crisp contrast to the smooth filling, and it holds its shape beautifully when sliced. Unlike many lemon desserts that are either too sweet or mouth-puckeringly sour, this tart achieves ideal balance. It’s sophisticated enough for dinner parties but straightforward enough for home bakers willing to follow a few key techniques. The tart looks stunning with its glossy, pale yellow filling and can be dressed up with fresh berries or kept simple and minimalist. Best of all, it can be made a day ahead, making it perfect for entertaining without last-minute stress.
What Is Lemon Tart?
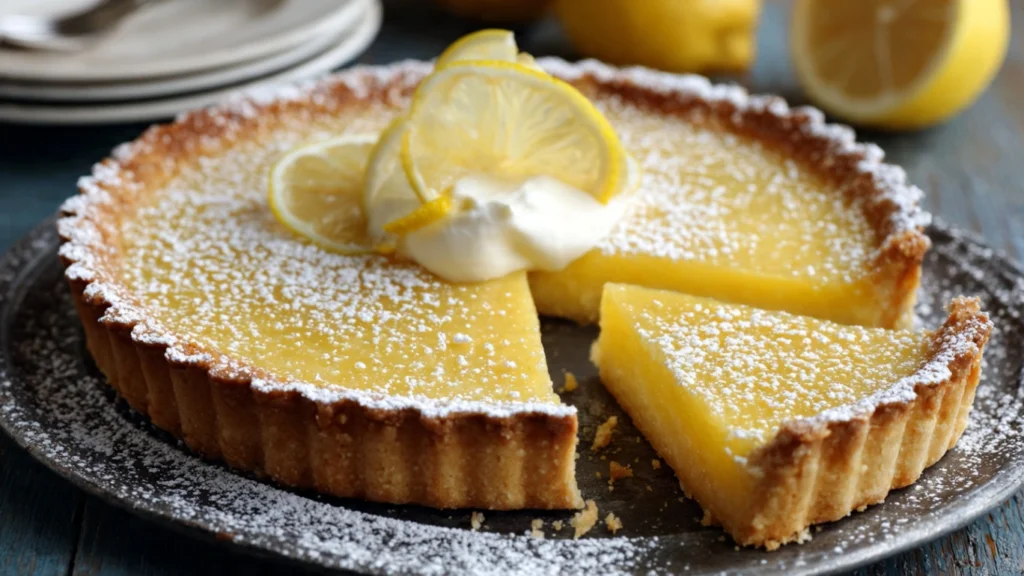
Lemon tart is a classic French dessert consisting of a buttery shortbread crust filled with smooth lemon curd that’s been enriched with eggs and cream. This lemon tart recipe produces what the French call “tarte au citron,” featuring a pâte sucrée (sweet pastry) crust and a filling that’s baked just until set. The filling is essentially lemon curd—a mixture of fresh lemon juice, zest, sugar, eggs, and butter—but it’s poured into a tart shell and baked rather than cooked on the stovetop. The result is a filling that’s firmer and sliceable yet still incredibly creamy. Unlike lemon meringue pie with its fluffy topping, traditional lemon tart showcases the pure, clean flavor of lemons without distraction. The dessert has been a staple of French pâtisseries for centuries and has become popular worldwide for its elegant simplicity and refreshing citrus brightness.
Common Mistakes to Avoid
The biggest mistake with this lemon tart recipe is not blind-baking the crust properly. A soggy bottom is the enemy of a good tart. The crust must be fully baked and golden before adding the filling, or it will remain soft and unpleasant.
Using bottled lemon juice instead of fresh is another critical error. Fresh juice is essential for proper flavor and the right acidity balance. Bottled juice tastes artificial and won’t give you that bright, fresh lemon flavor.
Not straining the filling before pouring it into the crust leaves you with bits of cooked egg or zest that create an unpleasant grainy texture. Always strain through a fine-mesh sieve.
Overbaking the filling makes it grainy and curdled instead of silky smooth. The filling should still have a slight wobble in the center when you remove it from the oven.
Cutting the tart before it’s completely chilled results in a messy, runny filling that doesn’t slice cleanly. Patience is essential—the tart needs several hours in the refrigerator to set properly.
Forgetting to zest the lemons before juicing them means you miss out on incredible flavor. The zest contains aromatic oils that add depth and intensity to the filling.
Finally, using a tart pan without a removable bottom makes it nearly impossible to serve the tart beautifully. Invest in a proper tart pan with a removable bottom for best results.
How to Know When Your Tart Is Done
The crust is properly blind-baked when it’s deep golden brown all over, including the bottom and edges. It should feel dry and crisp to the touch with no pale or soft spots remaining.
For the filling, proper doneness is trickier. The edges should be set and firm, while the center should still jiggle slightly when you gently shake the pan—about a 2-3 inch diameter wobble in the middle.
The surface should look matte rather than shiny or wet. It will also have puffed up slightly during baking, though it will settle as it cools.
Insert a thermometer into the center of the filling. It should read about 170°F. This temperature ensures the eggs are cooked through while maintaining that silky, creamy texture.
This lemon tart recipe typically requires 25-30 minutes of baking for the filling at 300°F after blind-baking the crust. Start checking at 23 minutes to avoid overbaking.
The filling will continue to set as it cools, so it’s better to slightly underbake than overbake. An underbaked tart will firm up in the fridge; an overbaked one will be grainy forever.
Once cooled and chilled completely, the filling should be firm enough to slice cleanly but still have that luscious, creamy texture on the tongue.
What to Serve With Lemon Tart
This lemon tart recipe creates a dessert that’s perfect served simply on its own. The bright lemon flavor doesn’t need much embellishment to shine.
However, fresh raspberries or blueberries arranged on top just before serving add beautiful color and a complementary tart-sweet flavor that enhances the lemon.
A small dollop of lightly sweetened whipped cream on the side provides a rich contrast to the tangy filling. Keep it minimal—this tart is the star.
Candied lemon slices make an elegant garnish that looks professional and adds textural contrast with their sweet, chewy quality.
Fresh mint leaves provide a pop of color and a subtle aromatic note that pairs nicely with citrus.
For beverages, serve with espresso or strong coffee. The slight bitterness cuts through the richness beautifully.
Sparkling wine, particularly prosecco or champagne, makes a sophisticated pairing for special occasions. The bubbles and acidity complement the tart perfectly.
Storage Tips
Store your lemon tart covered loosely with plastic wrap in the refrigerator for up to 3 days. The crust will soften slightly over time but remains delicious.
For the crispest crust, this tart is best enjoyed within 24 hours of assembly. The filling stays perfect, but the crust begins to lose its snap after the first day.
Don’t cover the tart tightly with plastic wrap that touches the surface, as it will mar the smooth filling. Use a cake dome or tent the plastic wrap so it doesn’t make contact.
The unbaked tart shell can be made ahead and frozen for up to 2 months. Wrap it tightly and bake it straight from frozen when ready to use.
The lemon filling can be made a day ahead and refrigerated in a bowl. Just pour it into the baked shell when ready to bake.
This lemon tart recipe doesn’t freeze well once assembled, as the filling becomes watery and the crust soggy upon thawing.
Leftover slices can be individually wrapped and refrigerated for easy grab-and-go desserts throughout the week.
Estimated Nutrition (Per Slice, 8 Servings)
Calories: 385 | Total Fat: 22g | Saturated Fat: 13g | Cholesterol: 185mg | Sodium: 125mg | Total Carbohydrates: 42g | Dietary Fiber: 1g | Sugars: 28g | Protein: 6g
Note: Nutritional information is approximate and varies based on specific ingredients and portion sizes.
Recipe Overview
Prep Time: 30 minutes
Cook Time: 55 minutes
Total Time: 4 hours (including chilling)
Difficulty: Medium
Servings: 8 slices
Ingredients
For the Crust:
- 1¼ cups all-purpose flour
- ½ cup powdered sugar
- ¼ teaspoon salt
- ½ cup cold unsalted butter, cubed
- 1 large egg yolk
- 1-2 tablespoons cold water
For the Filling:
- 4 large eggs
- 3 large egg yolks
- 1 cup granulated sugar
- ⅔ cup fresh lemon juice (about 4-5 lemons)
- 2 tablespoons lemon zest
- ⅔ cup heavy cream
- Pinch of salt
Step-by-Step Instructions
Step 1: Make the crust by combining flour, powdered sugar, and salt in a food processor. Pulse several times to mix.
Step 2: Add cold butter cubes and pulse until the mixture resembles coarse crumbs with some pea-sized pieces of butter remaining.
Step 3: Add egg yolk and pulse a few times. Add cold water, one tablespoon at a time, pulsing until the dough just begins to clump together. Don’t overmix.
Step 4: Turn the dough onto a work surface and gather it into a disk. Wrap in plastic wrap and refrigerate for at least 30 minutes.
Step 5: Preheat oven to 375°F. Roll out the chilled dough on a floured surface to about 12 inches in diameter and ⅛-inch thick.
Step 6: Transfer to a 9-inch tart pan with removable bottom, pressing gently into the corners and up the sides. Trim excess dough flush with the rim. Prick the bottom all over with a fork.
Step 7: Line the crust with parchment paper and fill with pie weights or dried beans. Bake for 20 minutes, then remove the weights and parchment. Continue baking for 10-12 minutes until deep golden brown. Cool completely.
Step 8: Reduce oven temperature to 300°F. Zest the lemons, then juice them to get ⅔ cup of juice.
Step 9: In a large bowl, whisk together eggs, egg yolks, and sugar until smooth. Whisk in lemon juice, zest, cream, and salt until well combined.
Step 10: Strain the mixture through a fine-mesh sieve into a clean bowl or large measuring cup with a spout. This removes any cooked egg bits and zest pieces for a silky filling.
Step 11: Place the cooled tart shell on a baking sheet. Pour the filling into the shell, filling it nearly to the top. Carefully transfer to the oven.
Step 12: Bake for 25-30 minutes until the edges are set but the center still jiggles slightly. Cool completely at room temperature, then refrigerate for at least 3 hours or overnight before slicing and serving.
Enjoy this elegant, restaurant-quality dessert made right in your own kitchen!