I was terrified to make a swiss roll for years because I’d heard horror stories about cakes cracking when rolled. Then my aunt demonstrated her technique at a family gathering, making it look effortless as she rolled warm cake around fluffy cream filling without a single crack. She insisted the secret wasn’t magic—just a properly baked sponge and confidence when rolling. When I finally tried this swiss roll recipe at home, following her tips, I was amazed at how well it worked. That first perfect spiral slice felt like a major baking victory. Now I make swiss rolls regularly and love how impressive they look despite being surprisingly straightforward.
Why You’ll Love This Swiss Roll Recipe
This swiss roll recipe creates an elegant dessert that looks professionally made but uses simple techniques anyone can master. The light, airy sponge cake is naturally low in fat and wonderfully tender, rolling up easily without cracking when you follow the proper method. Unlike dense cakes, this delicate sponge practically melts in your mouth, providing the perfect vehicle for rich cream filling. The recipe is incredibly versatile—you can fill it with whipped cream, buttercream, jam, or chocolate ganache, and flavor the cake itself with vanilla, chocolate, or even matcha. Swiss rolls are perfect for parties because they serve beautifully sliced into spirals that showcase the pretty filling. They also look impressive without requiring advanced decorating skills. Best of all, the cake bakes in just 12 minutes, making this a relatively quick dessert despite its elegant appearance.
What Is a Swiss Roll?
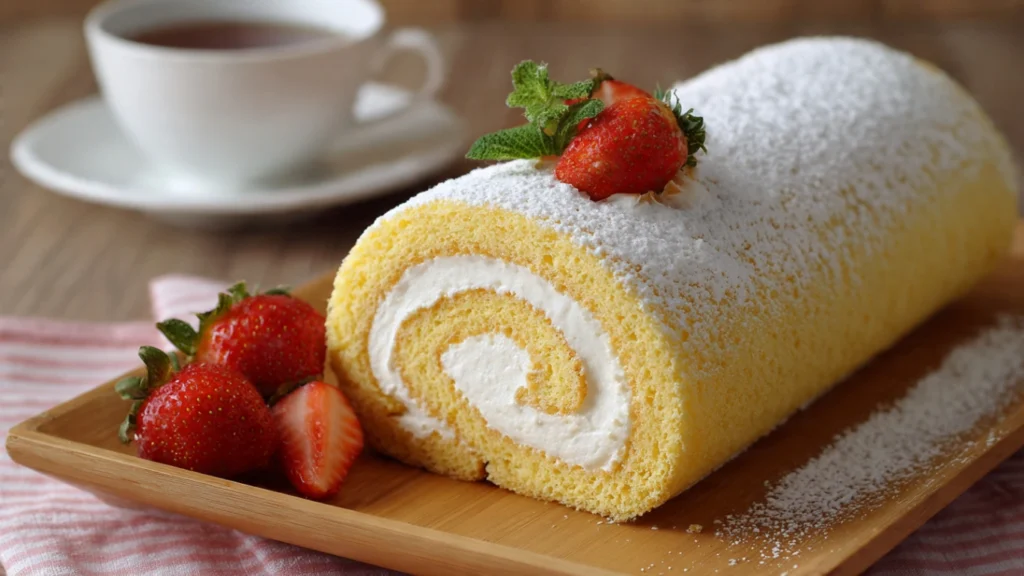
A swiss roll is a type of sponge cake baked in a thin layer, filled with cream or jam, then rolled into a log shape that creates a spiral pattern when sliced. This swiss roll recipe produces what’s also called a jelly roll or cream roll, featuring an exceptionally light, airy cake made with whipped eggs rather than butter. The sponge cake is baked in a flat sheet pan, turned out while still warm onto a towel, rolled with the towel to set its shape, then unrolled, filled, and re-rolled without the towel. This technique prevents cracking by training the cake to hold a curved shape. Despite the name, swiss rolls aren’t actually Swiss—they’re popular worldwide with variations in Britain, America, and Asia. The classic version features simple vanilla sponge with whipped cream or buttercream, though chocolate versions and fruit-filled variations are equally popular. The dessert became widespread in the early 1900s and remains a bakery favorite.
Common Mistakes to Avoid
The biggest mistake with this swiss roll recipe is overbaking the cake. An overbaked sponge becomes dry and will crack when rolled. The cake should be just set and springy—it bakes in only 10-12 minutes.
Not rolling the cake while it’s still warm is another critical error. Once the sponge cools completely, it loses flexibility and will crack. Roll it in a towel immediately after turning it out of the pan.
Using a pan that’s too small makes the cake too thick to roll properly. You need a standard 10×15-inch jelly roll pan for the right thickness.
Skipping the parchment paper means the cake will stick to the pan and tear when you try to remove it. Always line your pan with parchment that extends over the edges.
Not dusting the towel with powdered sugar causes the cake to stick when you unroll it for filling. A light dusting prevents sticking and adds subtle sweetness.
Spreading cold, stiff filling on the delicate cake tears it. Make sure your filling is spreadable and at the right temperature—soft but not runny.
Finally, slicing the roll before it’s chilled makes messy, squished pieces. Refrigerate the filled roll for at least an hour so it holds its shape when cut.
How to Know When Your Roll Is Done
The sponge cake is properly baked when it springs back immediately when you touch the center lightly. If your finger leaves an indentation, it needs another minute or two.
The cake should be golden brown all over with no pale or wet-looking spots. The edges may be slightly darker, which is normal.
When you gently pull the cake away from the pan edge, it should release easily without tearing. This indicates it’s set and ready.
The cake will have risen and puffed up during baking. It should look light and airy, not dense or flat.
This swiss roll recipe typically requires 10-12 minutes at 375°F. Start checking at 10 minutes—better to check early than overbake.
A toothpick inserted in the center should come out clean or with just a few dry crumbs attached. Wet batter means it needs more time.
The cake should feel dry to the touch on top, not sticky or tacky. Any tackiness indicates underbaking.
What to Serve With Swiss Roll
This swiss roll recipe creates a dessert that’s beautiful served simply on its own. The spiral design is stunning and needs no embellishment.
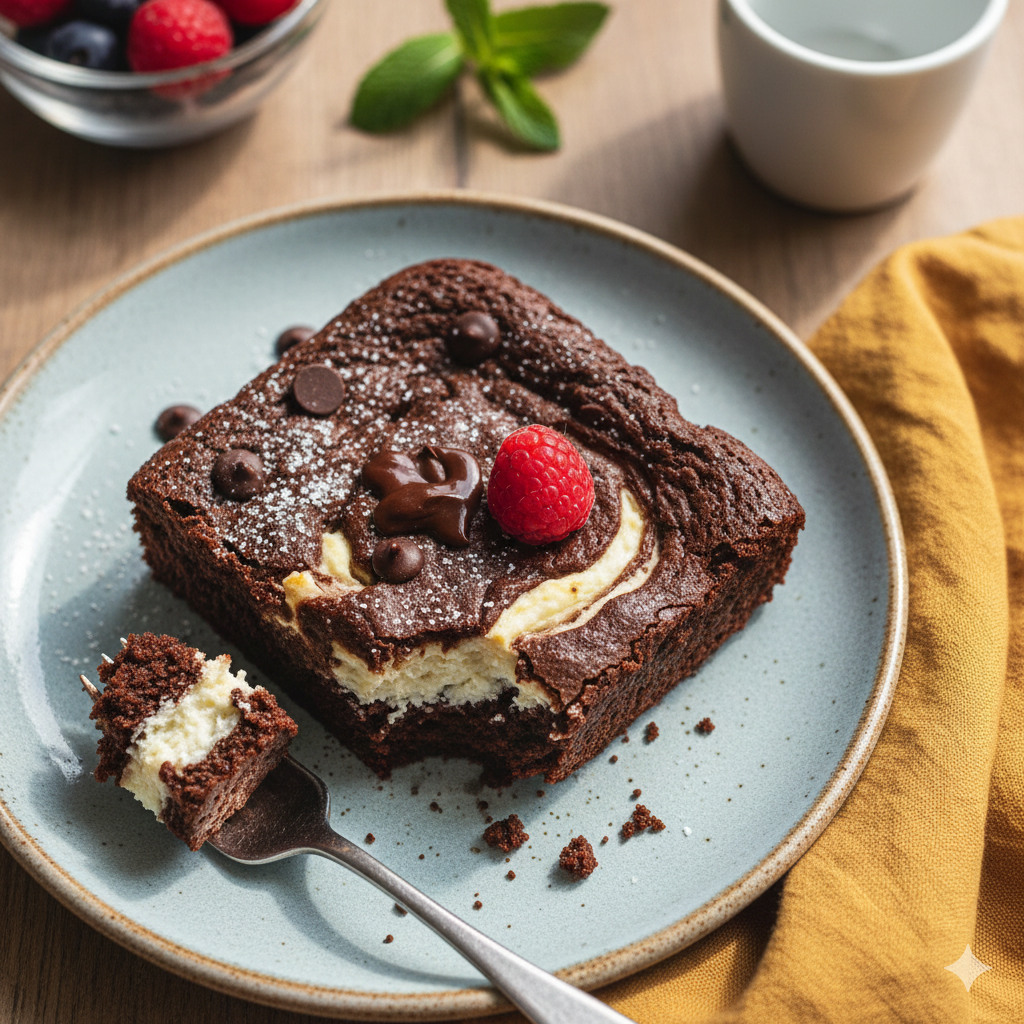
However, fresh berries scattered around the plate add color and a tart contrast to the sweet cream filling. Strawberries, raspberries, or blueberries all work wonderfully.
A light dusting of powdered sugar over the top before serving adds an elegant, professional finish. Use a fine-mesh sieve for even coverage.
Chocolate or caramel sauce drizzled on the plate creates a restaurant-style presentation perfect for special occasions.
A dollop of whipped cream on the side provides extra richness for those who want it, though the roll is delicious without it.
Hot coffee or tea makes an excellent accompaniment. The slight bitterness balances the sweet cake and cream perfectly.
For a truly indulgent dessert, serve slices with vanilla ice cream or gelato. The cold creaminess complements the soft cake beautifully.
Storage Tips
Store your swiss roll wrapped tightly in plastic wrap in the refrigerator for up to 3 days. The filling needs refrigeration to stay fresh and safe.
The cake actually improves after a few hours as the moisture from the filling softens it slightly, making it even more tender.
Don’t freeze swiss rolls filled with whipped cream, as the cream will weep and become watery when thawed. Buttercream-filled rolls freeze better.
If you want to freeze a swiss roll, wrap it tightly in plastic wrap then aluminum foil. Freeze for up to 2 months and thaw overnight in the refrigerator.
You can bake and roll the unfilled cake, then freeze it for up to 1 month. Thaw, unroll, fill, and re-roll when ready to serve.
Always bring refrigerated swiss roll to cool room temperature about 30 minutes before serving for the best flavor and texture.
Individual slices can be wrapped separately for easy grab-and-go desserts throughout the week.
Estimated Nutrition (Per Slice, 10 Servings)
Calories: 195 | Total Fat: 8g | Saturated Fat: 5g | Cholesterol: 95mg | Sodium: 85mg | Total Carbohydrates: 27g | Dietary Fiber: 0g | Sugars: 19g | Protein: 4g
Note: Nutritional information is approximate and based on whipped cream filling.
Recipe Overview
Prep Time: 25 minutes
Cook Time: 12 minutes
Total Time: 2 hours (including cooling and chilling)
Difficulty: Medium
Servings: 10 slices
Ingredients
For the Sponge Cake:
- 4 large eggs, room temperature
- ¾ cup granulated sugar
- 1 teaspoon vanilla extract
- ¾ cup all-purpose flour
- 1 teaspoon baking powder
- ¼ teaspoon salt
- Powdered sugar for dusting
For the Filling:
- 1½ cups heavy whipping cream
- 3 tablespoons powdered sugar
- 1 teaspoon vanilla extract
Step-by-Step Instructions
Step 1: Preheat your oven to 375°F. Line a 10×15-inch jelly roll pan with parchment paper, leaving some overhang on the sides for easy removal.
Step 2: In a large bowl, beat eggs and granulated sugar with an electric mixer on high speed for 5-7 minutes until very thick, pale, and tripled in volume. The mixture should form ribbons when you lift the beaters.
Step 3: Beat in the vanilla extract until just combined.
Step 4: In a separate bowl, sift together flour, baking powder, and salt. This removes lumps and aerates the flour.
Step 5: Gently fold the dry ingredients into the egg mixture using a large spatula. Use gentle folding motions to preserve the air bubbles—don’t stir vigorously or the batter will deflate.
Step 6: Pour the batter into the prepared pan, spreading it evenly into all corners with an offset spatula. The layer should be uniform in thickness.
Step 7: Bake for 10-12 minutes until the cake is golden brown and springs back when touched lightly. Don’t overbake or it will crack when rolled.
Step 8: While the cake bakes, lay out a clean kitchen towel on your counter and dust it generously with powdered sugar.
Step 9: As soon as the cake comes out of the oven, run a knife around the edges to loosen it. Immediately invert the pan onto the prepared towel. Carefully peel off the parchment paper.
Step 10: Starting from a short end, roll the cake up with the towel inside. Roll gently but firmly to create a tight spiral. Let it cool completely in this rolled position, about 30 minutes.
Step 11: While the cake cools, make the filling. Beat heavy cream, powdered sugar, and vanilla with an electric mixer on high speed until stiff peaks form, about 3-4 minutes.
Step 12: Carefully unroll the cooled cake. Spread the whipped cream evenly over the surface, leaving a ½-inch border around the edges. Re-roll the cake without the towel, finishing seam-side down. Wrap in plastic wrap and refrigerate for at least 1 hour before slicing and serving.
Slice into beautiful spirals and enjoy this classic elegant dessert!