I grew up on instant pudding from boxes, so the first time I made vanilla pudding from scratch, I was genuinely shocked at the difference. My grandmother insisted I try her method one afternoon, promising it wasn’t difficult despite requiring actual cooking. As we stood at the stove whisking together milk, sugar, and eggs, she explained this was how pudding was meant to taste—rich, silky, with real vanilla flavor instead of artificial sweetness. That first spoonful was a revelation. The texture was so much smoother and creamier, and the genuine vanilla flavor was incredible. Now this vanilla pudding recipe is the only one I make, and I can’t go back to the boxed stuff.
Why You’ll Love This Vanilla Pudding Recipe
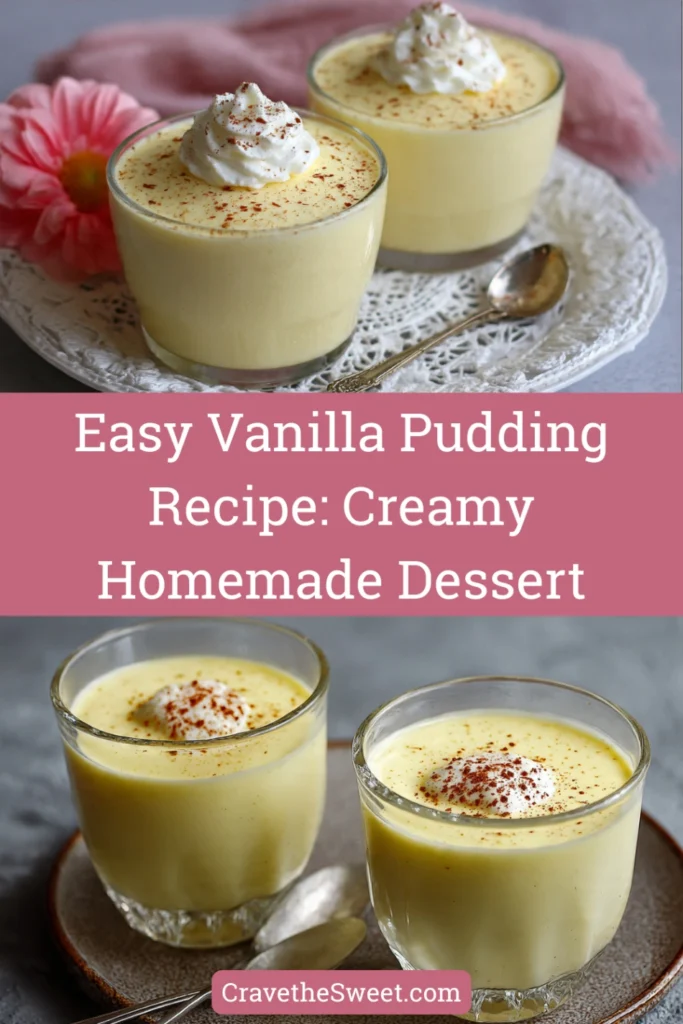
This vanilla pudding recipe creates genuinely creamy, luxurious pudding with pure vanilla flavor that tastes nothing like the boxed versions. You control every ingredient, meaning no artificial flavors, preservatives, or mystery chemicals—just real milk, eggs, sugar, and vanilla. The texture is silky smooth without any chalky or gummy qualities that packaged pudding sometimes has. Making it from scratch takes only about 15 minutes of active cooking time, which isn’t much longer than waiting for instant pudding to set. The recipe is incredibly versatile, working as a standalone dessert, pie filling, trifle layer, or parfait base. You can adjust the sweetness and vanilla intensity to your preference, something impossible with pre-made pudding. Kids love helping make this since they can see the magical transformation as the mixture thickens. Best of all, homemade vanilla pudding costs less per serving than quality store-bought versions while tasting infinitely better.
What Is Vanilla Pudding?
Vanilla pudding is a sweet, creamy dessert made by cooking milk, sugar, eggs, and vanilla together with cornstarch or flour as a thickener. This vanilla pudding recipe produces classic American-style pudding with a thick, spoonable consistency and rich vanilla flavor. The pudding sets as it cools due to the thickening agents, transforming from a thin, hot liquid into thick, silky custard. Traditional vanilla pudding differs from custard mainly in nomenclature—in America, we call this style “pudding,” while Europeans might call it “custard” or “crème.” The eggs provide richness and help with thickening, while cornstarch ensures the pudding sets firmly enough to hold its shape. Good vanilla pudding should be smooth, creamy, and coat a spoon thickly, with pronounced vanilla flavor that’s sweet but not cloying. It’s been a beloved American dessert since the 1800s and remains a comfort food classic.
Common Mistakes to Avoid
The biggest mistake with this vanilla pudding recipe is not whisking constantly while cooking. If you stop whisking even for a moment, the eggs can scramble and create lumps, or the mixture can scorch on the bottom.
Using low-quality vanilla extract or imitation vanilla creates bland, artificial-tasting pudding. Invest in pure vanilla extract for the best flavor—it makes a huge difference.
Adding hot milk directly to eggs without tempering scrambles the eggs instantly. You must slowly add hot liquid to eggs while whisking to gradually raise their temperature.
Not straining the pudding means any small lumps that formed during cooking remain in the final product. Always strain through a fine-mesh sieve for perfectly smooth pudding.
Letting the pudding cool without covering it creates a thick skin on top that’s unpleasant to eat. Press plastic wrap directly onto the surface to prevent this.
Using cornstarch and flour interchangeably without adjusting amounts doesn’t work. They have different thickening powers, so stick to what the recipe specifies.
Finally, not chilling the pudding long enough means it won’t be properly set. Give it at least 2 hours in the refrigerator for the best texture.
How to Know When Your Pudding Is Done
The vanilla pudding is ready when it thickens noticeably and large bubbles break the surface. These bubbles indicate the cornstarch has activated and the mixture will set properly when cooled.
The pudding should coat the back of a wooden spoon thickly. When you run your finger through the coating on the spoon, the line should hold without running back together immediately.
You’ll notice the pudding pulling away slightly from the sides of the pan as you stir, and it will flow more slowly from your whisk than when you started.
This vanilla pudding recipe typically requires 5-7 minutes of cooking over medium heat once you start heating the mixture. Watch for that first big bubble, then cook for one more minute.
The mixture will look glossy and smooth, with no grainy appearance. Any graininess indicates the cornstarch hasn’t fully dissolved or activated.
When you stop whisking, the pudding should slowly settle rather than immediately leveling out. This thickness will become more pronounced as it chills.
An instant-read thermometer should register about 170-175°F. This temperature ensures the cornstarch has thickened properly and the eggs are safely cooked.
What to Serve With Vanilla Pudding
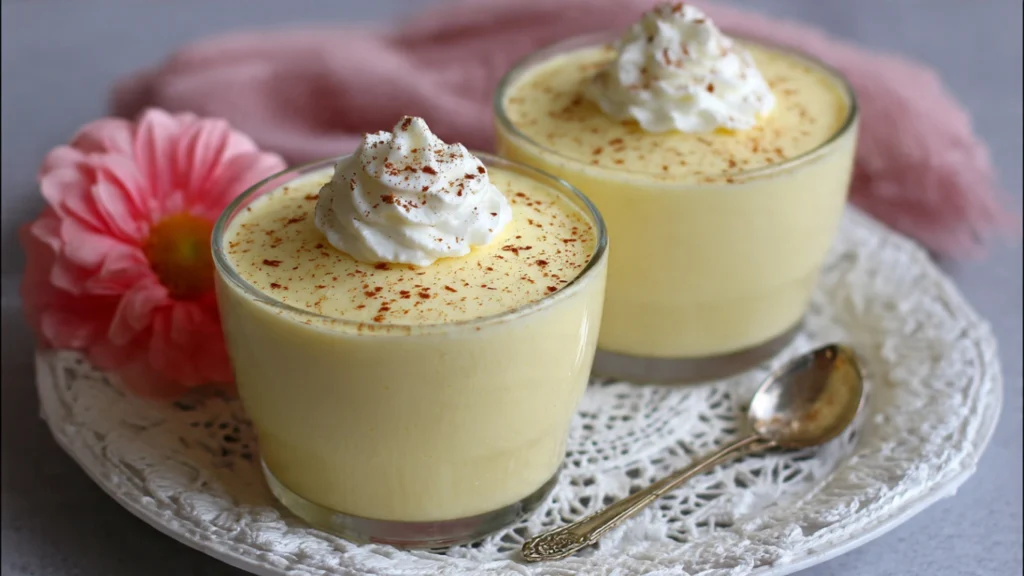
This vanilla pudding recipe creates a dessert that’s delicious served simply in small bowls or parfait glasses. Sometimes simple is best, especially when the pudding is this good.
Fresh berries, especially strawberries or blueberries, provide a tart contrast to the sweet, creamy pudding. Arrange them on top just before serving.
Whipped cream is a classic topping that adds extra richness and a lovely presentation. A generous dollop transforms pudding into something special.
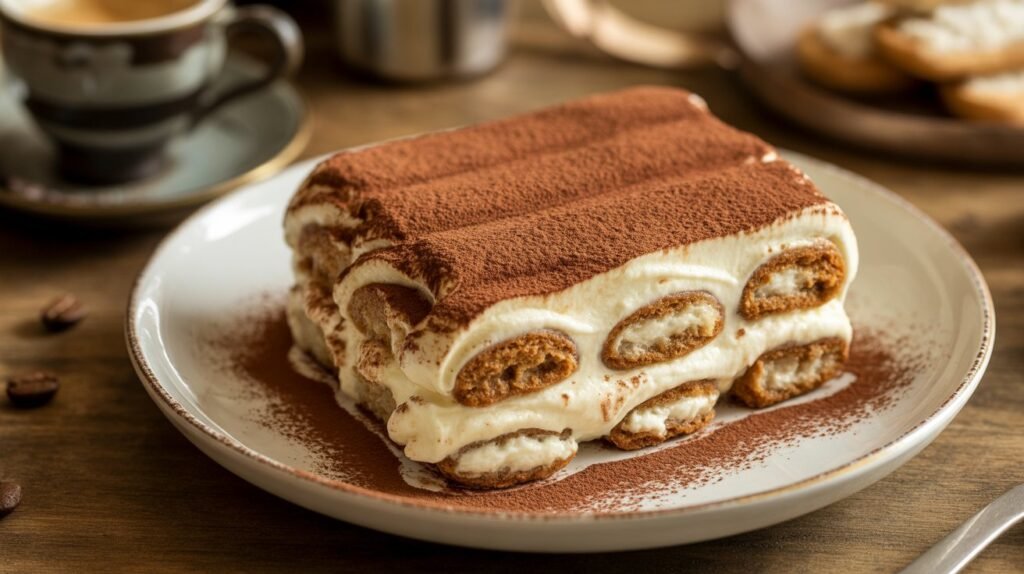
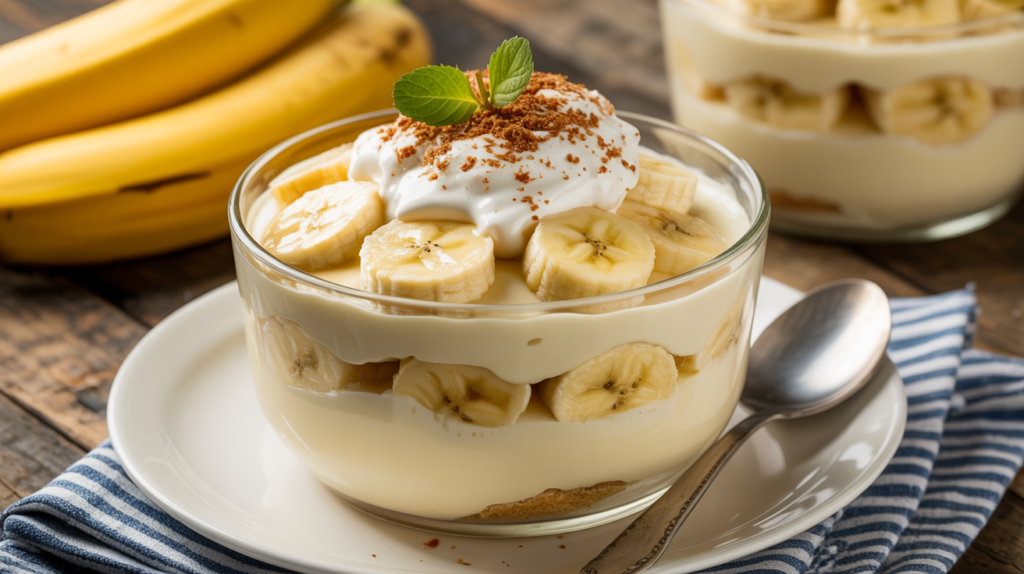
Crushed vanilla wafers or graham crackers sprinkled on top add delightful crunch. This combination is reminiscent of banana pudding without the bananas.
Sliced bananas layered with pudding create the classic banana pudding everyone loves. The flavors are meant to go together.
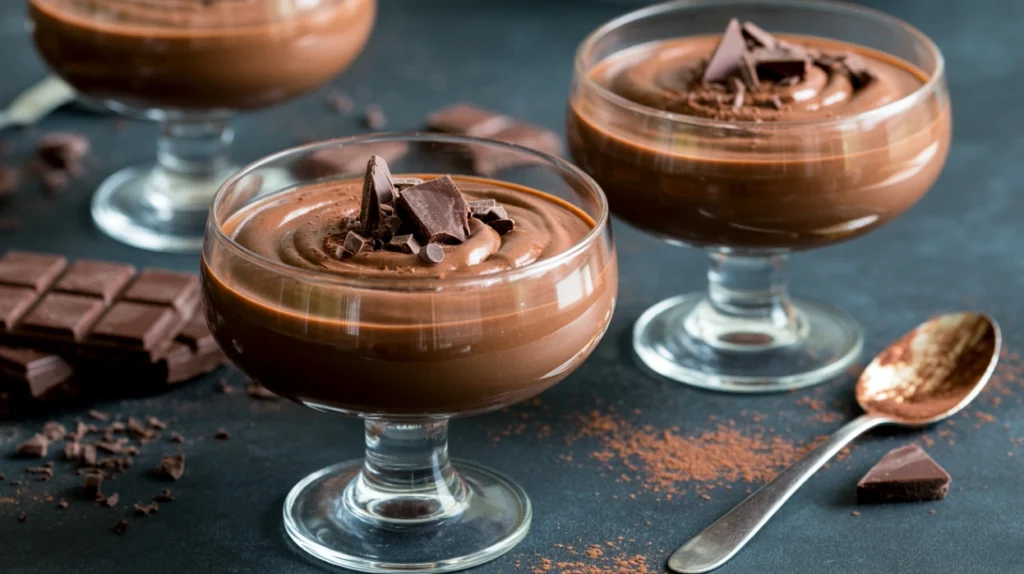
Chocolate shavings or cocoa powder dusted on top add visual appeal and a complementary flavor that works beautifully with vanilla.
Use this pudding as filling for cream pies, eclairs, or Boston cream donuts. Its thick texture holds up perfectly in pastries.
Storage Tips
Store your vanilla pudding in an airtight container or covered bowls in the refrigerator for up to 4 days. Always press plastic wrap directly onto the surface to prevent skin formation.
Individual serving containers make great grab-and-go desserts or snacks throughout the week. Portion the pudding while it’s still warm for easiest distribution.
This vanilla pudding recipe doesn’t freeze well. The texture becomes grainy and watery when thawed, so it’s best enjoyed fresh from the refrigerator.
If a skin forms despite your efforts, simply remove it with a spoon before serving. The pudding underneath will be perfectly fine.
Don’t store vanilla pudding in metal containers, as they can sometimes impart a metallic taste. Glass or plastic containers work best.
Always use clean utensils when scooping pudding from the storage container. Introducing contaminants shortens its shelf life.
If the pudding seems too thick after storage, whisk in a tablespoon or two of milk to restore a creamier consistency.
Estimated Nutrition (Per ½-Cup Serving)
Calories: 165 | Total Fat: 5g | Saturated Fat: 3g | Cholesterol: 75mg | Sodium: 85mg | Total Carbohydrates: 26g | Dietary Fiber: 0g | Sugars: 20g | Protein: 5g
Note: Nutritional information is approximate and based on whole milk.
Recipe Overview
Prep Time: 5 minutes
Cook Time: 10 minutes
Total Time: 2 hours 15 minutes (including chilling)
Difficulty: Easy
Servings: 6 servings
Ingredients
- 2½ cups whole milk
- ½ cup granulated sugar
- 3 tablespoons cornstarch
- ¼ teaspoon salt
- 3 large egg yolks
- 2 tablespoons unsalted butter
- 2 teaspoons pure vanilla extract
Step-by-Step Instructions
Step 1: In a medium saucepan, whisk together sugar, cornstarch, and salt until no lumps remain. This dry mixing prevents clumping when you add the liquid.
Step 2: Add the milk gradually while whisking constantly. Start with about ½ cup and whisk until smooth, then add the rest. This creates a smooth base without lumps.
Step 3: In a small bowl, whisk the egg yolks until smooth. Set them aside—you’ll need them in a moment.
Step 4: Place the saucepan over medium heat. Cook the milk mixture, whisking constantly, until it begins to steam and thicken slightly, about 3-4 minutes. Don’t let it boil yet.
Step 5: Once the mixture is hot and starting to thicken, slowly ladle about 1 cup of the hot milk mixture into the egg yolks while whisking constantly. This tempering process prevents the eggs from scrambling.
Step 6: Pour the tempered egg mixture back into the saucepan with the remaining milk mixture, whisking constantly as you pour.
Step 7: Continue cooking over medium heat, whisking constantly, until the mixture thickens considerably and large bubbles break the surface. This takes about 2-3 more minutes.
Step 8: Once bubbling, cook for one additional minute while whisking. The pudding should be very thick and coat your whisk heavily.
Step 9: Remove from heat immediately. Whisk in the butter until it melts completely and is fully incorporated, then whisk in the vanilla extract.
Step 10: Pour the pudding through a fine-mesh strainer into a clean bowl. Use a spatula to press it through, which removes any small lumps for perfectly smooth pudding.
Step 11: Press plastic wrap directly onto the surface of the pudding, ensuring it touches the entire surface with no air gaps. This prevents a skin from forming.
Step 12: Refrigerate for at least 2 hours until completely chilled and set. The pudding will firm up considerably as it cools. Serve cold with your favorite toppings.
Enjoy this classic homemade dessert that’s so much better than anything from a box!