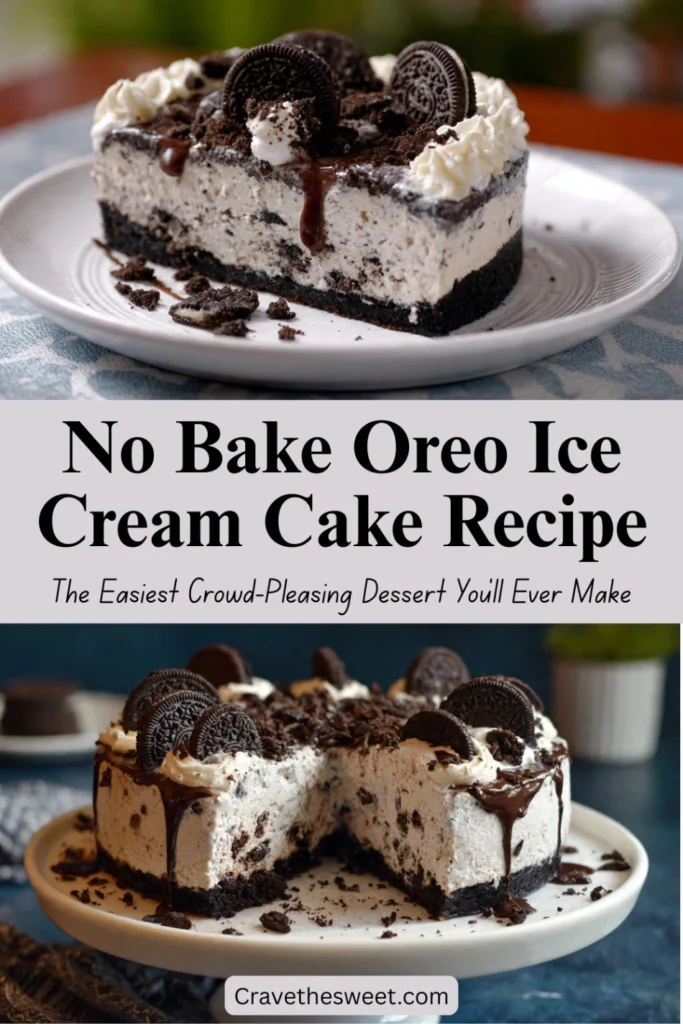
Summer cookouts, birthday parties, casual Friday nights — there’s one dessert I keep coming back to for all of them. A few years ago, my niece asked me to make something “really cool and chocolatey” for her birthday sleepover. I didn’t want to spend hours in a hot kitchen, and I definitely didn’t want to deal with layers of frosting or a complicated baking timeline. So I threw together this no bake Oreo ice cream cake recipe on a whim, using things I already had in my freezer and pantry. The girls went absolutely wild for it. My niece now requests it every single year without fail, and honestly, so does everyone else who’s ever tried a slice.
Why You’ll Love It
This dessert has everything going for it. There’s no oven involved, which means no sweating over a hot stove and no worrying about whether something baked through properly. It comes together with just a few simple ingredients, takes about 20 minutes of active prep, and then the freezer does all the work for you. The result looks stunning — layered, impressive, and completely irresistible — but the effort involved is genuinely minimal. It’s the kind of dessert that makes people think you spent hours on it when the truth is you were watching TV on the couch the whole time it was setting up. It works for birthdays, potlucks, holiday gatherings, or honestly just a random Tuesday when you want something spectacular.
What Is It?
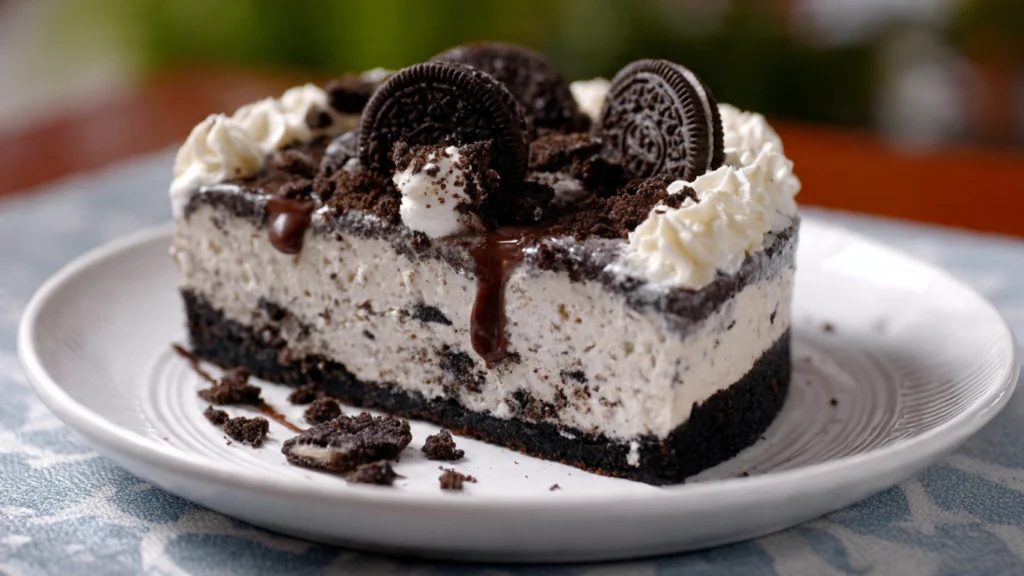
A no bake Oreo ice cream cake recipe is exactly what it sounds like — a frozen layered dessert built around two things everyone already loves: Oreo cookies and ice cream. There’s no cake batter, no eggs, and no oven required. The base is a thick, buttery Oreo cookie crust made from crushed cookies, similar to a cheesecake crust. On top of that goes a generous layer of softened ice cream — usually vanilla or cookies and cream — which is then covered with whipped topping and more crushed Oreos. The whole thing goes into the freezer to firm up into a sliceable, scoopable frozen masterpiece. It’s part ice cream sandwich, part ice cream cake, and completely addictive.
Common Mistakes to Avoid
Not softening the ice cream enough. If you try to spread rock-hard ice cream over your crust, you’ll tear it apart completely. Let the ice cream sit at room temperature for 10–15 minutes until it’s soft and spreadable, like thick frosting. Don’t let it melt fully — you want it pliable, not liquid.
Skipping the freezing time between layers. Each layer needs time to firm up before you add the next one. If you rush this step and pile everything on at once, the layers will mix together into a muddy mess. Give each layer at least 30 minutes in the freezer before adding the next.
Using a warm springform pan or dish. If your pan has been sitting in a warm kitchen, pop it in the freezer for 10 minutes before you start. A cold pan helps the crust set faster and keeps the base from getting soggy.
Not pressing the crust firmly enough. A loose, crumbly crust won’t hold together when you slice. Use the bottom of a flat measuring cup or a glass to really press the Oreo crumble down into a compact, even layer. You want it packed tightly.
Cutting straight from the freezer. If the cake is rock-solid when you try to slice it, you’ll end up with ragged, crumbling pieces. Let it sit at room temperature for 5–8 minutes before cutting with a warm, sharp knife.
How to Know It’s Done
Since this is a no bake Oreo ice cream cake recipe, “done” simply means fully frozen and set. The cake is ready to serve when the entire thing — top to bottom — feels firm and solid when you press gently on the center. The whipped topping on top should be frozen stiff and not leave an indent when touched. The sides should look set and not soft or jiggly. Ideally, freeze the finished cake for a minimum of 4 hours, but overnight is even better. When you slice into it, all three layers should be distinct and hold their shape cleanly on the plate.
What to Serve With It
This dessert is fantastic all on its own, but a few simple additions can make it feel even more special. A drizzle of warm hot fudge sauce or chocolate syrup poured over each slice right before serving is a beautiful contrast of warm and cold. Fresh whipped cream on the side adds a light, airy element. For birthday presentations, press a few whole Oreo cookies upright into the top of the cake before serving — it looks bakery-level impressive with almost zero extra effort. If you’re feeling adventurous, a sprinkle of crushed chocolate sandwich cookies on top of each individual slice right before serving adds a nice crunch.
Storage Tips
In the freezer: This is a freezer dessert, so it needs to live there. Once it’s fully assembled and set, cover it tightly with plastic wrap, then a layer of aluminum foil to prevent freezer burn. It will keep beautifully in the freezer for up to 2 weeks.
Storing leftovers: After slicing, press a piece of plastic wrap directly against any exposed ice cream before covering the pan again. This prevents ice crystals from forming on the cut edges.
Avoid the fridge: Don’t store this in the refrigerator — it will melt into a soft, messy pile rather than holding its shape. Always keep it frozen right up until serving time.
Make-ahead friendly: This is the perfect make-ahead dessert. Assemble it up to 3 days before your event and keep it well-wrapped in the freezer. The flavors actually meld together even more beautifully after a day or two.
Estimated Nutrition (Per Slice, Based on 12 Servings)
- Calories: ~390
- Total Fat: 20g
- Saturated Fat: 11g
- Carbohydrates: 50g
- Sugar: 34g
- Protein: 5g
- Sodium: 280mg
Note: Nutrition values are estimates and will vary based on specific brands and ice cream flavors used.
Recipe Overview
- Prep Time: 20 minutes
- Freeze Time: 4 hours minimum (overnight preferred)
- Total Time: 4 hours 20 minutes
- Difficulty: Very Easy — no baking, no special skills needed
- Servings: 12 slices
Ingredients
For the Oreo Crust:
- 36 Oreo cookies (about 3 cups crushed)
- 6 tablespoons unsalted butter, melted
For the Ice Cream Layer:
- 1.5 quarts (about 6 cups) vanilla ice cream or cookies and cream ice cream, softened
For the Top Layer:
- 1 container (8 oz) frozen whipped topping, thawed
- 16 Oreo cookies, roughly crushed (for topping)
- ¼ cup chocolate syrup or hot fudge sauce (optional, for drizzling)
- 4–6 whole Oreo cookies for decoration (optional)
Step-by-Step Instructions
Step 1: Prepare Your Pan
Lightly grease a 9×13-inch baking dish or a 9-inch springform pan with a thin layer of non-stick spray or softened butter. Line the bottom with parchment paper for the easiest removal later. Place the pan in the freezer while you prepare the crust — a cold pan helps everything set faster and keeps the base firm from the start.
Step 2: Make the Oreo Crust
Add 36 Oreo cookies to a food processor and pulse until you have fine, even crumbs. No food processor? Place the cookies in a large zip-top bag and crush them with a rolling pin — it takes a little more elbow grease but works perfectly well. Transfer the crumbs to a bowl and pour in the melted butter. Stir until every crumb is evenly coated and the mixture looks like wet sand.
Step 3: Press and Freeze the Crust
Pour the buttery Oreo crumbs into your prepared pan. Use the bottom of a flat measuring cup, a glass, or your hands to press the crumbs down firmly into an even, compact layer across the entire bottom of the pan. Really pack it in — a firmly pressed crust holds together beautifully when sliced. Place the pan in the freezer and let the crust set for at least 30 minutes before moving on.
Step 4: Soften the Ice Cream
About 10–15 minutes before you’re ready to add the ice cream layer, take your ice cream out of the freezer and let it sit at room temperature. You want it soft enough to spread easily without tearing the crust, but not melted. It should be the consistency of very thick frosting — spreadable and pliable but still holding its shape.
Step 5: Add the Ice Cream Layer
Remove the pan from the freezer. Using a large spoon or a rubber spatula, drop large spoonfuls of the softened ice cream all over the crust. Then gently spread it into an even layer, working from the center outward. Take your time here and use light, smooth strokes to avoid pulling up the crust underneath. Once the ice cream layer is smooth and even, return the pan to the freezer for at least 30–45 minutes until the ice cream is firm again.
Step 6: Add the Whipped Topping
Remove the pan from the freezer once the ice cream layer is solid. Spoon the thawed whipped topping over the ice cream and spread it gently into an even layer using an offset spatula or the back of a spoon. Work quickly so the ice cream beneath doesn’t start to soften too much from the heat of your hands.
Step 7: Add the Oreo Topping
Scatter the roughly crushed Oreo cookies generously over the whipped topping layer, pressing them in very lightly so they adhere. If you’re using whole Oreos for decoration, arrange them around the edges or in a line down the center. Drizzle chocolate syrup or warm hot fudge sauce over the top in a zigzag pattern for a beautiful finishing touch.
Step 8: Freeze Until Fully Set
Cover the pan tightly with plastic wrap followed by a layer of aluminum foil. Return to the freezer for a minimum of 4 hours, though overnight is truly the best option. The longer it freezes, the cleaner and more defined your slices will be.
Step 9: Slice and Serve
Pull the cake from the freezer and let it sit at room temperature for 5–8 minutes before slicing. Run a sharp knife under warm water, wipe it dry, and cut into clean slices. Serve immediately and watch the whole thing disappear before you even get a slice for yourself.
That’s the magic of this no bake Oreo ice cream cake recipe — almost no work, and absolutely all the credit.