Growing up, fall weekends meant trips to the apple orchard with my family. We’d return home with bags full of apples, and my mom would immediately start making her famous apple crisp. The smell of cinnamon and baked apples would fill the entire house, and we’d hover around the kitchen waiting for it to cool just enough to eat. Years later, when I got my first apartment, that apple crisp was the first dessert I learned to make. It connected me to home and reminded me that some recipes are about more than just food—they’re about comfort, memories, and love. This apple crisp recipe is a slightly tweaked version of my mom’s original, and it never fails to make my house smell like home.
Why You’ll Love This Apple Crisp Recipe
This dessert is everything a comfort food should be—warm, sweet, and satisfying. The tender, cinnamon-spiced apples pair perfectly with the buttery, crispy oat topping that has just the right amount of crunch. What makes this apple crisp recipe special is its simplicity. You don’t need any fancy techniques or equipment, just a bowl, a baking dish, and your hands to mix the topping. It comes together in about 15 minutes of prep time, making it perfect for weeknight desserts or last-minute gatherings. The ingredient list is straightforward with items you probably already have in your pantry. It’s also incredibly forgiving—even if your apples are a bit tart or your topping isn’t perfectly mixed, it still turns out delicious. This dessert is naturally more casual than pie, which makes it approachable for beginner bakers while still being impressive enough for dinner parties.
What Is Apple Crisp?
Apple crisp is a classic American dessert consisting of sliced apples baked beneath a crumbly streusel-like topping made from oats, flour, butter, and sugar. Unlike apple pie, there’s no bottom crust and no intricate lattice work required. The name comes from the crispy texture of the golden-brown topping that forms during baking. Apple crisp became popular in America during World War II when rationing made pie crusts more difficult to prepare. The dessert is similar to apple crumble, though crisps traditionally include oats in the topping while crumbles don’t. The beauty of apple crisp lies in its rustic simplicity—the apples soften and release their juices, which bubble up through the topping, while the oat mixture becomes golden and crispy on top but slightly soft underneath where it meets the fruit. It’s best served warm when the contrast between the tender apples and crunchy topping is most pronounced.
Common Mistakes to Avoid
The most common mistake with this apple crisp recipe is cutting the apples too thick or too thin. Thick chunks won’t cook through properly, while paper-thin slices turn to mush. Aim for quarter-inch slices. Another error is using only one variety of apple. Mixing tart and sweet apples creates better depth of flavor—try combining Granny Smith with Honeycrisp or Gala. Some people add too much liquid to the apple mixture, which makes the dessert soupy rather than saucy. The apples release plenty of moisture on their own, so you only need a small amount of added liquid. Not using cold butter in the topping is another mistake. Cold butter creates that desirable crumbly texture, while soft butter makes the topping dense and greasy. Work quickly when mixing the topping so your hands don’t melt the butter too much. Overbaking dries out the apples and burns the topping, while underbaking leaves the apples too firm. Watch for bubbling juices around the edges and a golden-brown topping.
How to Know When Your Apple Crisp Is Done
Your apple crisp is ready when the topping is deeply golden brown and the apple juices are bubbling vigorously around the edges of the dish. You should see thick, syrupy juices breaking through the topping in places. Insert a knife into the center—it should slide through the apples easily with no resistance. The apples should be tender but still hold their shape, not completely mushy. The topping should look dry and crispy on top, not wet or pale. If the topping is browning too quickly but the apples aren’t tender yet, tent the dish loosely with foil and continue baking. The kitchen should smell amazing, with strong notes of cinnamon and caramelized fruit. Once done, let it rest for at least 10 minutes before serving. This resting time allows the juices to thicken slightly and makes it easier to scoop. The crisp is perfect when it’s warm but not scorching hot—you want to taste all the flavors without burning your mouth.
What to Serve With Apple Crisp
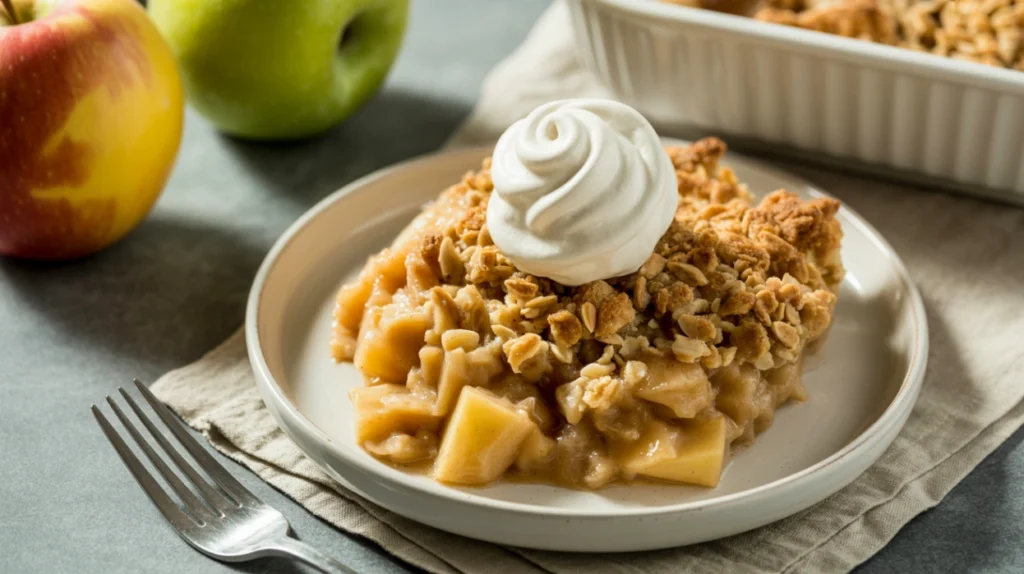
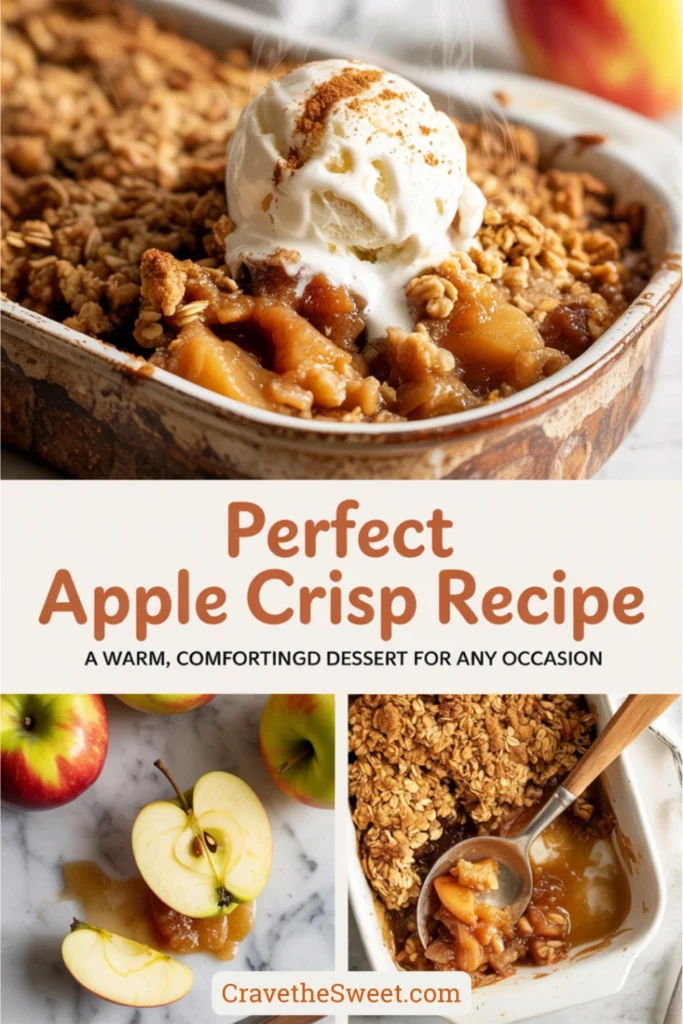
This apple crisp recipe is absolutely heavenly with a scoop of vanilla ice cream melting over the warm dessert. The cold, creamy ice cream paired with the hot, cinnamon-spiced apples is pure comfort food perfection. Whipped cream is another classic topping that’s lighter than ice cream. For something extra special, try cinnamon whipped cream or bourbon whipped cream for adults. Caramel sauce drizzled over the top adds another layer of sweetness and richness. A dollop of crème fraîche or Greek yogurt offers a tangy contrast that balances the sweetness beautifully. Some people love it with a slice of sharp cheddar cheese, following the old tradition of pairing apples with cheese. For breakfast the next day, try it cold with a spoonful of plain yogurt—it’s surprisingly delicious. Coffee or hot apple cider makes an excellent beverage pairing that enhances the warm spice flavors.
Storage and Reheating Tips
Store leftover apple crisp covered with foil or plastic wrap in the refrigerator for up to four days. The topping will lose some of its crispness as it sits, but it’s still delicious. To reheat and restore some crunch, place individual portions in a 350°F oven for about 15 minutes. You can also microwave single servings for one to two minutes, though this won’t crisp up the topping. The apple filling can be prepared and refrigerated up to one day ahead—just mix the topping and assemble before baking. You can freeze unbaked apple crisp for up to three months. Assemble it in a freezer-safe dish, cover tightly with plastic wrap and foil, then freeze. Bake from frozen, adding 15 to 20 extra minutes to the baking time. Already-baked apple crisp can also be frozen for up to two months, though the topping won’t be as crispy when reheated.
Estimated Nutrition Information
Per serving (based on 8 servings): Approximately 320 calories, 12g fat, 52g carbohydrates, 4g fiber, 35g sugar, 3g protein. Apples provide fiber and vitamin C, and the oats in the topping add some whole grains. While this is definitely a dessert, it’s more wholesome than many other sweet treats and contains real fruit and whole grains.
Recipe Overview
Prep Time: 15 minutes
Cook Time: 45 minutes
Total Time: 60 minutes
Difficulty: Easy
Servings: 8
Ingredients
For the apple filling:
- 6 cups sliced apples (about 6 medium apples)
- 2 tablespoons lemon juice
- 1/3 cup granulated sugar
- 2 tablespoons all-purpose flour
- 1 teaspoon ground cinnamon
- 1/4 teaspoon ground nutmeg
For the crisp topping:
- 1 cup old-fashioned rolled oats
- 3/4 cup all-purpose flour
- 3/4 cup packed brown sugar
- 1/2 teaspoon ground cinnamon
- 1/4 teaspoon salt
- 1/2 cup cold unsalted butter, cut into small pieces
Step-by-Step Instructions
Preheat your oven to 350°F. Lightly grease a 9×9-inch baking dish or a 2-quart baking dish with butter or cooking spray.
Peel your apples if you prefer, though I usually leave the peels on for extra fiber and color. Core the apples and slice them into quarter-inch thick pieces. Try to keep them uniform so they cook evenly.
Place the sliced apples in a large bowl and toss them with the lemon juice. The lemon juice prevents browning and adds a subtle brightness to balance the sweetness.
Add the granulated sugar, two tablespoons of flour, one teaspoon of cinnamon, and nutmeg to the apples. Toss everything together until the apples are evenly coated. The flour will help thicken the juices that release during baking.
Spread the apple mixture evenly in your prepared baking dish. Set it aside while you make the topping.
In a medium bowl, combine the oats, three-quarters cup of flour, brown sugar, half teaspoon of cinnamon, and salt. Stir with a fork until everything is evenly mixed.
Add the cold butter pieces to the oat mixture. Using your fingers or a pastry cutter, work the butter into the dry ingredients. Pinch and squeeze the mixture until it resembles coarse crumbs with some larger, pea-sized pieces of butter remaining. This should take about two to three minutes. The mixture should clump together when you squeeze it.
Sprinkle the topping evenly over the apples. Don’t press it down—just let it sit loosely on top. This allows it to get crispy while baking.
Place the baking dish on a rimmed baking sheet to catch any juices that might bubble over. Bake for 40 to 50 minutes, until the topping is golden brown and you see thick juices bubbling around the edges.
If the topping is browning too quickly, tent it loosely with aluminum foil for the last 10 minutes of baking.
Remove from the oven and let it cool for at least 10 minutes before serving. This allows the filling to thicken slightly and makes it easier to scoop.
Serve warm with your favorite topping—vanilla ice cream, whipped cream, or even a drizzle of caramel sauce.
This apple crisp recipe has become my go-to dessert for fall gatherings and cozy weeknight treats. The combination of tender cinnamon apples and buttery, crispy topping creates a dessert that’s both simple and incredibly satisfying.