I discovered cake pops at my niece’s birthday party and was instantly charmed by these little cake balls on sticks, perfectly coated in chocolate. When she told me her mom made them at home, I was skeptical—they looked so professional and bakery-perfect. But she insisted they were easy, just crumbled cake mixed with frosting and dipped in chocolate. That weekend, I tried making them with leftover birthday cake from my fridge, and I was amazed at how simple and fun it was. My kids loved helping roll the balls and dip them in chocolate, and decorating them became our new favorite family activity. This cake pops recipe has since become my go-to for parties, bake sales, and any time I want to make something adorable without spending hours in the kitchen.
Why You’ll Love This Cake Pops Recipe
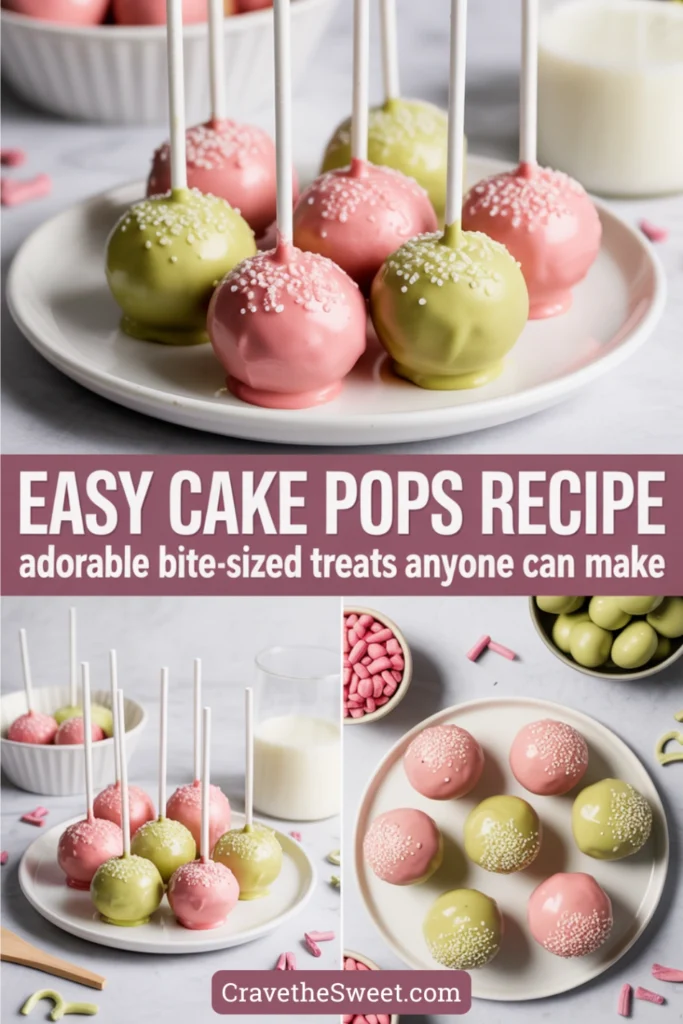
These treats are absolutely adorable and taste incredible. They’re rich, moist, and perfectly portioned—one or two satisfies your sweet tooth without overdoing it. What makes this cake pops recipe special is how customizable it is. You can use any cake flavor, any frosting, and any coating color to match themes or preferences. Kids go wild for them, making them perfect for birthday parties, school events, and holidays. They’re also surprisingly easy despite looking professional and complicated. The recipe is incredibly forgiving—even if your pops aren’t perfectly round or your coating isn’t flawlessly smooth, they still taste amazing and look cute. You can make them ahead and they travel well, making them ideal for potlucks and gifting. They’re also a brilliant way to use up leftover or slightly stale cake. The fun factor is huge too—rolling the balls and decorating is enjoyable for all ages.
What Are Cake Pops?
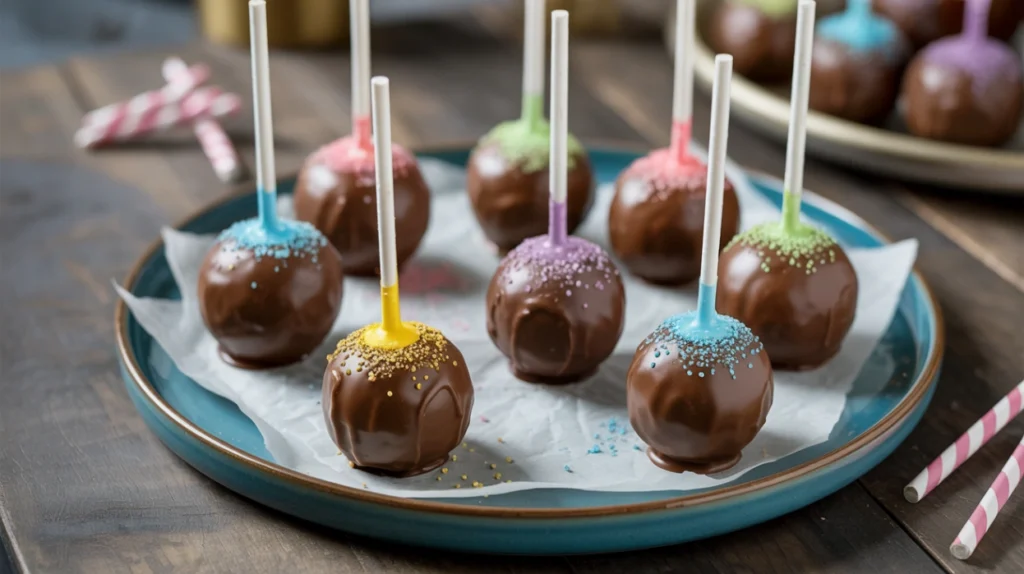
Cake pops are small balls of cake mixed with frosting, shaped around a stick, then coated in melted chocolate or candy coating and decorated. The treat was popularized in the early 2000s when bakers started creating these portable, popsicle-style versions of cake. Traditional cake pops are made by crumbling baked cake, mixing it with frosting to create a moldable dough, then shaping it into balls. The balls are chilled, placed on lollipop sticks, dipped in melted chocolate or candy melts, and decorated with sprinkles, drizzles, or other embellishments. The result is a bite-sized cake treat that’s easier to eat than traditional cake slices and infinitely more portable. They’ve become hugely popular for parties, weddings, and events because they’re customizable to any theme or color scheme. You can find them in bakeries and coffee shops, but homemade versions are simple and much more affordable.
Common Mistakes to Avoid
The biggest mistake with this cake pops recipe is adding too much frosting to the cake crumbs. The mixture should hold together when squeezed but not be overly wet or sticky. Too much frosting makes pops that are too soft and fall off the sticks. Another error is not chilling the cake balls long enough before dipping. They need to be very firm or they’ll fall apart in the warm coating. Some people dip the pops when the chocolate is too hot, which causes the cake balls to crack or slide off the stick. Let the melted coating cool slightly until it’s just warm. Not dipping the stick in chocolate before inserting it into the cake ball is another mistake—this “glue” helps secure the pop. Making the balls too large makes them heavy and prone to falling off sticks. Keep them around one inch in diameter. Using real chocolate instead of candy melts can be tricky since chocolate needs tempering to set properly. Candy melts are easier for beginners. Finally, not letting the coating set completely before packaging causes smudges and sticking.
How to Know When Your Cake Pops Are Done
Unlike baked goods, cake pops don’t require cooking or specific doneness tests since you’re working with already-baked cake. However, there are key stages to watch for. The cake and frosting mixture is ready when it holds together when squeezed but isn’t overly sticky or wet. You should be able to roll it into smooth balls that don’t crack or crumble. The shaped balls are ready for dipping after chilling for at least two hours until very firm to the touch. The coating is ready when it’s smooth, melted completely, and slightly cooled to just warm rather than hot. After dipping, the pops are done when the coating has set completely—it should be dry to the touch and not tacky. This takes about 15 to 30 minutes at room temperature or 10 minutes in the refrigerator. The coating should look smooth and matte rather than shiny and wet. Once fully set, they’re ready to eat, package, or display.
What to Serve With Cake Pops
This cake pops recipe creates treats that are perfect on their own but work wonderfully in various serving scenarios. They’re ideal for dessert tables at parties displayed in foam blocks, cups filled with candy or rice, or special cake pop stands. Arrange them alongside other desserts like cupcakes, cookies, and brownies for variety. They pair beautifully with coffee, hot chocolate, or milk. For kids’ parties, serve them with juice boxes or lemonade. Create a dessert charcuterie board with cake pops, fresh fruit, chocolate, and nuts. They make excellent party favors wrapped individually in cellophane bags with ribbons. For adult gatherings, serve them with champagne or dessert wine. Display them creatively—stand them in a vase, arrange them on tiered stands, or create bouquets of cake pops as centerpieces. They’re also perfect for themed events where you can coordinate colors and decorations.
Storage and Make-Ahead Tips
Cake pops are excellent make-ahead treats. Store them at room temperature in an airtight container for up to three days, though they’re best within two days. Layer them carefully with parchment paper between layers to prevent sticking. You can refrigerate them for up to one week, but bring them to room temperature before serving for the best texture. Cake pops freeze beautifully for up to two months. Place them in a single layer in an airtight container with parchment between layers, or wrap individually. Thaw in the refrigerator overnight before serving. You can make them in stages—bake the cake one day, mix and shape another day, then dip and decorate the day of your event. The shaped but uncoated balls can be refrigerated for up to three days or frozen for a month before dipping. For gifting or transporting, wrap each pop individually in cellophane and tie with ribbon once completely set.
Estimated Nutrition Information
Per cake pop (based on 24 pops): Approximately 180 calories, 8g fat, 26g carbohydrates, less than 1g fiber, 20g sugar, 2g protein. These are definitely treats meant for special occasions. The small size makes portion control easy—one or two pops satisfy sweet cravings without excessive indulgence.
Recipe Overview
Prep Time: 45 minutes
Cook Time: 30 minutes (for cake)
Total Time: 3 hours 15 minutes (including chilling)
Difficulty: Easy to Medium
Servings: 24 cake pops
Ingredients
For the cake pops:
- 1 box (15.25 ounces) cake mix (any flavor), baked and cooled, or 3 cups crumbled homemade cake
- 1/2 to 3/4 cup frosting (match or complement your cake flavor)
- 24 lollipop sticks or paper straws
For coating and decoration:
- 16 ounces candy melts or chocolate coating (any color)
- Sprinkles, colored sugar, or other decorations
- 1 tablespoon vegetable oil (if needed to thin coating)
Step-by-Step Instructions
If making cake from scratch or using a mix, bake according to directions in a 9×13-inch pan. Let it cool completely. This can be done a day ahead.
Once the cake is completely cool, crumble it into a large bowl using your hands or a fork. Break it into fine crumbs with no large chunks remaining. You should have about three cups of crumbs.
Add half a cup of frosting to the cake crumbs. Using your hands or a large spoon, mix thoroughly until the mixture holds together when squeezed. Add more frosting a tablespoon at a time if needed, but be careful not to make it too wet. The texture should be like cookie dough.
Line a baking sheet with parchment paper. Scoop about one tablespoon of the mixture and roll it between your palms to form a smooth ball about one inch in diameter. Place it on the prepared sheet. Repeat with remaining mixture—you should get about 24 balls.
Refrigerate the cake balls for at least two hours until very firm. Overnight is even better. They must be cold and solid before dipping.
About 30 minutes before dipping, prepare your decorating station. Pour sprinkles into small bowls. Have parchment-lined baking sheets ready for setting the finished pops.
Melt the candy melts according to package directions, usually in the microwave in 30-second intervals, stirring between each. The coating should be smooth and just warm, not hot. If too thick, add a teaspoon of vegetable oil at a time until it reaches a good dipping consistency.
Remove a few cake balls from the refrigerator at a time, keeping the rest cold. Dip the tip of a lollipop stick about half an inch into the melted coating, then insert it into a cake ball about halfway. This coating acts as glue. Place back on the sheet and repeat with remaining balls. Refrigerate for five minutes to set the sticks.
Now you’re ready to dip. Hold a cake pop by the stick and dip it into the melted coating, submerging it completely. Lift it out and gently tap your hand on the edge of the bowl to let excess coating drip off. Rotate the pop as needed for even coverage.
While the coating is still wet, add sprinkles or decorations. Stand the pop upright in a foam block, heavy styrofoam cup filled with rice, or lay it on parchment paper. Repeat with remaining pops, reheating coating if it gets too thick.
Let the cake pops set completely at room temperature for 20 to 30 minutes, or refrigerate for 10 minutes. The coating should be completely dry and hard to the touch.
Once set, the cake pops are ready to serve, package, or display. Store in an airtight container.
This cake pops recipe has brought joy to countless parties and gatherings at my house. The combination of moist cake and smooth chocolate coating creates adorable treats that are as fun to make as they are to eat.