My introduction to making chocolate bark happened out of desperation during a particularly hectic December. I needed holiday gifts for my son’s teachers, coworkers, and neighbors but had zero time for elaborate baking projects. A friend mentioned that she made chocolate bark every year, claiming it looked fancy but took only minutes to prepare. Skeptical but desperate, I gave it a try. I melted chocolate, spread it on a baking sheet, sprinkled it with crushed candy canes and sea salt, let it harden, then broke it into rustic pieces. The whole process took maybe twenty minutes, but everyone raved about how beautiful and delicious it was. Since that chaotic December, this chocolate bark recipe has become my go-to for last-minute gifts, party treats, and whenever I want something that looks impressive with minimal effort.
Why You’ll Love This Chocolate Bark Recipe
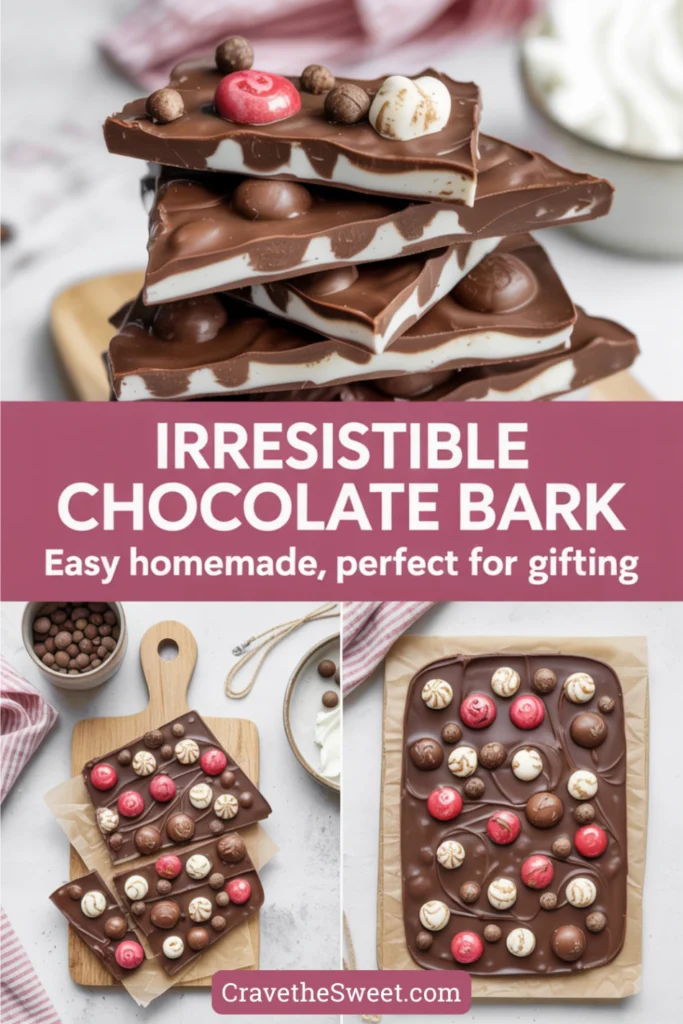
This candy is ridiculously easy to make yet looks like it came from an expensive chocolate shop. The combination of smooth, rich chocolate with crunchy toppings creates perfect textural contrast in every bite. What makes this chocolate bark recipe truly special is its incredible versatility. You can customize it endlessly with different chocolates, nuts, dried fruits, candies, or pretzels to suit any taste or occasion. There’s no baking required, no candy thermometer needed, and no complicated techniques to master. Kids love helping choose and sprinkle toppings, making it a fun family activity. The recipe is incredibly forgiving—even if your chocolate isn’t perfectly smooth or your toppings aren’t evenly distributed, it still tastes amazing. Bark also makes fantastic gifts that look professional when packaged in clear cellophane bags or decorative tins. You can make large batches quickly for parties, bake sales, or holiday gifting. It keeps well for weeks, so you can prepare it well in advance.
What Is Chocolate Bark?
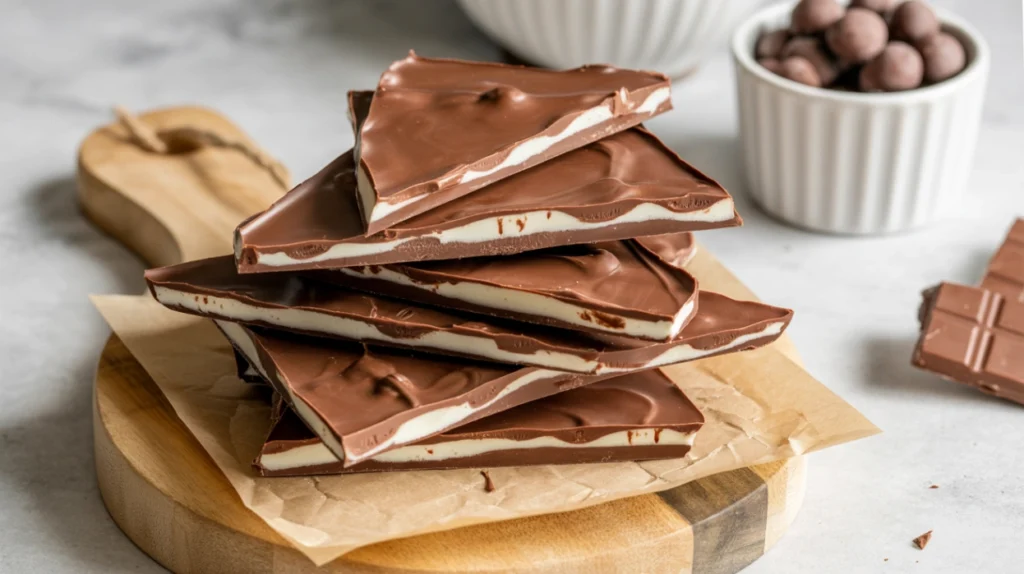
Chocolate bark is a simple confection made by spreading melted chocolate in a thin layer on a baking sheet, adding various toppings, allowing it to harden, then breaking it into irregular pieces. The name “bark” comes from its rustic, tree bark-like appearance when broken into jagged pieces. While the exact origins are unclear, chocolate bark has been a popular homemade candy in America for decades, especially during the holidays. The base is typically dark, milk, or white chocolate, or a combination of different chocolates swirled together. Toppings can include anything from nuts and dried fruit to candy pieces, pretzels, cookies, or sea salt. Some versions involve layering different colored chocolates, while others mix toppings directly into the melted chocolate. The beauty of bark is its simplicity—there’s no tempering required like with other chocolate candies, making it accessible to beginners. It’s meant to look rustic and homemade rather than perfectly uniform.
Common Mistakes to Avoid
The biggest mistake with this chocolate bark recipe is overheating the chocolate, which causes it to seize up and become grainy. Always melt chocolate gently, either in short microwave bursts or in a double boiler over barely simmering water. Another error is adding toppings before spreading the chocolate, which makes it difficult to spread evenly. Spread first, then add toppings. Some people make their chocolate layer too thick, which takes forever to set and makes the bark difficult to bite through. A quarter-inch thickness is ideal. Not letting the chocolate set completely before breaking it causes messy, uneven pieces with fingerprints. Be patient and let it harden fully. Using chocolate chips instead of proper chocolate or candy melts can create problems—chips contain stabilizers that prevent smooth melting. Use chocolate bars or candy melts for best results. Getting water in your chocolate causes it to seize immediately, so make sure all utensils are completely dry. Finally, adding wet ingredients like fresh fruit will ruin the chocolate. Stick to dry toppings only.
How to Know When Your Chocolate Bark Is Done
The chocolate is properly melted when it’s completely smooth with no lumps or chunks remaining. It should flow like thick cream when you stir it, not be gloppy or grainy. If using multiple chocolate types in layers or swirls, each should be melted to the same consistency for even spreading. Once spread on your baking sheet, the layer should be about a quarter-inch thick and relatively even, though perfect uniformity isn’t necessary. After adding toppings, the bark needs time to set completely. It’s ready when the chocolate is firm to the touch and no longer shiny or tacky. This takes about 30 minutes at room temperature, or 15 to 20 minutes in the refrigerator. Don’t rush this step. The chocolate should snap cleanly when you break it, not bend or show fingerprints. If it’s still soft or sticky, it needs more time. Once fully set, you can break it into pieces of any size—large chunks for gifting or smaller pieces for snacking. The broken edges should look clean, not smeared or mushy.
What to Serve With Chocolate Bark
This chocolate bark recipe creates treats that are perfect for various occasions. Arrange pieces on a dessert platter alongside cookies, brownies, and other sweets for parties. The bark pairs beautifully with coffee, especially espresso—the bitterness balances the chocolate’s sweetness. Hot chocolate becomes even more indulgent with a piece of bark on the side or used as a stirrer. For wine pairings, try it with port, red wine, or dessert wine. Package pieces in clear bags with ribbon for party favors or holiday gifts. Create dessert charcuterie boards featuring bark alongside fresh fruit, cheese, and nuts. The bark works wonderfully as an ice cream topping—break it into small pieces and sprinkle over sundaes. For elegant dinner parties, serve small pieces with after-dinner drinks. It’s also perfect for movie nights, road trips, or whenever you want a special sweet treat. Package it in decorative tins for teacher gifts, hostess presents, or thank-you gifts.
Storage and Gifting Tips
Store your chocolate bark in an airtight container at room temperature for up to two weeks, layering pieces with parchment paper to prevent sticking. Keep it in a cool, dry place away from heat and sunlight. If your kitchen is very warm, you can refrigerate it, though this may cause some condensation when brought back to room temperature. Bark with nuts stays fresh longest, while bark with softer toppings like cookies may lose crispness over time. For longer storage, freeze it for up to three months in an airtight container or freezer bag. Freeze pieces in a single layer first, then stack with parchment between layers. Thaw at room temperature for 10 minutes before serving. For gifting, arrange pieces in clear cellophane bags tied with decorative ribbons, or pack in small tins or boxes. You can make bark up to two weeks ahead for holiday gifting. If shipping, pack pieces carefully with padding and send with faster delivery methods to prevent melting. Include a note suggesting the recipient refrigerate it upon arrival if shipped during warm weather.
Estimated Nutrition Information
Per piece (based on 24 pieces): Approximately 145 calories, 9g fat, 16g carbohydrates, 1g fiber, 14g sugar, 2g protein. The exact nutrition will vary significantly based on your chocolate choice and toppings. Dark chocolate bark with nuts provides antioxidants and healthy fats. This is definitely a treat, but the small serving sizes make it easy to enjoy in moderation.
Recipe Overview
Prep Time: 15 minutes
Cook Time: 5 minutes (melting chocolate)
Total Time: 45 minutes (including setting time)
Difficulty: Easy
Servings: 24 pieces
Ingredients
For the base:
- 12 ounces dark or semi-sweet chocolate, chopped (or chocolate melting wafers)
- 8 ounces white chocolate, chopped (optional, for swirling or layering)
For toppings (choose 2-4):
- 1/2 cup chopped roasted almonds, pecans, or pistachios
- 1/4 cup dried cranberries or cherries
- 1/4 cup crushed candy canes or peppermint candies
- 1/4 cup mini pretzels, broken into pieces
- 1/4 cup toffee bits
- 2 tablespoons sea salt flakes
- 1/4 cup mini marshmallows
- 1/4 cup crushed cookies
- Sprinkles or edible glitter
Step-by-Step Instructions
Line a large baking sheet (about 13×18 inches) with parchment paper or a silicone baking mat. Make sure the paper is flat with no wrinkles. Set aside.
Prepare all your toppings before melting the chocolate. Chop nuts if needed, crush candies or cookies, and arrange everything in small bowls within easy reach. Working quickly once the chocolate is melted is important.
Chop your dark chocolate into small, uniform pieces if using chocolate bars rather than melting wafers. Small pieces melt more evenly and quickly.
Melt the dark chocolate using your preferred method. For microwave: place chocolate in a microwave-safe bowl and heat in 30-second intervals, stirring thoroughly between each interval. Continue until the chocolate is about 80% melted, then stir until completely smooth—the residual heat will melt the remaining pieces. For double boiler: place chocolate in a heatproof bowl over a pot of barely simmering water, making sure the bottom of the bowl doesn’t touch the water. Stir constantly until melted and smooth. Either way, don’t overheat.
Once your dark chocolate is melted and smooth, pour it onto the prepared baking sheet. Use an offset spatula or the back of a spoon to spread it into a rectangle about 10×12 inches and roughly a quarter-inch thick. It doesn’t need to be perfectly even or rectangular—rustic is the goal.
If using white chocolate for swirls, melt it the same way as the dark chocolate. Once melted, drizzle it over the dark chocolate layer in lines or random patterns. Use a toothpick or skewer to gently swirl the two chocolates together, creating a marbled effect. Don’t overmix or the colors will blend into one muddy color—a few gentle swipes is all you need.
Now work quickly to add your toppings before the chocolate starts to set. Sprinkle your chosen toppings evenly over the surface of the chocolate. You can cover the entire surface or leave some areas plain. Press larger toppings like nuts or pretzels gently into the chocolate to help them adhere. If using sea salt, sprinkle it last so it sits on top.
Let the chocolate bark set completely. You can leave it at room temperature for about 30 to 45 minutes, or speed up the process by placing the baking sheet in the refrigerator for 15 to 20 minutes. The chocolate should be completely firm and no longer tacky to the touch.
Once fully set, remove the bark from the parchment paper. It should lift off easily. If it’s sticking, it needs more time to harden.
Break the bark into irregular pieces using your hands. There’s no right or wrong size—make them as large or small as you prefer. Some people like large, dramatic pieces for gifting, while others prefer bite-sized pieces. The jagged, broken edges are part of bark’s rustic charm.
If you want more uniform pieces, you can score the chocolate lightly with a knife while it’s partially set, then break along those lines once fully hardened.
Store the finished bark in an airtight container with parchment paper between layers, or package immediately for gifting.
Flavor Variation Ideas
This chocolate bark recipe is endlessly customizable. For a holiday version, use white chocolate with crushed candy canes and dark chocolate drizzle. For a tropical twist, top dark chocolate with toasted coconut, dried mango, and macadamia nuts. Make a s’mores version with milk chocolate, mini marshmallows, and crushed graham crackers. Create a salted caramel version with dark chocolate, toffee bits, and sea salt. For a peanut butter lover, swirl peanut butter into melted chocolate before adding chopped peanut butter cups. Kids love bark made with milk chocolate, M&Ms, and crushed Oreos. For elegant gifting, try dark chocolate with pistachios, dried cherries, and gold leaf. During fall, make pumpkin spice bark with white chocolate, crushed gingersnaps, and candied pecans. The possibilities are truly endless.
This chocolate bark recipe has saved me countless times when I need quick gifts or impressive desserts. The combination of smooth chocolate and crunchy toppings creates professional-looking candy that anyone can make, regardless of baking experience. Best of all, it’s so much fun to make that it never feels like a chore.