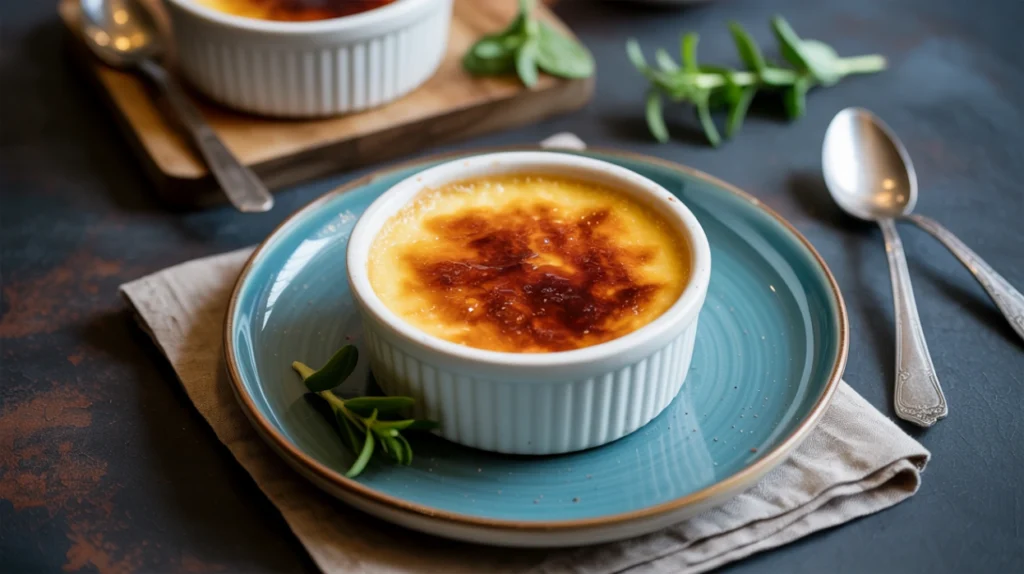
I still remember the first time I cracked through that crispy caramelized sugar shell into silky vanilla custard beneath. I was celebrating my college graduation at a French restaurant, feeling very grown-up and sophisticated. The waiter brought out the dessert with a tiny torch, caramelizing the sugar right at our table. That dramatic presentation, the satisfying crack of my spoon breaking through the glass-like surface, and the contrast between warm, brittle topping and cool, creamy custard—I was completely hooked. For years, I thought creme brulee was something only professional chefs could master. Then one rainy afternoon, I decided to try making it myself. To my surprise, this seemingly fancy dessert turned out to be far simpler than I’d imagined. Now, this creme brulee recipe is my secret weapon for impressing dinner guests with minimal stress.
Why You’ll Love This Creme Brulee Recipe
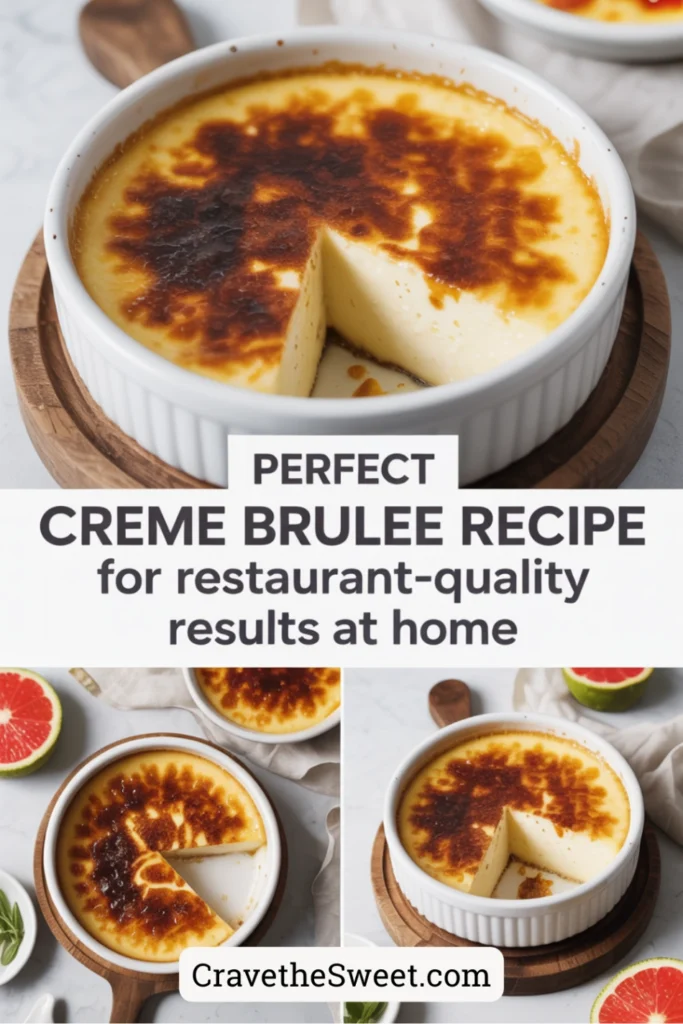
This creme brulee recipe delivers that authentic French bistro experience right in your own kitchen. The custard is impossibly smooth and creamy, with a rich vanilla flavor that tastes luxurious without being overly heavy. Unlike some desserts that require precise timing and complicated techniques, creme brulee is surprisingly forgiving. The ingredient list is short—just cream, eggs, sugar, and vanilla—yet the result tastes incredibly sophisticated.
What makes this recipe particularly wonderful is the textural contrast. That crispy, caramelized sugar top shatters under your spoon with the most satisfying crack, giving way to cool, velvety custard underneath. It’s a sensory experience that never gets old. The dessert is also incredibly versatile for different occasions. Serve it after an elegant dinner party, make it for a romantic date night at home, or prepare it simply because you deserve something special on a random Tuesday.
Another bonus is that this creme brulee recipe can be made almost entirely ahead of time. You bake the custards in advance and refrigerate them, then torch the sugar just before serving. This means you can enjoy time with your guests instead of stressing in the kitchen during dessert time. The make-ahead nature combined with impressive presentation makes this recipe a true winner.
What Is Creme Brulee?
Creme brulee, which translates to “burnt cream” in French, is a classic dessert consisting of rich vanilla custard topped with a contrasting layer of hard caramelized sugar. The dish has been beloved in France for centuries, though several countries claim to have invented it. Traditional versions appear in French, English, and Spanish culinary history, each culture adding their own spin.
The defining characteristic of any good creme brulee recipe is that duality—the interplay between the brittle, slightly bitter caramel crust and the smooth, sweet custard beneath. The custard base is made from cream, egg yolks, sugar, and vanilla, then gently baked in a water bath until just set. Unlike pudding or pot de creme, which are cooked on the stovetop, creme brulee achieves its signature texture through careful oven baking.
The caramelized top is created by sprinkling granulated sugar over the chilled custard, then applying intense heat—traditionally with a kitchen torch, though your oven’s broiler can work in a pinch. The sugar melts and caramelizes quickly, forming that gorgeous amber-colored shell that cracks so dramatically under a spoon. It’s this final theatrical touch that transforms simple custard into something truly extraordinary.
Common Mistakes to Avoid
The most frequent mistake when following a creme brulee recipe is overbaking the custard. Many people wait until the center is completely firm, but by then, you’ve gone too far. The custard should still have a gentle jiggle in the center when you remove it from the oven—like Jello that’s just barely set. It will continue firming up as it cools. Overbaked custard becomes grainy and loses that signature silky texture.
Another pitfall is skipping or improperly preparing the water bath. The hot water surrounding your ramekins provides gentle, even heat that prevents the edges from overcooking while the center finishes. Without it, you’ll get rubbery edges and potentially curdled custard. Make sure your water comes at least halfway up the sides of the ramekins, and use hot water from the start to avoid extending the baking time unnecessarily.
Temperature issues cause problems too. If your cream is too hot when you add it to the egg yolks, you’ll scramble the eggs. Always temper the eggs by adding the hot cream gradually while whisking constantly. Conversely, trying to caramelize sugar on warm custard instead of thoroughly chilled custard will melt your custard instead of creating that crispy top.
Many home cooks also struggle with the torching step. Holding the torch too close or in one spot too long burns the sugar black and bitter rather than creating even caramelization. Keep the flame moving constantly, and hold it a few inches above the surface. Finally, using the wrong sugar for the topping matters more than you’d think. Superfine or regular granulated sugar works best—powdered sugar doesn’t caramelize properly, and coarse sugar takes too long to melt.
How to Know Your Creme Brulee Is Done
The custard in this creme brulee recipe is properly baked when the edges are set but the center still jiggles slightly when you gently shake the ramekin. Think of it like a perfectly set panna cotta—it should move as one unit with a subtle wobble, not slosh like liquid or sit completely still like solid. The surface should look matte rather than shiny and liquid.
Another reliable test is the touch method. Gently press your finger near the edge of the custard—it should feel firm and spring back slightly. The center will feel softer, but it shouldn’t feel liquidy or hot. If you insert an instant-read thermometer into the center, you’re looking for 170-175°F. Above 180°F, you risk curdling; below 165°F, the custard won’t be set enough.
Timing varies based on your oven and ramekin depth, but typically ranges from 35-45 minutes. Start checking at the 30-minute mark. Remember that the custards will continue cooking from residual heat even after you remove them from the oven and water bath, so it’s better to err on the side of slight underbaking than overbaking.
For the caramelized top, you’ll know it’s done when the sugar has melted completely into an even, golden-amber layer with no white granules visible. The color should be rich and uniform, somewhere between honey and dark maple syrup. If you tap it gently with the back of a spoon after it cools for a minute, it should sound hard and glassy.
What to Serve With Creme Brulee
This creme brulee recipe creates a rich, indulgent dessert that generally stands alone beautifully, but thoughtful accompaniments can enhance the experience. Fresh berries are the classic pairing—raspberries, strawberries, or blackberries add tartness that cuts through the richness while providing color contrast on the plate. A small mint sprig adds visual appeal and a fresh aroma.
For a more elaborate presentation, consider serving a crispy cookie alongside. Delicate French tuiles, butter cookies, or even shortbread provide a textural element and something to nibble between spoonfuls. The cookies also serve a practical purpose—they give your guests something to do with their hands while they admire the beautiful custard before cracking into it.
Beverage pairings elevate the experience considerably. Coffee is traditional and wonderful—the slight bitterness complements the sweet custard perfectly. Espresso or a strong French press coffee work particularly well. For an evening affair, dessert wines like Sauternes, late-harvest Riesling, or even a tawny port are sophisticated choices. Champagne or prosecco also pairs beautifully if you’re celebrating something special.
Keep the rest of your meal in mind when planning to serve creme brulee. Because it’s quite rich, it works best after lighter main courses. Grilled fish, roasted chicken, or pasta with vegetable-based sauces all lead nicely into this decadent dessert without overwhelming your guests.
How to Store Creme Brulee
The beauty of this creme brulee recipe is that the custards can be made well ahead. After baking and cooling completely, cover each ramekin tightly with plastic wrap and refrigerate for up to three days. The custard actually benefits from this resting time, allowing flavors to meld and develop.
However, never torch the sugar topping until just before serving—ideally within 10 minutes of bringing the custards to the table. Once caramelized, the sugar begins absorbing moisture from the custard, softening and losing that satisfying crunch. Within an hour, your crispy topping will be completely dissolved into a sticky mess. This is why restaurants torch creme brulee to order rather than preparing it in advance.
If you’ve already torched your creme brulee and have leftovers, you can still refrigerate them. The sugar topping won’t be crispy anymore, but the custard underneath remains perfectly delicious. Some people actually prefer this softer, toffee-like topping. Just cover loosely with plastic wrap, being careful not to touch the sugar surface.
Don’t freeze creme brulee—the custard separates and becomes grainy when thawed, completely ruining the silky texture that makes this dessert special. The short ingredient list and simple preparation mean it’s better to make fresh custards rather than trying to freeze them.
Estimated Nutrition Information
Per serving (based on 6 servings): Approximately 340 calories, 28g fat, 20g carbohydrates, 4g protein, 285mg cholesterol, 35mg sodium. These values are estimates and will vary based on exact measurements and brands used. This is definitely an indulgent treat meant for special occasions rather than everyday eating.
Recipe Overview
Prep Time: 15 minutes
Cook Time: 40 minutes
Chill Time: 4 hours
Total Time: 5 hours
Difficulty: Intermediate
Servings: 6
Ingredients
- 2 cups heavy cream
- 1 vanilla bean (or 2 teaspoons pure vanilla extract)
- 5 large egg yolks
- ½ cup granulated sugar, plus 6-8 tablespoons for topping
- Pinch of salt
- Hot water for water bath
Step-by-Step Instructions
Step 1: Prepare Your Workspace
Preheat your oven to 325°F. Place six ramekins (approximately 6-ounce capacity) in a large baking dish or roasting pan. Bring a kettle of water to boil—you’ll need this for the water bath. Having everything ready before you start mixing ensures a smooth process.
Step 2: Infuse the Cream
Pour the heavy cream into a medium saucepan. If using a vanilla bean, split it lengthwise with a sharp knife and scrape out the seeds with the back of the knife. Add both the seeds and the pod to the cream. Heat over medium heat, stirring occasionally, until the cream just begins to steam and small bubbles form around the edges—don’t let it boil. Remove from heat and let steep for 10 minutes to infuse that gorgeous vanilla flavor. If using vanilla extract, you’ll add it later with the egg yolks.
Step 3: Whisk Egg Yolks and Sugar
While the cream steeps, whisk together the egg yolks, ½ cup sugar, and salt in a large bowl until smooth and slightly pale—this takes about 1-2 minutes. Don’t beat them until fluffy; you’re just combining them thoroughly. Too much air incorporated at this stage can create bubbles in your finished custard.
Step 4: Temper the Eggs
This is the critical step in any creme brulee recipe. Remove the vanilla pod from the cream if using. Very slowly drizzle about ¼ cup of the hot cream into the egg mixture while whisking constantly. This gradually raises the temperature of the eggs without scrambling them. Continue adding cream slowly, whisking all the while, until you’ve incorporated about half the cream. Now you can add the remaining cream more quickly. If using vanilla extract instead of a bean, stir it in now.
Step 5: Strain the Mixture
Pour the custard mixture through a fine-mesh strainer into a large measuring cup or bowl with a pour spout. This removes any bits of cooked egg and the vanilla pod pieces, ensuring your custard is perfectly smooth. Don’t skip this step—it makes a noticeable difference in the final texture.
Step 6: Fill the Ramekins
Divide the custard evenly among your six ramekins, filling them nearly to the rim. If you see any bubbles on the surface, gently skim them off with a spoon or pop them with a kitchen torch. Place the baking dish with the filled ramekins on the oven rack, then carefully pour hot water into the dish until it reaches halfway up the sides of the ramekins.
Step 7: Bake to Perfection
Bake for 35-45 minutes, checking at the 30-minute mark. The custards are done when the edges are set but the centers still jiggle slightly when gently shaken. Remember, they’ll continue cooking after removal. Carefully remove the baking dish from the oven, then use tongs to lift each ramekin out of the hot water bath. Place them on a wire rack to cool for 30 minutes.
Step 8: Chill Thoroughly
Once the ramekins have cooled to room temperature, cover each one with plastic wrap and refrigerate for at least 4 hours, or preferably overnight. The custard needs to be completely cold before you torch the top—this is essential for achieving that perfect contrast between hot caramel and cold custard.
Step 9: Create the Caramelized Top
Just before serving, remove the custards from the refrigerator and uncover them. Blot any condensation from the surface with a paper towel. Sprinkle 1-2 tablespoons of granulated sugar evenly over each custard, tilting the ramekin to distribute it uniformly—you want a thin, even layer with no bare spots.
Step 10: Torch and Serve
Using a kitchen torch held 3-4 inches above the surface, move the flame continuously in small circles over the sugar. The sugar will melt, bubble, and gradually turn a beautiful amber color. Work methodically to ensure even caramelization. Let the sugar harden for 1-2 minutes before serving—it will form that glorious crispy shell.
This creme brulee recipe has earned its place as my most-requested dessert, and for good reason. The combination of creamy vanilla custard and crackling caramelized sugar creates pure magic on a plate. Once you’ve mastered this classic version, you can experiment with flavor variations, but I promise you’ll return to this simple, perfect version again and again. There’s something timeless about getting the basics absolutely right.