My grandmother used to make the most incredible caramel sauce when I was growing up, and I always thought it was some complicated secret recipe. Years later, she finally showed me her method, and I couldn’t believe how simple it was—just one ingredient and patience. That afternoon in her kitchen, watching a can of sweetened condensed milk transform into rich, golden dulce de leche, changed everything. Now, this dulce de leche recipe is one of my most treasured kitchen skills, and I use it for everything from filling cakes to stirring into my morning coffee.
Why You’ll Love This Dulce de Leche Recipe
This recipe is incredibly simple, requiring just one ingredient and very little active work on your part. The result is a thick, creamy, luxurious caramel sauce that tastes far better than anything you can buy at the store. It’s significantly cheaper to make at home, costing just a couple of dollars for a full can compared to expensive jarred versions. The flavor is rich and complex with deep caramel notes that aren’t overly sweet. Once you master this technique, you’ll have a versatile ingredient that elevates countless desserts and treats. It keeps well in the refrigerator, so you can always have some on hand. There’s also something deeply satisfying about transforming such a humble ingredient into something so delicious and special through the simple magic of slow cooking.
What Is Dulce de Leche?
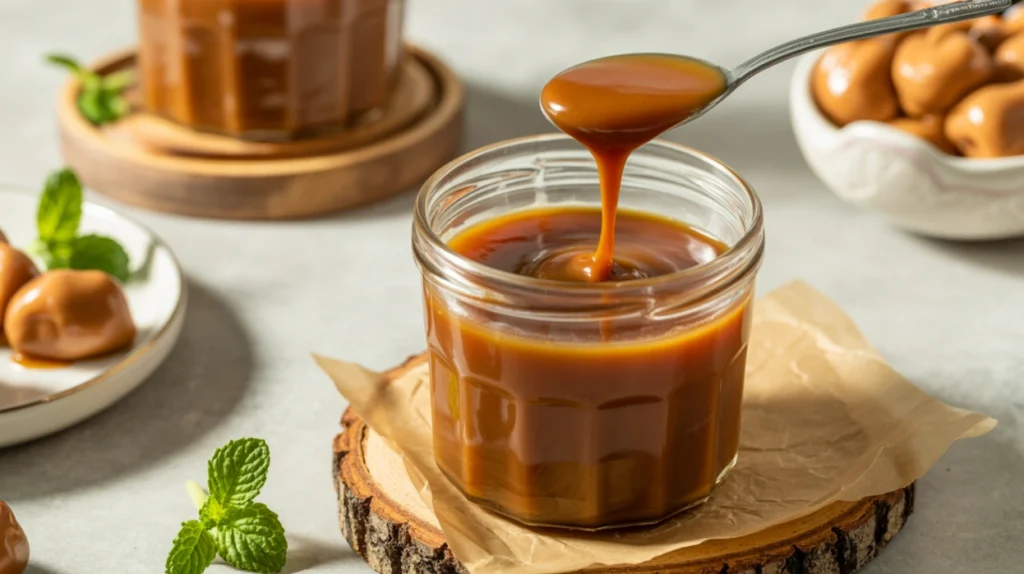
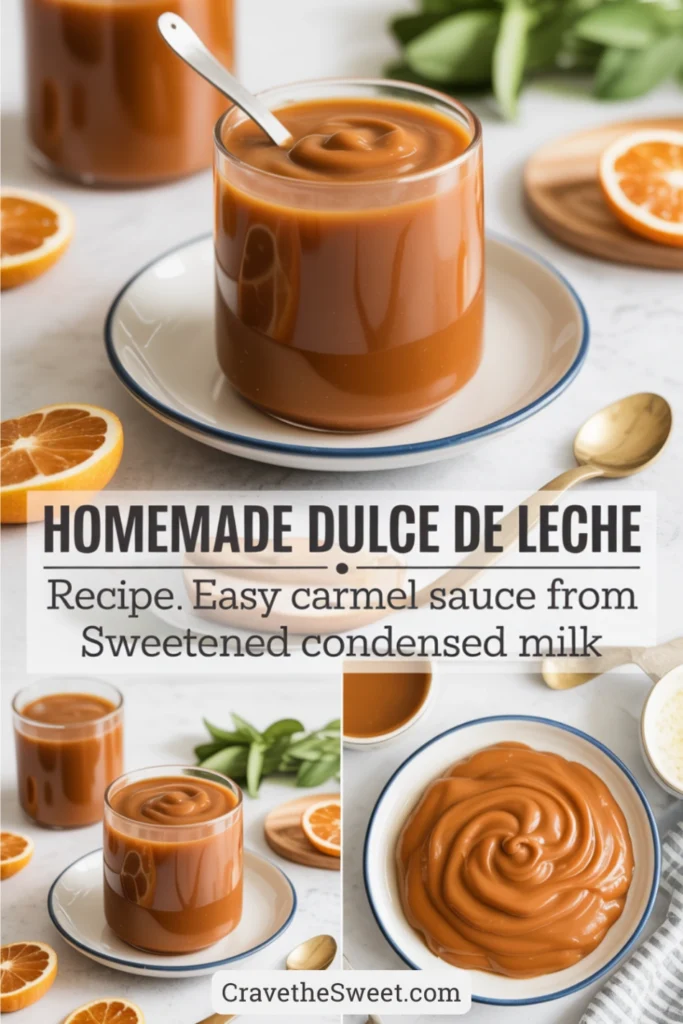
Dulce de leche is a thick, creamy caramel sauce popular throughout Latin America, particularly in Argentina, Uruguay, and Chile. The name literally translates to “candy of milk” or “sweet of milk” in Spanish. It’s made by slowly heating sweetened condensed milk until the sugars caramelize, creating a rich golden-brown sauce with a smooth, spreadable consistency similar to thick caramel. Unlike regular caramel sauce made from sugar, butter, and cream, dulce de leche has a unique flavor profile that’s less sweet and more deeply caramelized. The texture is thicker and creamier than typical caramel, making it perfect for spreading on toast, filling pastries, or eating straight from the spoon. It’s used in countless Latin American desserts and has become increasingly popular worldwide as people discover its incredible versatility and flavor.
Common Mistakes to Avoid
When making this dulce de leche recipe, several errors can occur if you’re not careful. The most critical mistake is letting the water level drop too low during cooking, which can cause the can to overheat or even explode. Always keep the can completely submerged under at least two inches of water. Another common issue is cooking it at too high a temperature, which can cause uneven results or scorching. Maintain a gentle simmer rather than a rolling boil. Some people make the mistake of opening the can while it’s still hot, which is dangerous as the contents are under pressure and extremely hot. Always let the can cool completely to room temperature first. Using the wrong type of milk is another error—this method only works with sweetened condensed milk, not evaporated milk or regular condensed milk. Finally, not cooking it long enough results in a sauce that’s too thin and pale rather than thick and golden.
How to Know It’s Done
Determining doneness depends on your desired consistency and color. For a lighter, pourable sauce, cook for about two hours. For medium thickness perfect for spreading and filling, cook for three hours. For very thick, almost fudge-like consistency, go for four hours. The only way to truly check is to let the can cool completely and open it. The dulce de leche should be golden to deep caramel brown in color—the darker it is, the more intense the caramel flavor. It should be smooth and thick, not runny or separated. If you open it and find it’s not thick enough, you can carefully transfer it to a saucepan and cook it gently on the stovetop, stirring constantly until it reaches your desired consistency. Remember that it will thicken slightly as it cools, so factor that into your judgment.
What to Serve With Dulce de Leche
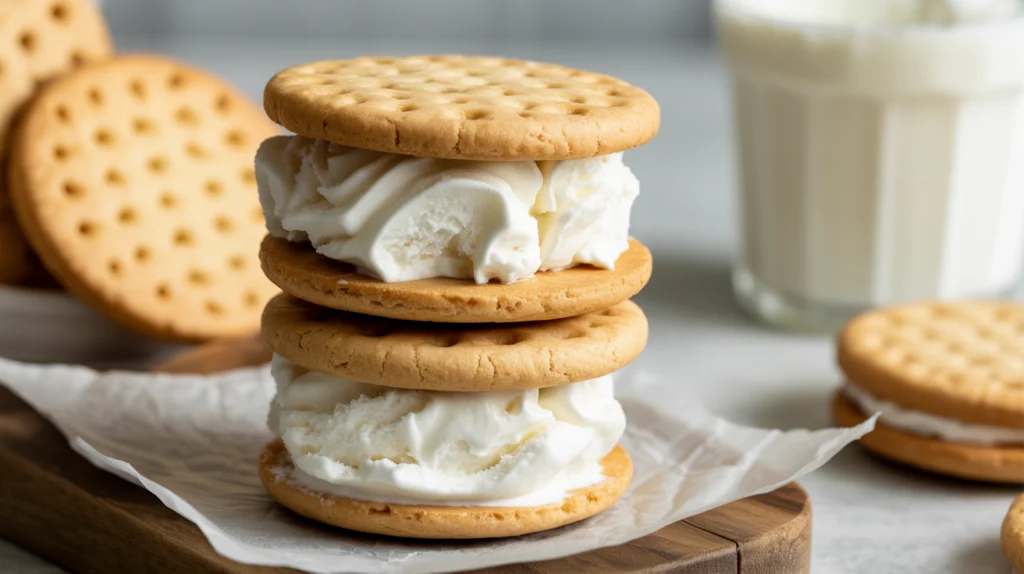
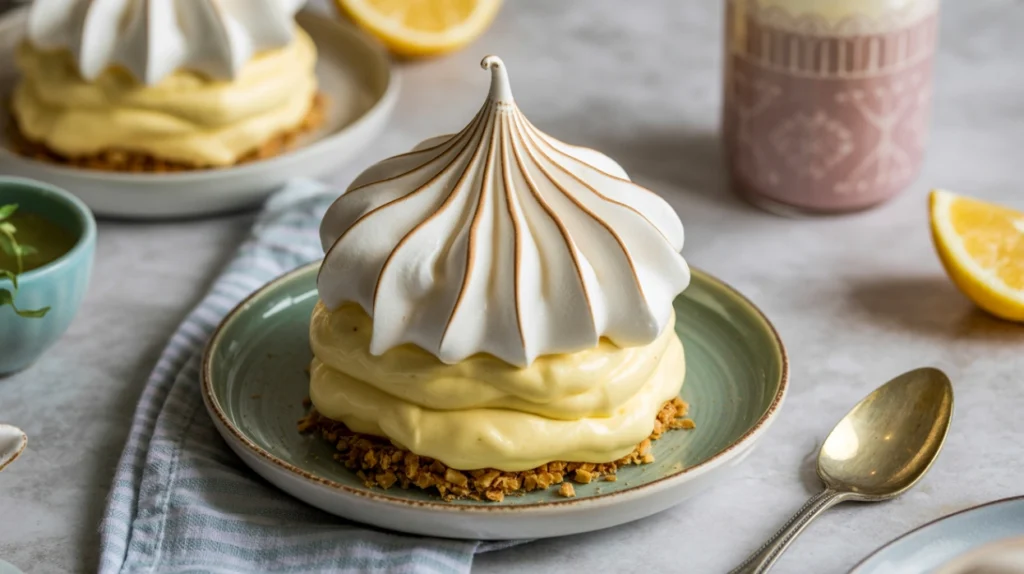
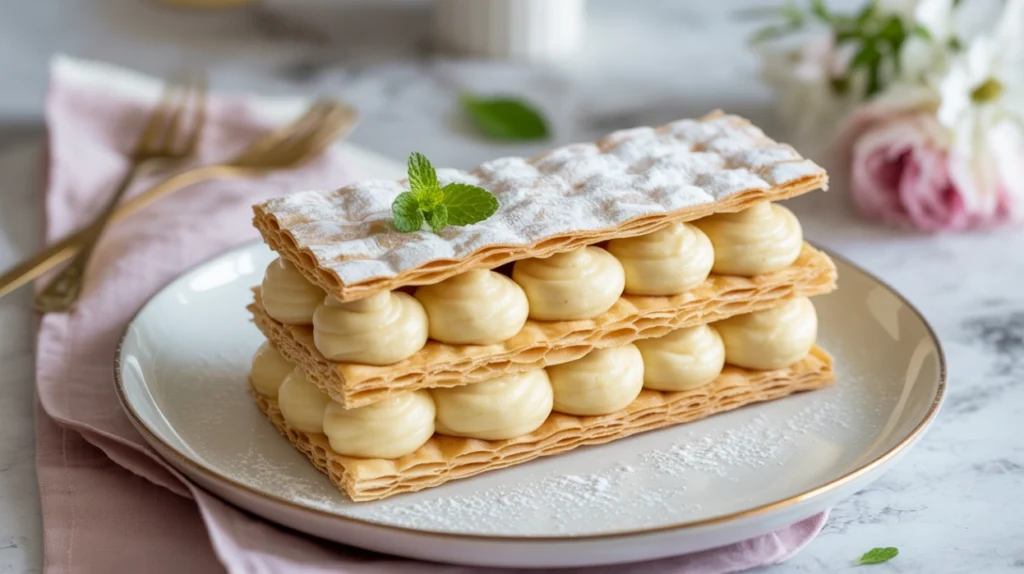
This versatile caramel sauce pairs beautifully with so many foods and desserts. Spread it on toast, pancakes, or waffles for an indulgent breakfast. Use it as a filling for cakes, cupcakes, or sandwich cookies. Drizzle it over ice cream, brownies, or cheesecake for an instant upgrade. Stir a spoonful into coffee or hot chocolate for a sweet, caramel-flavored drink. It’s perfect for dipping fresh fruit, particularly apples, bananas, and strawberries. Use it as a filling for crepes or between layers of French toast. Swirl it into yogurt or oatmeal for a special breakfast treat. It’s also delicious eaten straight from the jar with a spoon, though I won’t tell anyone if you do that. In baking, use it anywhere you’d use caramel sauce—in thumbprint cookies, as a topping for flan, or between layers of a tres leches cake.
Storage Tips
Proper storage keeps your homemade dulce de leche fresh and delicious for weeks. Once the can has cooled completely and you’ve opened it, transfer the dulce de leche to a clean glass jar or airtight container. Store it in the refrigerator where it will keep for up to three weeks. The cold temperature will make it quite thick, almost solid. Before using, let it sit at room temperature for about thirty minutes, or microwave it in ten-second intervals, stirring between each, until it reaches your desired consistency. You can also place the jar in a bowl of warm water to gently soften it. If you notice any liquid separation on top, simply stir it back in. For longer storage, dulce de leche freezes beautifully for up to three months. Freeze it in small portions for convenience. Thaw overnight in the refrigerator before using.
Estimated Nutrition Information
Per two tablespoon serving: Approximately 120 calories, 3g fat, 20g carbohydrates, 20g sugar, 2g protein. This is a sweet, indulgent treat meant for occasional enjoyment rather than everyday consumption.
Recipe Overview
Prep Time: 5 minutes
Cook Time: 2-4 hours (depending on desired thickness)
Total Time: 2-4 hours plus cooling time
Difficulty: Easy
Yield: About 1 1/4 cups
Ingredients
- 1 can (14 ounces) sweetened condensed milk
- Water for boiling
Step-by-Step Instructions
Remove the label from your can of sweetened condensed milk. This step isn’t strictly necessary, but it prevents bits of paper from floating in your pot during cooking.
Place the unopened can on its side in a large pot. Make sure the pot is deep enough that you can cover the can with at least two inches of water above it. This is crucial for safety.
Fill the pot with water, ensuring the can is completely submerged with plenty of water covering it. The water level is the most important safety consideration in this dulce de leche recipe.
Place the pot on the stove over medium-high heat and bring the water to a boil. Once boiling, reduce the heat to maintain a gentle, steady simmer. You don’t want a rapid, rolling boil—just a calm simmer with small bubbles breaking the surface.
Set a timer based on your desired consistency. For a lighter, pourable sauce, simmer for two hours. For medium-thick spreadable consistency, go for three hours. For very thick, almost fudge-like texture, cook for four hours.
Check the water level every thirty minutes throughout the cooking process. This is absolutely essential. Add more boiling or very hot water as needed to keep the can fully submerged. Never let the water level drop below the top of the can.
When your timer goes off, turn off the heat but leave the pot on the stove. Let the can cool in the water for about thirty minutes. This gradual cooling is safer than shocking it with cold water.
After thirty minutes, carefully remove the can from the pot using tongs and place it on a heat-safe surface. Let it cool completely to room temperature. This will take at least two hours. Do not attempt to open a hot can—the contents are under pressure and could spray out, causing serious burns.
Once the can is completely cool, open it carefully. You’ll find beautiful, golden-brown dulce de leche inside. Transfer it to a jar or container if you’re not using it immediately.
If you want to make multiple cans at once, you can cook several cans together in a large pot, which is efficient if you use dulce de leche frequently. Just make sure there’s enough water to cover all of them.
Your homemade dulce de leche is now ready to use in all your favorite desserts or simply enjoyed by the spoonful. The rich, caramel flavor and creamy texture make this simple recipe absolutely worth the wait!