When I started following a keto diet, I thought I’d have to give up ice cream forever. Store-bought keto versions were either impossibly expensive or tasted artificial and chalky. Then I discovered I could make my own keto ice cream at home that actually tasted like real ice cream—rich, creamy, and satisfying without the sugar crash afterward. The first batch I made was vanilla, and I couldn’t believe how smooth and delicious it was with only 3 net carbs per serving. Now this keto ice cream recipe is my go-to dessert, and I make a new flavor every week. My non-keto friends can’t even tell the difference from regular ice cream.
Why You’ll Love This Keto Ice Cream Recipe
This keto ice cream recipe creates genuinely creamy, delicious ice cream with only 3 net carbs per serving and none of the artificial aftertaste that plagues many low-carb desserts. The texture is remarkably smooth and scoopable straight from the freezer, unlike many homemade ice creams that freeze rock-hard. You control every ingredient, meaning no questionable additives, gums, or fillers found in commercial keto ice creams. The recipe is incredibly versatile—use it as a base for any flavor you can imagine, from classic vanilla to chocolate, strawberry, or even sophisticated flavors like salted caramel or mint chip. It uses simple, accessible ingredients you can find at any grocery store, and you don’t need an ice cream maker, though one helps create an even creamier texture. The ice cream satisfies sweet cravings without kicking you out of ketosis, making it perfect for maintaining a low-carb lifestyle without feeling deprived. Best of all, it costs a fraction of what you’d pay for premium keto ice cream at the store.
What Is Keto Ice Cream?
Keto ice cream is a low-carb, high-fat frozen dessert that replaces sugar with keto-friendly sweeteners and uses heavy cream as the base to create a rich, creamy texture without carbs. This keto ice cream recipe produces ice cream that’s indistinguishable from regular ice cream in taste and texture but contains only 3 net carbs per serving compared to 20-30 grams in traditional ice cream. The recipe uses erythritol or allulose as sweeteners—these sugar alcohols don’t spike blood sugar and have minimal impact on ketosis. Heavy cream provides the fat content that makes ice cream satisfying while keeping carbs low. Some recipes add xanthan gum to improve texture and prevent ice crystals, though it’s optional. Good keto ice cream should be creamy and smooth, not icy or grainy, with genuine sweet flavor that doesn’t have an aftertaste. It’s become popular among not just keto dieters but anyone looking to reduce sugar intake while still enjoying frozen desserts.
Common Mistakes to Avoid
The biggest mistake with this keto ice cream recipe is using the wrong sweetener. Not all keto sweeteners freeze well—some crystallize and create a gritty texture. Erythritol or allulose work best for ice cream, while stevia alone can taste bitter when frozen.
Not dissolving the sweetener completely creates a grainy, sandy texture. Make sure it’s fully dissolved in the cream mixture before chilling.
Skipping the chilling step before churning creates ice cream with more ice crystals and less creamy texture. Always chill the base for at least 4 hours or overnight.
Using low-fat or reduced-fat cream instead of heavy cream results in icy, unsatisfying ice cream. The fat content is essential for both texture and staying in ketosis.
Not adding a tiny pinch of salt means bland ice cream. Salt enhances sweetness and improves overall flavor, even in sweet recipes.
Churning too long makes the ice cream dense and buttery instead of light and creamy. Stop when it reaches soft-serve consistency.
Finally, expecting it to scoop like soft-serve straight from the freezer leads to disappointment. Let it sit at room temperature for 5-10 minutes before scooping.
How to Know When Your Ice Cream Is Done
If using an ice cream maker, the ice cream is ready when it reaches a thick, soft-serve consistency and pulls away from the sides of the bowl. This typically takes 20-25 minutes of churning.
The mixture should have increased in volume by about 50% and should coat the back of a spoon thickly. When you drag your finger through the coating on the spoon, the line should hold.
This keto ice cream recipe without an ice cream maker is done after the no-churn method, which involves whipping the cream, folding in sweetener and flavoring, and freezing until firm—usually 4-6 hours.
The texture should be creamy and smooth, not icy or grainy. If you taste a small amount, it should be sweet but not overpoweringly so.
For proper storage consistency, freeze for an additional 4-6 hours after churning. The ice cream will firm up considerably but should still be scoopable after sitting out briefly.
The color should be appropriate for your flavor—vanilla should be pale cream, chocolate should be rich brown, and so on.
When you scoop it, the ice cream should hold its shape in the scoop and not immediately melt or run.
What to Serve With Keto Ice Cream
This keto ice cream recipe is delicious on its own, but keto-friendly toppings can make it even more special. Sugar-free chocolate chips add textural contrast and extra chocolate flavor.
Chopped nuts like pecans, almonds, or macadamia nuts provide healthy fats, crunch, and stay perfectly keto-friendly.
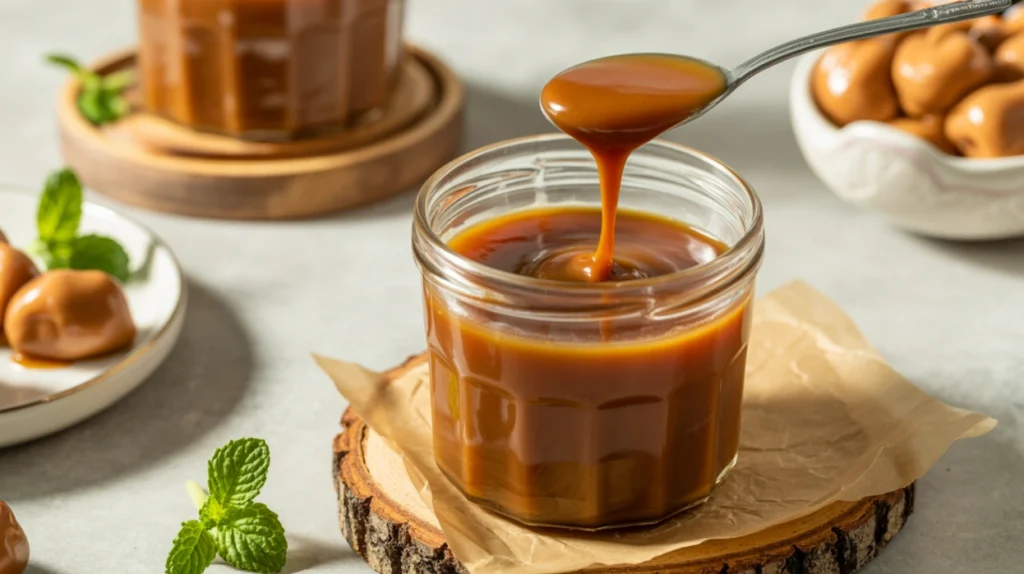
Sugar-free chocolate sauce or caramel sauce drizzled on top creates a more indulgent sundae experience without adding carbs.
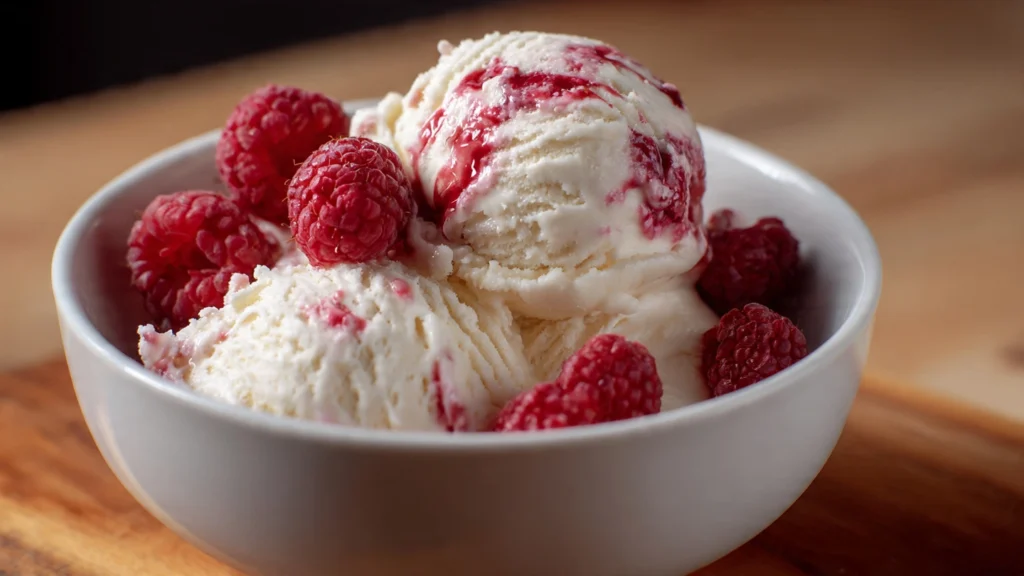
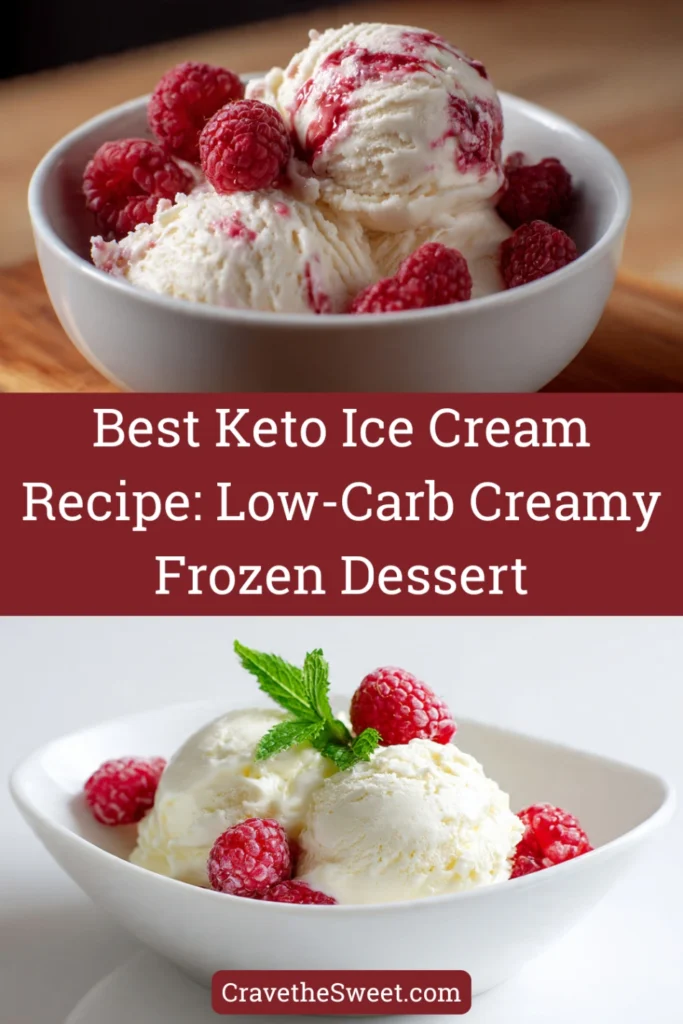
Fresh berries, particularly raspberries or strawberries in small amounts, add tartness and freshness. Keep portions small as berries do contain some carbs.
Unsweetened coconut flakes, either plain or toasted, add tropical flavor and satisfying texture.
A dollop of sugar-free whipped cream makes it feel extra decadent for special occasions.
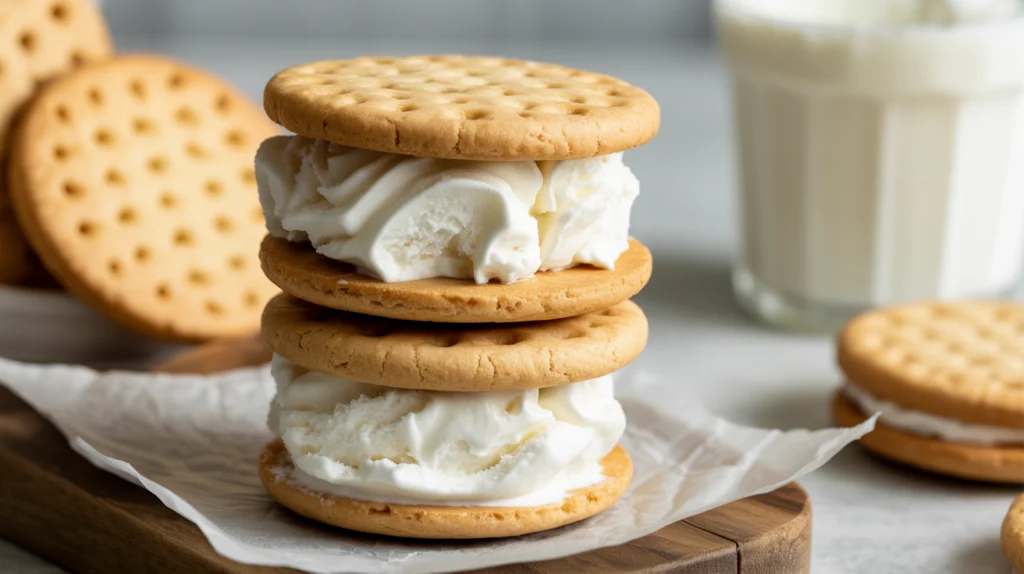
Serve it in keto-friendly dessert bowls like chocolate cups made from sugar-free chocolate or alongside keto brownies for an ultimate low-carb dessert.
Storage Tips
Store your keto ice cream in an airtight, freezer-safe container for up to 2 weeks. Press plastic wrap directly onto the surface before sealing to prevent freezer burn and ice crystals.
This keto ice cream recipe freezes harder than regular ice cream due to the lack of sugar, which acts as an antifreeze. Let it sit at room temperature for 5-10 minutes before scooping.
For easier scooping, add 1-2 tablespoons of vodka or another clear spirit to the base before freezing. Alcohol doesn’t freeze, which keeps the texture softer.
Label containers with the flavor and date so you remember what’s what when you accumulate multiple flavors.
Store ice cream in the back of the freezer, not the door, where temperature fluctuates more with opening and closing.
If ice crystals form on the surface, scrape them off before serving. They don’t affect the flavor, just the texture.
Don’t refreeze melted keto ice cream. The texture will be compromised and it may separate.
Estimated Nutrition (Per ½-Cup Serving)
Calories: 220 | Total Fat: 22g | Saturated Fat: 14g | Cholesterol: 80mg | Sodium: 25mg | Total Carbohydrates: 4g | Dietary Fiber: 0g | Sugar Alcohols: 1g | Net Carbs: 3g | Protein: 2g
Note: Nutritional information is approximate and based on using erythritol as the sweetener.
Recipe Overview
Prep Time: 10 minutes
Cook Time: 0 minutes
Total Time: 6 hours (including freezing)
Difficulty: Easy
Servings: 8 servings (½ cup each)
Ingredients
- 2 cups heavy whipping cream
- 1 cup unsweetened almond milk
- ¾ cup erythritol or allulose
- 2 teaspoons vanilla extract
- ⅛ teaspoon salt
- ¼ teaspoon xanthan gum (optional, for smoother texture)
Step-by-Step Instructions
Step 1: In a medium saucepan, combine ½ cup of the heavy cream with the almond milk and erythritol. Heat over medium-low heat, stirring constantly, until the sweetener is completely dissolved. Don’t let it boil.
Step 2: Remove from heat and add the remaining 1½ cups heavy cream, vanilla extract, and salt. Whisk until well combined.
Step 3: If using xanthan gum, sprinkle it over the mixture while whisking vigorously to prevent clumps. Continue whisking for 1-2 minutes until fully incorporated.
Step 4: Pour the mixture into a bowl or container, cover, and refrigerate for at least 4 hours or overnight. This chilling step is essential for creamy texture.
Step 5: If using an ice cream maker, pour the chilled mixture into the machine and churn according to manufacturer’s instructions, typically 20-25 minutes, until it reaches soft-serve consistency.
Step 6: Transfer the churned ice cream to a freezer-safe container, press plastic wrap directly onto the surface, and freeze for at least 4 hours until firm.
Step 7: If making without an ice cream maker, pour the chilled mixture into a shallow, freezer-safe container. Freeze for 45 minutes.
Step 8: Remove from freezer and beat vigorously with a hand mixer or whisk for 2 minutes to break up ice crystals. Return to freezer.
Step 9: Repeat the beating process every 45 minutes for 3-4 hours total. This creates a smoother texture by preventing large ice crystals.
Step 10: After the final beating, smooth the top, press plastic wrap onto the surface, and freeze for at least 4 hours until completely firm.
Step 11: Before serving, let the ice cream sit at room temperature for 5-10 minutes to soften slightly for easier scooping.
Step 12: Scoop into bowls and enjoy! Store any leftovers in the freezer with plastic wrap pressed against the surface.
Enjoy this creamy, satisfying keto ice cream that proves you don’t need sugar for delicious frozen dessert!