My mom used to make these bars for every holiday gathering when I was growing up, and watching people’s faces light up after the first bite never got old. The name “magic bars” comes from how the layers magically transform in the oven into the most incredible sweet treat. This magic bars recipe has been passed down in my family for generations, and now I make them just as often as my mom did.
Why You’ll Love This Magic Bars Recipe
These bars are ridiculously easy—you literally just layer ingredients in a pan and bake. No mixing bowls, no complicated steps, just simple layering that anyone can master. The combination of chocolate, coconut, nuts, and sweetened condensed milk creates an irresistible sweet-salty-crunchy-chewy texture experience. This magic bars recipe requires only seven ingredients that you can keep stocked in your pantry for whenever a craving hits. They’re perfect for potlucks, bake sales, or holiday cookie trays because they look impressive and feed a crowd. The bars slice beautifully and hold together well, making them easy to serve and transport. Best of all, they taste like you spent hours baking when the reality is they take just minutes to assemble.
What Are Magic Bars?
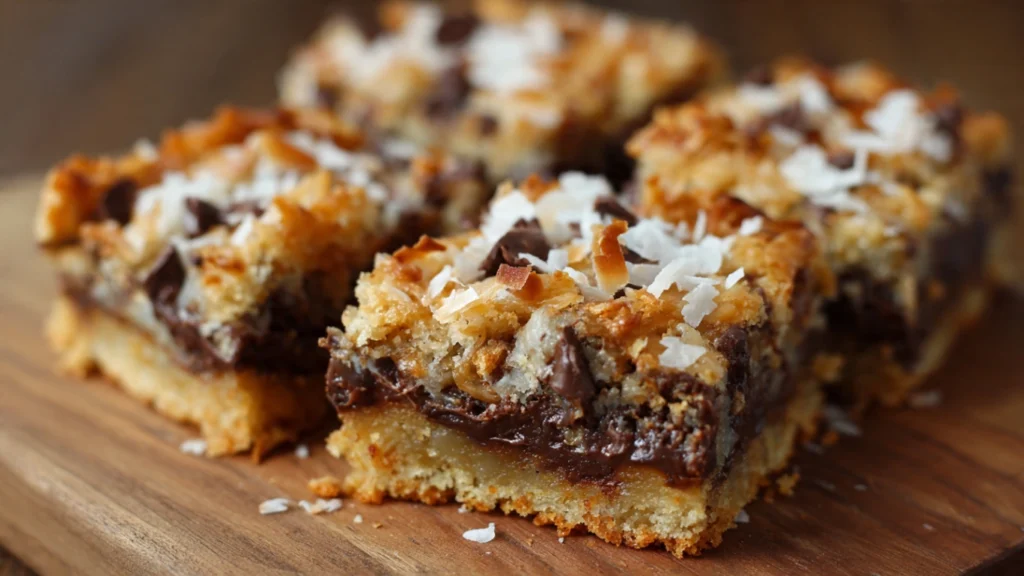
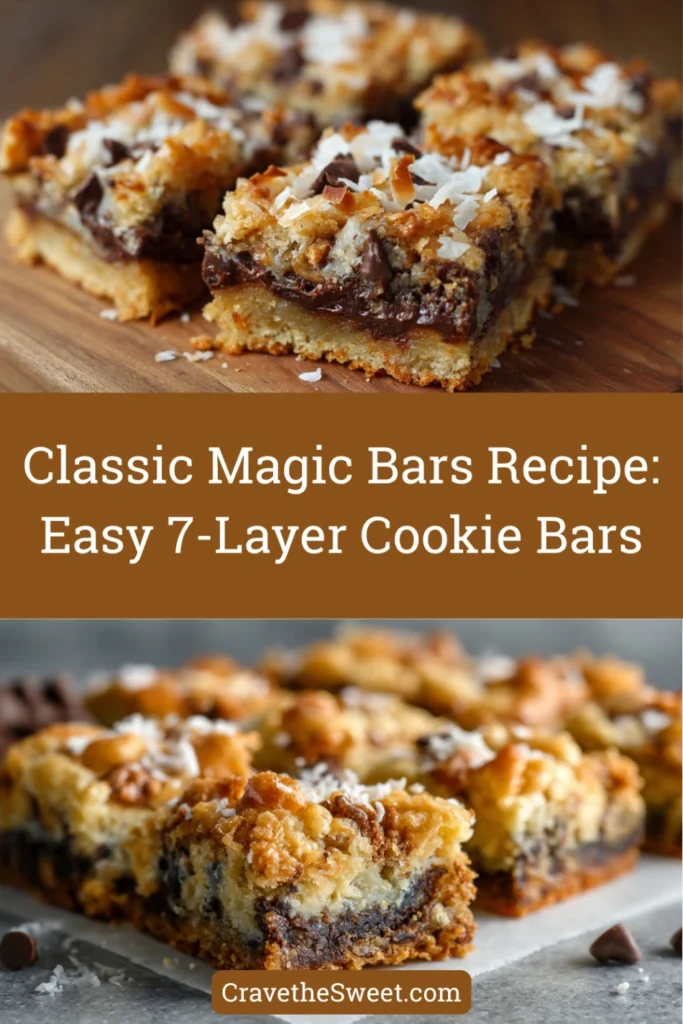
Magic bars are layered dessert bars featuring a graham cracker crust topped with chocolate chips, butterscotch chips, coconut, and nuts, all bound together with sweetened condensed milk. This magic bars recipe creates what’s also known as seven-layer bars or hello dolly bars, though recipes vary slightly in their exact layers. The magic happens when the sweetened condensed milk seeps down through all the layers during baking, binding everything together into chewy, gooey perfection. The graham cracker base provides structure, while the various toppings create layers of different textures and flavors in every bite. These bars became popular in American home baking in the 1960s and have remained a beloved classic because they’re nearly foolproof and absolutely delicious.
Common Mistakes to Avoid
The biggest mistake with this magic bars recipe is not pressing the graham cracker crust firmly enough into the pan. A loose crust won’t hold the layers together properly and the bars will fall apart when you cut them.
Another common error is skimming on the sweetened condensed milk or not distributing it evenly. The milk is what binds everything together, so make sure to drizzle it over the entire surface, reaching all the corners.
Don’t skip lining your pan with parchment paper or aluminum foil. These bars are incredibly sticky and removing them from an unlined pan is nearly impossible without destroying them.
Many people try to cut the bars while they’re still warm. They need to cool completely and even chill in the refrigerator for clean slices. Cutting them warm results in a gooey mess.
Finally, avoid overbaking. The edges should be golden brown but the center should still look slightly soft. The bars firm up considerably as they cool, and overbaking makes them hard and dry.
How to Know Your Magic Bars Are Done
Your magic bars recipe is complete when the coconut on top is golden brown and toasted-looking. The edges should be bubbling and darker than the center, which is completely normal.
The sweetened condensed milk should look set rather than liquid. If you see pools of white liquid on top, the bars need more time.
When you gently shake the pan, the center should jiggle just slightly but not look liquidy. A very slight jiggle is perfect—the bars will firm up as they cool.
The edges should be pulling away from the sides of the pan slightly, and you might see the graham cracker crust browning at the edges.
After cooling completely at room temperature and then chilling in the refrigerator for at least two hours, the bars should be firm enough to cut into clean squares.
What to Serve With Magic Bars
These rich, sweet bars are perfect with cold milk. The creamy milk helps balance the intense sweetness and richness of the layers.
Hot coffee is another excellent pairing. The slight bitterness of black coffee cuts through the sweetness beautifully, making these bars work well as a coffee break treat.
For a more indulgent dessert, serve magic bars with vanilla ice cream. The cold, creamy ice cream melts slightly into the bars and creates an incredible combination.
They’re wonderful on a dessert platter alongside brownies, lemon bars, and cookies. The variety gives guests options while the magic bars always tend to disappear first.
Pack these bars in lunch boxes with fresh apple slices for a special treat that kids absolutely love.
Storage Tips for Magic Bars
Store your magic bars in an airtight container at room temperature for up to five days. Layer them between sheets of parchment paper to prevent sticking. The bars stay fresh and chewy when properly stored.
These bars also refrigerate well for up to ten days. The cold temperature makes them firmer and some people actually prefer the texture when they’re chilled.
You can freeze magic bars for up to three months. Wrap individual bars in plastic wrap, then place them all in a freezer-safe container or bag. They thaw quickly at room temperature in about thirty minutes.
If the bars seem too soft to cut cleanly, pop them in the refrigerator for an hour before slicing. The cold firms everything up and makes cutting much easier.
Always use a sharp knife and wipe it clean between cuts for the neatest edges and most professional-looking bars.
Estimated Nutrition Information
Per bar (based on 24 servings): Approximately 210 calories, 11g fat, 26g carbohydrates, 3g protein, 1g fiber. These are rich treats meant for occasional enjoyment.
Recipe Overview
Prep Time: 10 minutes
Cook Time: 25 minutes
Cooling Time: 2 hours
Total Time: 2 hours 35 minutes
Difficulty: Easy
Servings: 24 bars
Ingredients
For the bars:
- 1/2 cup unsalted butter, melted
- 1 and 1/2 cups graham cracker crumbs
- 1 can (14 ounces) sweetened condensed milk
- 1 cup semi-sweet chocolate chips
- 1 cup butterscotch chips
- 1 and 1/3 cups sweetened shredded coconut
- 1 cup chopped pecans or walnuts
Step-by-Step Instructions
Step 1: Prepare your pan
Preheat oven to 350°F. Line a 9×13 inch baking pan with parchment paper or aluminum foil, leaving overhang on two sides for easy removal. Lightly spray with cooking spray.
Step 2: Make the crust
Pour melted butter into the prepared pan. Sprinkle graham cracker crumbs evenly over the butter. Use your hands or the back of a measuring cup to press the crumbs firmly into an even layer across the entire bottom of the pan.
Step 3: Add chocolate chips
Sprinkle the chocolate chips evenly over the graham cracker crust. Spread them out so they cover the entire surface in a relatively even layer.
Step 4: Add butterscotch chips
Sprinkle the butterscotch chips over the chocolate chips in the same manner, creating another even layer.
Step 5: Add coconut
Sprinkle the shredded coconut evenly over the chips. Press down very gently to help it adhere to the layers below.
Step 6: Add nuts
Sprinkle the chopped nuts evenly over the coconut, creating the final topping layer.
Step 7: Pour condensed milk
Open the can of sweetened condensed milk and drizzle it evenly over the entire surface of the bars. Make sure to get all the way to the edges and corners. The milk should cover most of the surface.
Step 8: Bake
Place the pan in the preheated oven and bake for twenty-five to thirty minutes, until the coconut is golden brown and the edges are bubbling.
Step 9: Cool completely
Remove from oven and let cool completely in the pan on a wire rack. This takes at least one hour. Then refrigerate for at least one hour more before cutting.
Step 10: Cut and serve
Use the parchment overhang to lift the entire slab out of the pan. Place on a cutting board and cut into twenty-four bars using a sharp knife. Wipe the knife between cuts for clean edges.
This magic bars recipe proves that the simplest recipes are often the most loved. With just a few pantry ingredients and minimal effort, you create irresistible bars that disappear as quickly as you can make them!