The first time I made these bars for a potluck, they vanished so quickly that people were asking for the recipe before the event even ended. I was almost embarrassed to admit how ridiculously simple this peanut butter bars recipe is—no baking required, just mixing and chilling. Now they’re my secret weapon whenever I need to bring something impressive with minimal effort.
Why You’ll Love This Peanut Butter Bars Recipe
These bars require absolutely no baking, making them perfect for hot summer days or when your oven is already occupied. They come together in about fifteen minutes of active work with just six simple ingredients. The combination of creamy peanut butter and rich chocolate creates that classic flavor pairing everyone loves. This peanut butter bars recipe tastes remarkably similar to peanut butter cups but in convenient bar form. The texture is smooth and creamy with just the right amount of sweetness. They’re incredibly versatile—perfect for bake sales, potlucks, holiday cookie trays, or satisfying late-night cravings. Kids and adults alike go absolutely crazy for these treats.
What Are Peanut Butter Bars?
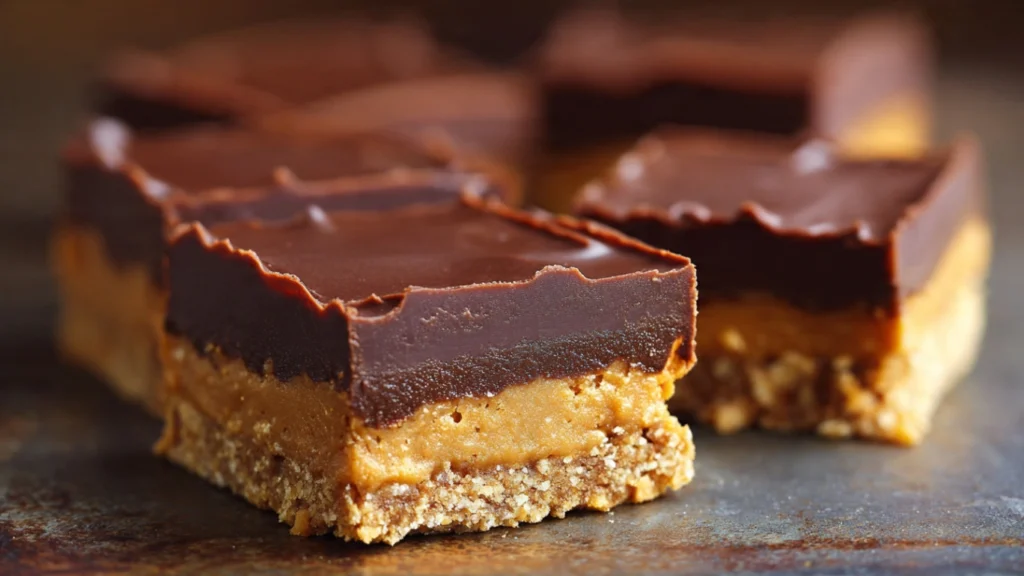
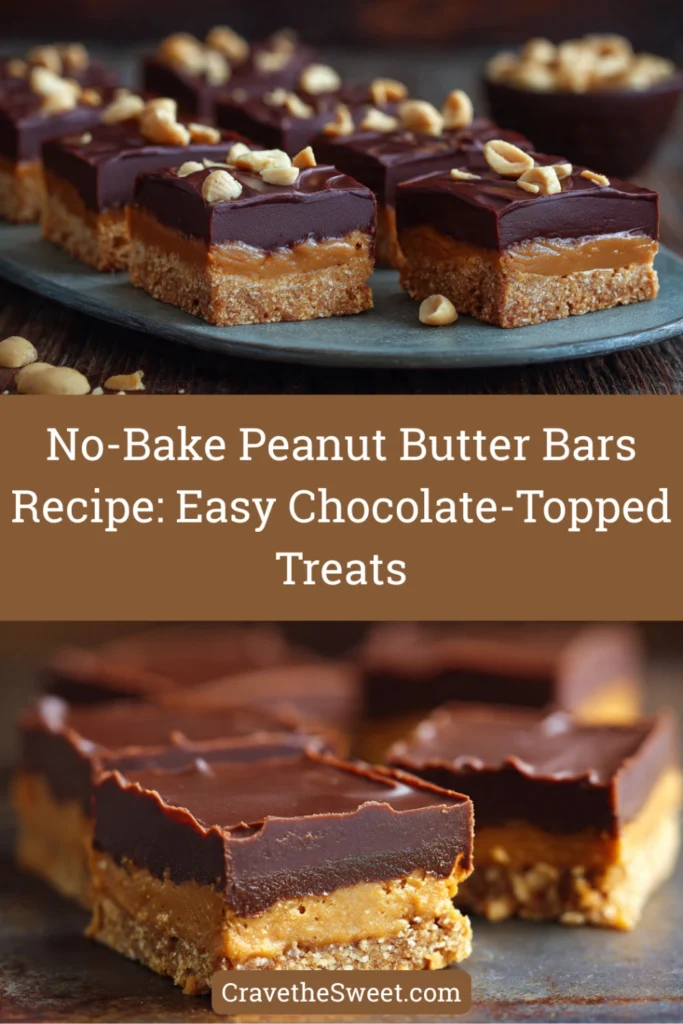
Peanut butter bars are no-bake dessert bars featuring a sweet peanut butter base topped with a layer of chocolate. This peanut butter bars recipe creates a two-layer treat where the bottom is made from peanut butter mixed with powdered sugar, butter, and graham cracker crumbs for structure. The mixture is pressed into a pan to form a firm base, then topped with melted chocolate that hardens into a smooth coating. The result tastes like a homemade version of popular peanut butter cup candies but in an easy-to-slice bar format. These treats became popular in American home baking because they deliver impressive results without requiring an oven, making them accessible to bakers of all skill levels.
Common Mistakes to Avoid
The biggest mistake with this peanut butter bars recipe is not using enough powdered sugar in the peanut butter layer. Without sufficient sugar, the base won’t firm up properly and the bars will be too soft to cut cleanly.
Another common error is using natural peanut butter instead of regular creamy peanut butter. Natural peanut butter has separated oils and a different consistency that prevents the bars from setting properly. Stick with conventional brands for best results.
Don’t skip lining the pan with parchment paper. These bars are sticky and incredibly difficult to remove from the pan without it. The parchment overhang makes lifting them out effortless.
Many people don’t press the peanut butter layer firmly enough into the pan. It needs to be packed down tightly to create a solid base that won’t crumble when you cut it.
Finally, avoid cutting the bars before the chocolate is completely set. Warm chocolate will smear and create a mess instead of clean, neat slices.
How to Know Your Peanut Butter Bars Are Done
Your peanut butter bars recipe is complete when the chocolate topping is completely hardened and no longer shiny or tacky to the touch. This usually takes about one to two hours in the refrigerator.
When you gently press the chocolate surface with your finger, it should feel firm and shouldn’t leave any chocolate on your skin. If it still feels soft or leaves residue, it needs more chilling time.
The peanut butter base should be firm enough that when you lift the parchment paper, the whole slab comes up in one piece without bending or breaking apart.
After full chilling, a sharp knife should cut through both layers cleanly. If the chocolate cracks or the peanut butter layer crumbles excessively, they may need a few more minutes at room temperature to soften slightly before cutting.
The bars should hold their shape perfectly when you pick one up, with distinct chocolate and peanut butter layers visible.
What to Serve With Peanut Butter Bars
These rich, sweet bars pair perfectly with cold milk. The classic combination of peanut butter, chocolate, and milk never disappoints and helps balance the sweetness.
Hot coffee provides a nice contrast to the sweet bars. The slight bitterness of black coffee cuts through the richness beautifully, making them excellent for an afternoon pick-me-up.
For a more indulgent dessert, serve peanut butter bars with vanilla ice cream. The cold, creamy ice cream complements the dense, rich bars wonderfully.
These bars are perfect alongside other no-bake treats like chocolate truffles or rice crispy treats on a dessert platter. The variety gives guests options while keeping everything simple.
Fresh strawberries or sliced bananas on the side add freshness and a lighter element that balances the richness of the bars.
Storage Tips for Peanut Butter Bars
Store your peanut butter bars in an airtight container in the refrigerator for up to two weeks. Layer them between sheets of parchment paper to prevent sticking. The cold temperature keeps both layers firm and fresh.
These bars freeze exceptionally well for up to three months. Wrap individual bars in plastic wrap, then place them all in a freezer-safe container or bag. They thaw quickly at room temperature in about twenty minutes, or you can eat them frozen for a firmer, candy-like texture.
If you prefer a softer texture, let refrigerated bars sit at room temperature for ten to fifteen minutes before serving. This takes the chill off and makes them easier to bite through.
Don’t store these bars at room temperature for extended periods, especially in warm weather. The chocolate will soften and the bars can become messy to handle.
Always use clean utensils when removing bars from storage containers to prevent contamination and extend shelf life.
Estimated Nutrition Information
Per bar (based on 24 servings): Approximately 200 calories, 13g fat, 19g carbohydrates, 4g protein, 1g fiber. These are treats meant for occasional enjoyment.
Recipe Overview
Prep Time: 15 minutes
Chill Time: 2 hours
Total Time: 2 hours 15 minutes
Difficulty: Easy
Servings: 24 bars
Ingredients
For the peanut butter layer:
- 1 and 1/2 cups graham cracker crumbs
- 2 cups powdered sugar
- 1 cup creamy peanut butter
- 1/2 cup unsalted butter, melted
- 1 teaspoon vanilla extract
For the chocolate topping:
- 1 and 1/2 cups semi-sweet chocolate chips
- 2 tablespoons creamy peanut butter
Step-by-Step Instructions
Step 1: Prepare your pan
Line a 9×13 inch baking pan with parchment paper, leaving overhang on two opposite sides for easy removal later. This step is crucial for getting clean bars.
Step 2: Make the peanut butter mixture
In a large bowl, combine graham cracker crumbs, powdered sugar, peanut butter, melted butter, and vanilla extract. Stir with a wooden spoon until everything is completely combined and the mixture looks uniform.
Step 3: Press into pan
Transfer the peanut butter mixture to your prepared pan. Use your hands or the back of a measuring cup to press it down very firmly into an even layer. Pack it tightly so it holds together well.
Step 4: Melt the chocolate
In a microwave-safe bowl, combine chocolate chips and two tablespoons of peanut butter. Microwave in thirty-second intervals, stirring between each one, until completely melted and smooth. This usually takes about ninety seconds total.
Step 5: Spread chocolate layer
Pour the melted chocolate over the peanut butter layer. Use a spatula to spread it evenly to all corners and edges, creating a smooth, uniform coating.
Step 6: Chill the bars
Place the pan in the refrigerator and chill for at least two hours until both layers are completely firm and set. Don’t rush this step or the bars will be too soft to cut.
Step 7: Remove from pan
Once fully chilled, use the parchment paper overhang to lift the entire slab of bars out of the pan. Place it on a cutting board for easier slicing.
Step 8: Cut into bars
Using a sharp knife, cut into twenty-four bars. For the cleanest cuts, wipe your knife with a warm, damp cloth between each slice. This prevents chocolate buildup on the knife.
Step 9: Store properly
Transfer cut bars to an airtight container with parchment between layers. Return to the refrigerator until ready to serve.
Step 10: Serve and enjoy
Let bars sit at room temperature for a few minutes before serving if you prefer a softer texture. They’re ready to enjoy straight from the fridge too!
This peanut butter bars recipe proves that incredible homemade treats don’t need to be complicated. With just a few simple ingredients and no baking required, you can create dessert bars that taste like they came from a fancy candy shop!