
When my niece walked across that stage in her cap and gown, I wanted to do something special beyond balloons and streamers. So I decided to bake her a cake from scratch — a tall, decorated beauty with her school colors and a little fondant diploma on top. I had never made a celebration cake that fancy before, and honestly, I was terrified. But it turned out to be the highlight of the whole party. Guests kept asking who made it, and my niece cried (happy tears!) when she saw it. That moment is exactly why graduation cakes for high school are worth every single minute of effort.
Why You’ll Love It
This cake is everything a milestone deserves. It is moist, rich, and tall — the kind of dessert that makes people stop mid-conversation when it walks into a room. You can customize the colors, the message, and the decorations to match any school or personality. It feeds a crowd easily, it photographs beautifully, and it tastes even better than it looks. Best of all, you do not need to be a professional baker to pull it off. If you can follow directions, you can bake this cake.
What Is It?
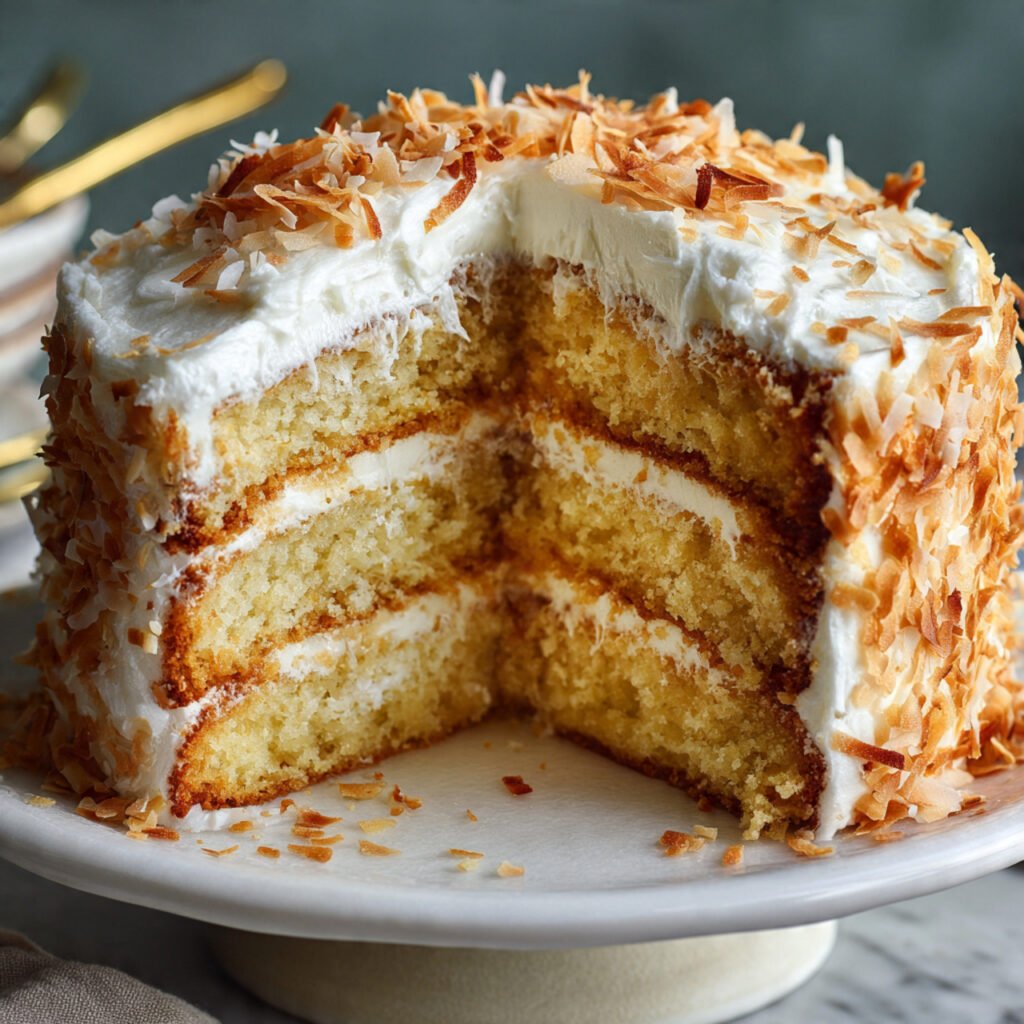
This is a classic four-layer vanilla buttermilk cake filled with a silky vanilla buttercream and covered in a smooth coat of the same frosting. The exterior is decorated with your choice of school colors using piped rosettes or simple swipes, and topped with edible graduation-themed decorations like a fondant cap, a little diploma scroll, or even the graduate’s name written in piped frosting. Graduation cakes for high school come in all styles, but this version is beginner-friendly, crowd-pleasing, and endlessly customizable.
Common Mistakes to Avoid
One of the biggest mistakes people make is frosting a warm cake. Always let your layers cool completely — at least two hours — before you even think about adding buttercream. Another common error is skipping the crumb coat, which is a thin layer of frosting that seals in loose crumbs before you add the final coat. Without it, your cake will look messy. Also, do not rush the buttercream. Beat it long enough so it becomes light and fluffy — at least four to five minutes. Finally, overfilling the layers with frosting causes the cake to slide. Use about a half cup of buttercream between each layer, no more.
How to Know It’s Done
Stick a toothpick or thin skewer into the center of each cake layer. If it comes out clean or with just a few dry crumbs, the cake is done. If wet batter clings to it, give it another three to five minutes and test again. The tops should spring back lightly when pressed in the center, and the edges should just be pulling away from the sides of the pan. The internal temperature should read around 200°F if you have a kitchen thermometer.
What to Serve With It
Graduation cakes for high school pair perfectly with ice cream — vanilla, strawberry, or cookies and cream are all great choices. Set up a little dessert station with the cake as the centerpiece alongside fruit skewers, mini cupcakes in matching colors, and a lemonade punch bowl. If the party is in the afternoon, light finger sandwiches and sparkling water with citrus slices balance the sweetness nicely.
Storage Tips
Once decorated, the cake can sit at room temperature, covered loosely, for up to two days. For longer storage, refrigerate it in an airtight container or covered with plastic wrap for up to five days. Let refrigerated slices come back to room temperature for about 20 minutes before serving for the best texture. You can also freeze unfrosted cake layers, wrapped tightly in plastic wrap and then foil, for up to two months.
Estimated Nutrition (Per Slice, Based on 16 Servings)
- Calories: approximately 480
- Total Fat: 22g
- Saturated Fat: 13g
- Carbohydrates: 67g
- Sugar: 50g
- Protein: 5g
- Sodium: 290mg
These are estimates and will vary based on exact ingredients used.
Recipe Overview
- Prep Time: 45 minutes
- Cook Time: 30 minutes
- Cooling & Decorating Time: 2 hours 30 minutes
- Total Time: Approximately 3 hours 45 minutes
- Difficulty: Intermediate
- Servings: 16 slices
Ingredients
For the Cake Layers:
- 3 cups all-purpose flour
- 1 tablespoon baking powder
- ½ teaspoon baking soda
- ½ teaspoon salt
- 1 cup (2 sticks) unsalted butter, room temperature
- 2 cups granulated sugar
- 4 large eggs, room temperature
- 2 teaspoons pure vanilla extract
- 1½ cups buttermilk, room temperature
For the Vanilla Buttercream:
- 2 cups (4 sticks) unsalted butter, room temperature
- 7 to 8 cups powdered sugar, sifted
- 4 to 5 tablespoons heavy cream
- 2 teaspoons pure vanilla extract
- Pinch of salt
- Gel food coloring in your school colors
For Decoration (Optional):
- Store-bought fondant
- Edible gold or silver dust
- Sprinkles in school colors
- Piping bags and star tip
Step-by-Step Instructions
Step 1 — Prepare Your Pans and Oven. Preheat your oven to 350°F. Grease four 8-inch round cake pans with butter, then line the bottoms with parchment paper circles. Grease the parchment too. Set the pans aside.
Step 2 — Mix the Dry Ingredients. In a medium bowl, whisk together the flour, baking powder, baking soda, and salt. Set aside.
Step 3 — Cream the Butter and Sugar. In a large mixing bowl using a hand mixer or stand mixer, beat the softened butter on medium speed for about two minutes until smooth. Add the granulated sugar and continue beating on medium-high for another three minutes until the mixture is light, pale, and fluffy.
Step 4 — Add Eggs and Vanilla. Add the eggs one at a time, mixing well after each addition. Scrape down the sides of the bowl as needed. Mix in the vanilla extract.
Step 5 — Alternate Flour and Buttermilk. Reduce the mixer to low speed. Add the flour mixture in three parts, alternating with the buttermilk in two parts — starting and ending with the flour. Mix just until each addition is incorporated. Do not overmix or the cake will be tough.
Step 6 — Bake the Layers. Divide the batter evenly among your four prepared pans. Bake for 28 to 32 minutes, until a toothpick inserted in the center comes out clean. Let the cakes cool in the pans for 10 minutes, then turn them out onto wire racks and cool completely.
Step 7 — Make the Buttercream. Beat the softened butter in a large bowl for four to five minutes until very pale and fluffy. Add the sifted powdered sugar one cup at a time, beating on low between each addition. Add the heavy cream, vanilla, and salt. Increase to medium-high and beat for another three minutes. Divide and tint portions with gel food coloring for your school colors.
Step 8 — Assemble and Frost. Place one cooled cake layer on your serving board. Spread about a half cup of buttercream on top. Repeat with remaining layers. Apply a thin crumb coat all over, then refrigerate for 20 minutes. Apply your final coat of frosting smoothly. Pipe rosettes or borders in your school colors around the top and base.
Step 9 — Decorate and Celebrate. Add your fondant cap, piped name, sprinkles, or any other decorations. Stand back, take a photo, and get ready for the compliments. Your graduation cakes for high school moment has arrived!