Last summer, I hosted a backyard birthday party for my daughter, and I was completely stumped on dessert. Cake felt too ordinary, and store-bought treats seemed a little impersonal. Then it hit me — what if guests could build their own dessert? I set up a little DIY ice cream bar, and honestly? It was the highlight of the whole afternoon. Kids and adults alike crowded around it, layering on toppings, laughing, and going back for seconds. That moment is what inspired me to put together this guide packed with ice cream station ideas that anyone can pull off at home.
Why You’ll Love It
There’s something magical about a well-set-up ice cream station. It’s interactive, customizable, and incredibly crowd-pleasing. Whether you’re hosting a birthday bash, a summer cookout, a graduation party, or just a Friday night family treat, ice cream station ideas give everyone the freedom to make exactly what they love. You don’t need to be a professional baker or spend a fortune. With a little planning, you can create something truly special that guests will talk about long after the party ends.
What Is an Ice Cream Station?
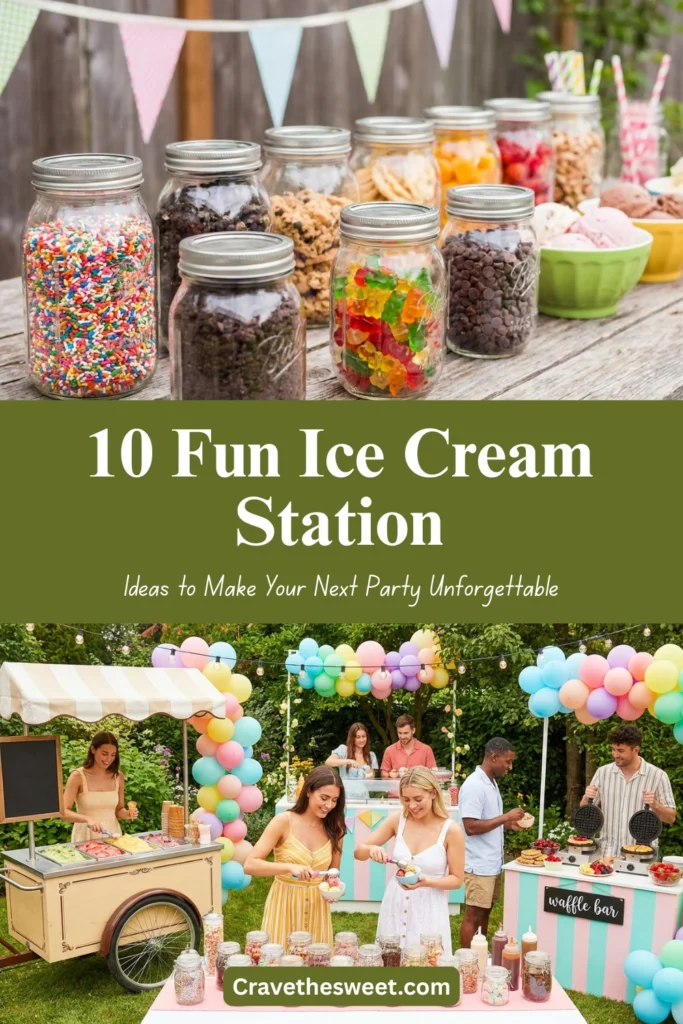
An ice cream station — sometimes called a sundae bar or ice cream topping bar — is a self-serve dessert setup where guests pick their own ice cream flavors and pile on a variety of toppings. The beauty of ice cream station ideas is that they’re endlessly flexible. You can go simple with just a few flavors and classic toppings, or go all out with gourmet sauces, fancy mix-ins, and themed decorations. The core concept is always the same: give people choices, let them create, and watch the fun unfold.
Common Mistakes to Avoid
Even the best ice cream station ideas can fall flat if you’re not careful. Here are a few pitfalls to dodge:
Letting the ice cream melt too fast. Don’t pull your ice cream out of the freezer too early. Keep cartons in a cooler with ice or set up the station close to your freezer so you can rotate containers every 20–30 minutes.
Too few serving utensils. One scoop for five flavors creates a messy, flavor-mixing disaster. Have a dedicated scoop or spoon for each item.
Forgetting dietary needs. Always include at least one dairy-free or vegan option, like coconut milk ice cream or sorbet, so no guest feels left out.
Cluttered presentation. More isn’t always better. Lay out toppings in small, clearly labeled bowls so guests can see everything at a glance without feeling overwhelmed.
No drip zone. Put a layer of parchment paper or a plastic tablecloth under your topping bowls. Trust me — sauces drip.
How to Know It’s Set Up Right
Your ice cream station is ready to go when every topping has its own labeled bowl and spoon, ice cream containers are cold and firm, your table has a logical flow from bowls to ice cream to toppings to sauces, and you’ve done a quick test run yourself. Scoop a bowl and walk through the station line as if you’re a guest. Is everything easy to reach? Are labels readable? Is there enough space? If you feel good doing it, your guests will too.
What to Serve With It
Great ice cream station ideas don’t stop at just ice cream and toppings. Round out your dessert spread with:
- Waffle cones and waffle bowls for a fun, edible vessel option
- Brownies and cookies as a base for ice cream sandwiches
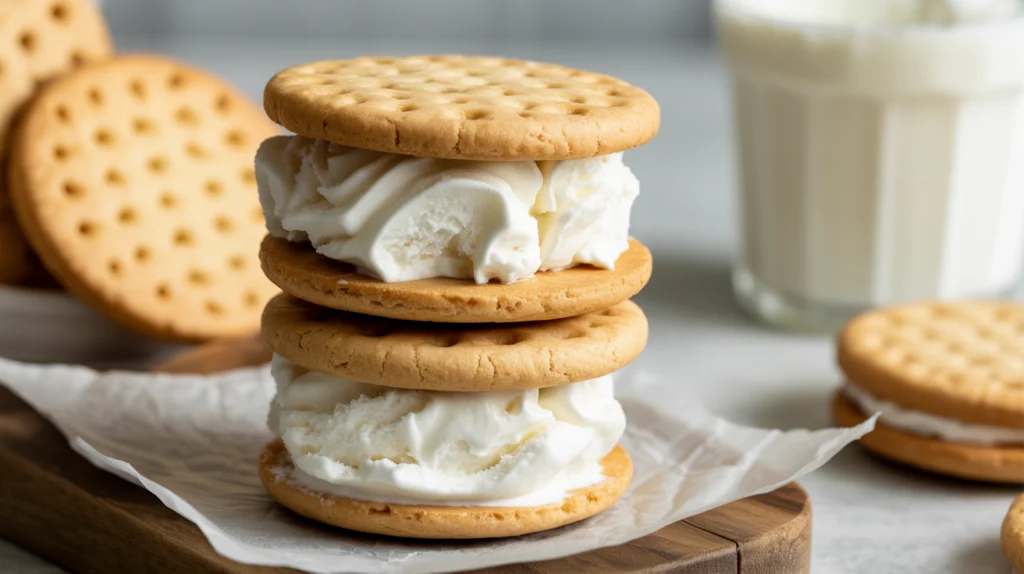
- Mini donuts guests can stack into an ice cream donut tower
- Sliced fruit like strawberries, bananas, and peaches for a fresh, lighter pairing
- Sparkling lemonade or root beer for DIY ice cream floats
These additions transform a simple sundae bar into a full-blown dessert experience.
Storage Tips
If you have leftover toppings — which honestly doesn’t happen often — here’s how to store them:
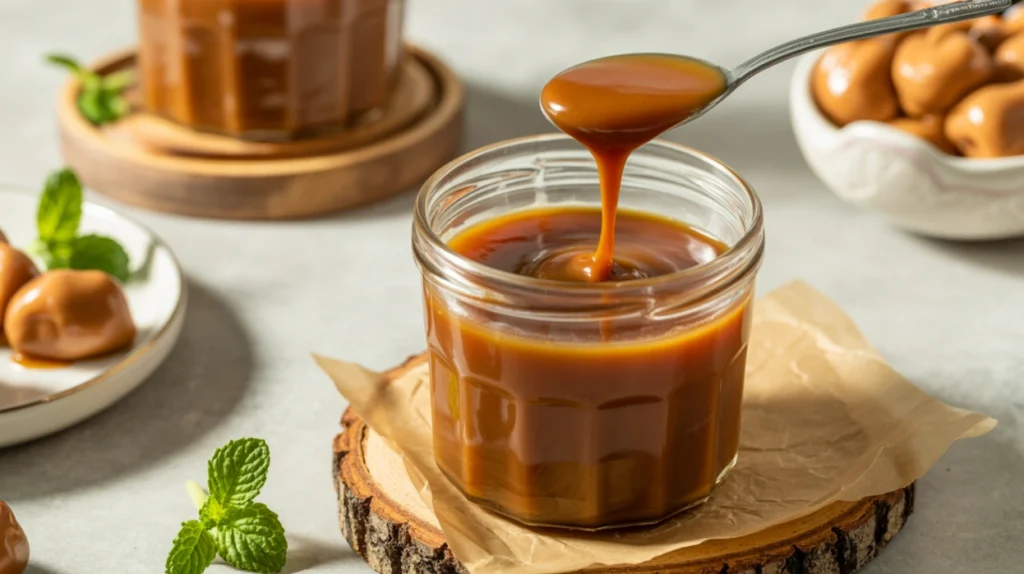
- Wet toppings (hot fudge, caramel sauce, strawberry topping): refrigerate in airtight containers for up to two weeks. Reheat gently before serving again.
- Dry toppings (sprinkles, crushed cookies, nuts): store in sealed bags or jars at room temperature for up to a month.
- Fresh fruit toppings: use within one to two days in the fridge.
- Leftover ice cream: press a piece of plastic wrap directly onto the surface before sealing the lid to prevent freezer burn.
Estimated Nutrition (Per Basic Sundae)
These numbers will vary based on your topping choices, but here’s a general baseline for a two-scoop vanilla sundae with hot fudge, whipped cream, and sprinkles:
| Nutrient | Amount |
|---|---|
| Calories | ~450–550 kcal |
| Total Fat | ~20–28g |
| Saturated Fat | ~12–16g |
| Carbohydrates | ~60–75g |
| Sugar | ~45–55g |
| Protein | ~6–8g |
Going lighter? Opt for sorbet, fresh fruit toppings, and skip the whipped cream to bring calorie counts way down.
Recipe Overview
| Prep Time | 20 minutes |
| Cook Time | 0 minutes (10 minutes if making homemade sauces) |
| Total Time | 30 minutes |
| Difficulty | Easy |
| Servings | 10–12 guests |
Ingredients
Ice Cream Flavors (choose 3–5):
- 1 half-gallon vanilla bean ice cream
- 1 half-gallon chocolate ice cream
- 1 half-gallon strawberry ice cream
- 1 pint dairy-free coconut or mango sorbet
Classic Toppings:
- 1 jar hot fudge sauce (or homemade — see below)
- 1 jar caramel sauce
- 1 jar maraschino cherries
- 1 can whipped cream
- 1 cup rainbow sprinkles
- 1 cup chocolate chips
- 1 cup crushed Oreo cookies
- 1 cup chopped walnuts or pecans
- 1 cup sliced fresh strawberries
- 1 cup diced banana
Fun Add-Ons (optional but highly recommended):
- Gummy bears
- Mini marshmallows
- Crushed graham crackers
- Peanut butter sauce
- Shredded coconut flakes
For Serving:
- Waffle cones
- Waffle bowls
- Dessert bowls and spoons
- Small tongs and scoops
Easy Homemade Hot Fudge (optional):
- 1 cup heavy cream
- 1 cup semi-sweet chocolate chips
- 2 tablespoons unsalted butter
- 1 teaspoon vanilla extract
Step-by-Step Instructions
Step 1: Plan your layout. Choose a table that gives guests room to move around comfortably. A 6-foot folding table works beautifully. Sketch out where everything will go — bowls first, then ice cream, then toppings, then sauces — so guests can move in one direction without crowding.
Step 2: Make your homemade hot fudge (if using). In a small saucepan over medium-low heat, combine the heavy cream and chocolate chips. Stir continuously until smooth and melted, about 4 to 5 minutes. Remove from heat and stir in butter and vanilla extract. Pour into a serving dish. It will thicken as it cools, so make it last.
Step 3: Prepare and label your toppings. Pour each topping into its own small bowl or mason jar. Use cute label cards or sticky labels to name each topping — this is especially helpful for guests with allergies. Place a dedicated spoon or tong in each container.
Step 4: Set up the ice cream. About 5 to 10 minutes before guests arrive, remove ice cream from the freezer. Set cartons on a tray or in a decorative bin filled with crushed ice to keep them cold. Place one clean scoop or large spoon next to each flavor.
Step 5: Arrange the full station. Line up your setup from left to right: bowls and cones first, then ice cream flavors, then dry toppings, then sauces and wet toppings. Keep napkins and extra spoons on both ends of the table.
Step 6: Add a little personality. This is what makes ice cream station ideas go from good to great. Add a small chalkboard sign that says “Build Your Dream Sundae,” string some fairy lights along the back of the table, or set up a printed menu card listing some fun flavor combination suggestions.
Step 7: Replenish and enjoy. Check the station every 20 minutes. Rotate ice cream containers back to the freezer if they start to soften too much, refill empty topping bowls, and wipe down any drips. Then relax — your guests are having a blast, and so should you.
Whether it’s a casual backyard hangout or a full birthday celebration, these ice cream station ideas will turn any gathering into a sweet memory. Have fun with it, get creative with your toppings, and don’t forget to make yourself a bowl too — you’ve earned it!