
When my son turned five, he wanted a birthday party with “his own tiny cakes.” Not a big cake — tiny ones, just for him and his friends. That’s how I discovered boy cakes, and honestly, I’ve been making them ever since. They’re fun, festive, and ridiculously easy to pull off even on a busy weekday afternoon.
Why You’ll Love It
Boy cakes are the kind of treat that makes kids feel truly special. Each child gets their very own little cake — no sharing required! They’re easy to decorate, simple to customize, and you don’t need any fancy baking skills. Whether you’re planning a birthday party, an after-school surprise, or just a fun weekend project, these mini cakes deliver big smiles every single time.
What Are Boy Cakes?
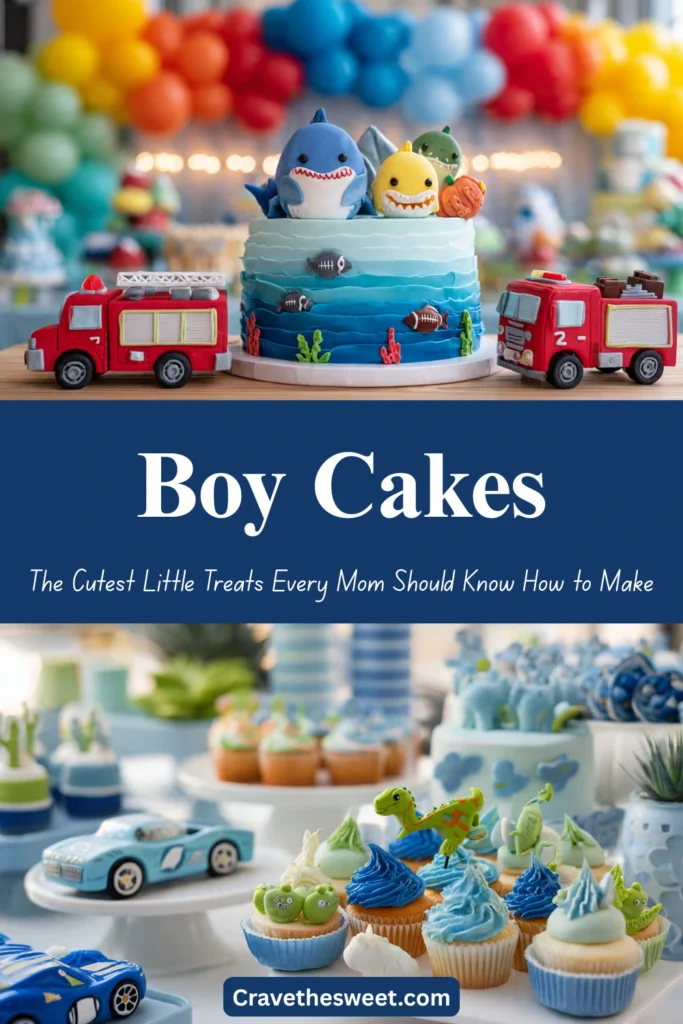
Boy cakes are small, individual-sized cakes decorated in bold, fun, boy-friendly themes — think dinosaurs, sports, race cars, superheroes, or camouflage patterns. They’re typically baked in muffin tins or small round pans and frosted generously. Think of them as elevated cupcakes with full cake energy. Unlike a large layer cake, boy cakes are perfectly portioned and super easy to serve at parties without any fuss.
Common Mistakes to Avoid
Overfilling the pan. Fill each cup only two-thirds full or your cakes will overflow and lose their shape.
Skipping the cooling step. Frosting a warm cake is a disaster — it melts right off. Always let them cool completely before decorating.
Using cold butter. Room temperature butter makes your batter smooth and fluffy. Cold butter creates a lumpy, dense result.
Rushing the decorating. Boy cakes look best when you take a little time with the frosting. Even simple swirls look amazing with the right toppings.
How to Know It’s Done
Insert a toothpick into the center of one cake. If it comes out clean or with just a few dry crumbs, they’re done. The tops should look set and spring back lightly when you press them. The edges should just start pulling away from the pan sides. Avoid overbaking — dry boy cakes are no fun for anyone.
What to Serve With Boy Cakes
These pair beautifully with a scoop of vanilla ice cream or a cold glass of chocolate milk. For parties, set up a little decorating station with different frosting colors and toppings so kids can customize their own boy cakes. Gummy worms, sprinkles, mini chocolate chips, and crushed cookies all work great as toppings.
Storage Tips
Store unfrosted boy cakes in an airtight container at room temperature for up to two days. Frosted cakes can be stored in the refrigerator for up to four days — just bring them to room temperature before serving for the best flavor and texture. You can also freeze the unfrosted cakes for up to two months. Wrap each one individually in plastic wrap before freezing.
Estimated Nutrition (Per Cake)
| Nutrient | Amount |
|---|---|
| Calories | ~320 kcal |
| Carbohydrates | 42g |
| Fat | 14g |
| Protein | 4g |
| Sugar | 28g |
| Sodium | 180mg |
Values are estimates and will vary based on toppings and frosting used.
Recipe Overview
| Detail | Info |
|---|---|
| Prep Time | 20 minutes |
| Cook Time | 18 minutes |
| Cooling Time | 30 minutes |
| Total Time | ~1 hour 10 minutes |
| Difficulty | Easy |
| Servings | 12 boy cakes |
Ingredients
For the Cakes:
- 1½ cups all-purpose flour
- 1 cup granulated sugar
- ½ cup unsalted butter, room temperature
- 2 large eggs
- ½ cup whole milk
- 1½ tsp baking powder
- 1 tsp pure vanilla extract
- ¼ tsp salt
For the Buttercream Frosting:
- 2 cups powdered sugar
- ½ cup unsalted butter, room temperature
- 2 tbsp heavy cream
- 1 tsp vanilla extract
- Gel food coloring (blue, green, red — your choice!)
Optional Toppings:
- Sprinkles, mini M&Ms, crushed Oreos, gummy worms, edible glitter
Step-by-Step Instructions
Step 1: Preheat and Prep
Preheat your oven to 350°F. Line a standard 12-cup muffin tin with paper liners or grease each cup well with butter and flour.
Step 2: Mix the Dry Ingredients
In a medium bowl, whisk together the flour, baking powder, and salt. Set this bowl aside.
Step 3: Cream the Butter and Sugar
In a large bowl, beat the room-temperature butter and sugar together using a hand mixer on medium speed for about three minutes, until the mixture looks pale and fluffy. This step is important — don’t rush it.
Step 4: Add the Eggs and Vanilla
Add the eggs one at a time, beating well after each addition. Mix in the vanilla extract until fully combined.
Step 5: Alternate Wet and Dry
Add the flour mixture in three parts, alternating with the milk. Start and end with the flour. Mix on low speed just until combined — don’t overmix or your boy cakes will turn out tough.
Step 6: Fill and Bake
Spoon the batter into the prepared muffin cups, filling each about two-thirds full. Bake for 16 to 18 minutes, until a toothpick inserted in the center comes out clean.
Step 7: Cool Completely
Let the cakes cool in the pan for five minutes, then transfer to a wire rack and cool completely — at least 30 minutes.
Step 8: Make the Frosting
Beat the butter until creamy. Gradually add the powdered sugar, then the cream and vanilla. Beat on high for two minutes until light and fluffy. Divide into bowls and add gel food coloring as desired.
Step 9: Decorate Your Boy Cakes
Frost each cake generously using a piping bag or a simple butter knife. Add your favorite toppings and let your creativity run wild. These boy cakes are meant to be fun and a little wild-looking — that’s the whole point!
Enjoy every single bite. You’ve earned it.


