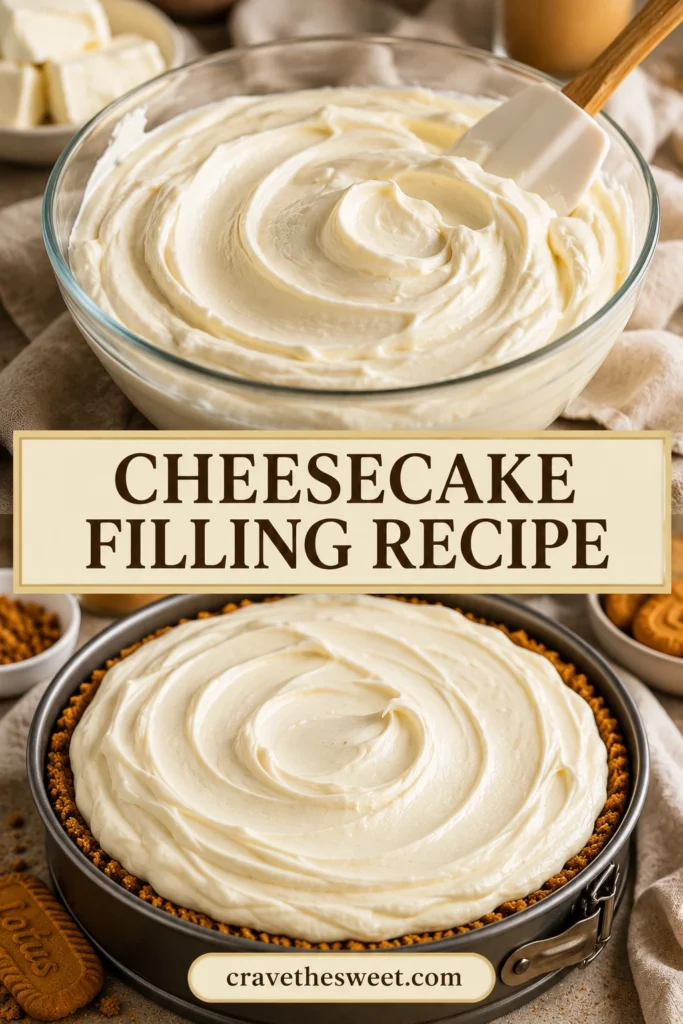
The first time I made cheesecake from scratch, I was absolutely terrified. I had heard all the horror stories — cracks down the middle, sunken centers, rubbery texture — and I nearly talked myself out of it entirely. But it was my mom’s birthday, and cheesecake was her absolute favorite, so I pushed through my nerves and gave it a try. The moment I pulled that first perfect slice and saw how smooth and silky the filling was, I felt like I had unlocked some kind of baking superpower. The secret, I learned that day, wasn’t in some complicated technique. It was in understanding the filling itself — how to mix it, what temperature the ingredients need to be, and when to stop. Once I figured out this cheesecake filling recipe, everything clicked. I’ve been making it confidently ever since, and now you will too.
Why You’ll Love This Recipe
This cheesecake filling recipe is the kind of foundation that makes you feel like a real baker. It’s rich, velvety, and perfectly balanced between sweet and tangy — exactly what a great cheesecake filling should taste and feel like. It works beautifully in a classic baked cheesecake, but it’s also versatile enough to use as a no-bake filling for tarts, parfaits, crepe fillings, and stuffed strawberries. The ingredients are simple and affordable, the method is straightforward, and once you understand the basic technique, you can customize it endlessly with different flavors, toppings, and crusts. This cheesecake filling recipe will become one of the most useful things in your baking repertoire.
What Is Cheesecake Filling?
Cheesecake filling is the creamy, tangy, rich center that makes a cheesecake what it is. At its core, it’s a mixture of cream cheese, sugar, eggs, sour cream, and vanilla extract — beaten together until completely smooth and then baked until just set. The cream cheese provides the signature tang and dense creaminess. The sugar sweetens and softens. The eggs give structure and help the filling set firmly without becoming rubbery. The sour cream adds a subtle brightness and keeps the texture incredibly smooth. Together, these five simple ingredients create a cheesecake filling recipe that is luscious, stable, and deeply satisfying. It’s the part of the cheesecake that people always come back for — that cool, creamy, melt-in-your-mouth bite.
Common Mistakes to Avoid
Using cold cream cheese. This is the number one mistake in any cheesecake filling recipe. Cold cream cheese doesn’t blend properly — it leaves lumps that no amount of mixing will fix. Always let your cream cheese sit at room temperature for at least an hour before you start.
Overmixing after adding the eggs. Mix the cream cheese and sugar all you want, but once the eggs go in, mix only until just combined. Overbeating eggs incorporates too much air, which causes the filling to puff up in the oven and then collapse and crack as it cools.
Skipping the water bath. The gentle, humid heat of a water bath is what gives cheesecake filling its silky, even texture without cracks. It’s an extra step, but it makes a significant difference in the final result.
Opening the oven door too early. Cheesecake filling is sensitive to sudden temperature changes. Don’t open the oven during the first hour of baking — the temperature drop can cause cracks and uneven setting.
Not cooling gradually. After baking, turn the oven off and crack the door, letting the cheesecake cool slowly inside the oven for an hour before moving it to the counter. Rushing this step causes the dreaded crack down the middle.
How to Know It’s Done
A properly baked cheesecake filling should have set edges that don’t move when you gently shake the pan, while the center — roughly a 2 to 3 inch circle — still has a soft, gentle wobble, similar to Jell-O. That jiggly center is not underbaked; it will firm up completely as the cheesecake cools and chills. The surface should look matte, not glossy or wet. If the center looks liquid and the whole thing sloshes, it needs more time. If the top has started to brown or crack, it’s been in too long. The jiggle test is your most reliable guide for this cheesecake filling recipe every single time.
What to Serve With It
A great cheesecake filling deserves equally great accompaniments. Here are some classic and creative options:
- Fresh strawberry sauce — sweet, bright, and the most classic pairing imaginable
- Blueberry compote — warm, jammy, and beautiful against the white filling
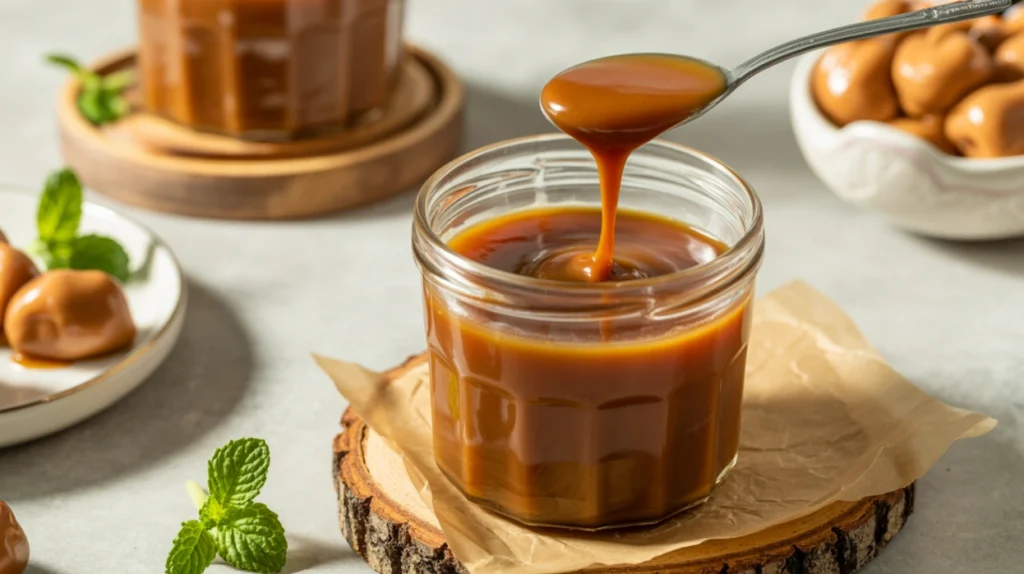
- Salted caramel drizzle — rich and indulgent, it elevates every single bite
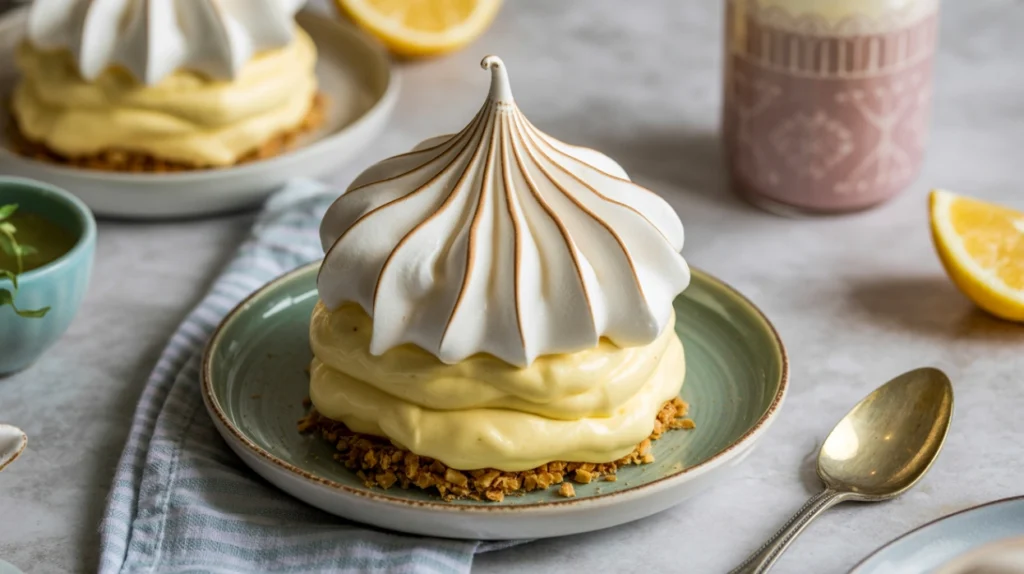
- Lemon curd — tart and sunny, it cuts through the richness perfectly
- A classic graham cracker crust — the timeless, crumbly base that makes cheesecake filling feel complete and iconic
Storage Tips
Refrigerator: Baked cheesecake with this filling keeps beautifully in the fridge for up to 5 days. Store covered loosely with plastic wrap or in an airtight container. The flavor and texture actually improve on day two as everything settles and firms up fully.
Freezer: Cheesecake filling freezes exceptionally well. Wrap the whole cheesecake or individual slices tightly in plastic wrap, then in foil. Freeze for up to 2 months. Thaw overnight in the refrigerator — never at room temperature, as this can affect the texture.
No-bake version: If you use this as a no-bake cheesecake filling, it will keep refrigerated for up to 4 days. It does not freeze as well in no-bake form because the texture can become grainy after thawing.
Make-ahead: Cheesecake is one of the best make-ahead desserts. Bake it 1 to 2 days before serving and keep it refrigerated until needed.
Estimated Nutrition (Per Serving)
| Nutrient | Amount |
|---|---|
| Calories | ~340 kcal |
| Carbohydrates | 26g |
| Protein | 6g |
| Fat | 24g |
| Sugar | 22g |
| Fiber | 0g |
Nutrition is estimated based on 12 servings, filling only, and may vary with exact ingredients used.
Recipe Overview
| Prep Time | 20 minutes |
| Cook Time | 55 minutes |
| Cool + Chill Time | 6 hours (or overnight) |
| Total Time | ~7 hours 15 minutes |
| Difficulty | Easy–Intermediate |
| Servings | 12 |
Ingredients
For the Cheesecake Filling:
- 32 oz (4 blocks) full-fat cream cheese, softened to room temperature
- 1 cup granulated sugar
- 1 cup full-fat sour cream, room temperature
- 3 large eggs, room temperature
- 2 tsp pure vanilla extract
- 2 tbsp all-purpose flour (optional, for extra stability)
- 1 tbsp fresh lemon juice
For a Simple Graham Cracker Crust (to serve it in):
- 2 cups graham cracker crumbs
- ¼ cup granulated sugar
- ½ cup unsalted butter, melted
Step-by-Step Instructions
Step 1 — Bring Everything to Room Temperature At least one hour before you begin — ideally two — set your cream cheese, sour cream, and eggs on the counter to come to room temperature. This single step is the most important part of any successful cheesecake filling recipe. Room-temperature ingredients blend together smoothly and evenly, giving you that silky, lump-free filling every time.
Step 2 — Make and Pre-Bake the Crust Preheat your oven to 325°F. In a bowl, combine the graham cracker crumbs, sugar, and melted butter. Stir until it resembles wet sand. Press firmly into the bottom and slightly up the sides of a greased 9-inch springform pan. Bake for 10 minutes until lightly set. Remove and set aside. Keep the oven on.
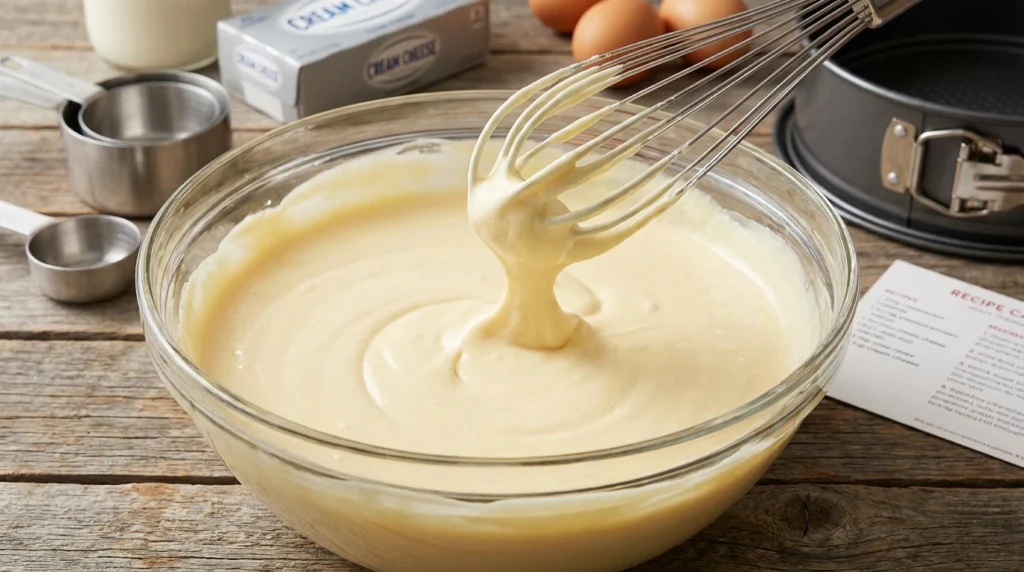
Step 3 — Beat the Cream Cheese In a large bowl, beat the softened cream cheese on medium speed with a hand or stand mixer for 2 to 3 minutes until completely smooth and fluffy. Scrape down the sides of the bowl thoroughly. There should be absolutely no lumps at this stage — they will not disappear later. Take your time here because smooth cream cheese is the foundation of an exceptional cheesecake filling recipe.
Step 4 — Add Sugar and Sour Cream Add the granulated sugar to the cream cheese and beat on medium speed for another 2 minutes until the mixture is light, smooth, and slightly fluffy. Add the sour cream, vanilla extract, lemon juice, and flour if using. Beat on low speed just until fully combined and silky. Scrape the bowl down again to make sure everything is evenly incorporated.
Step 5 — Add the Eggs Add the eggs one at a time, beating on low speed after each addition just until the yellow disappears into the batter — no more. Do not rush and do not overbeat. This is the most critical step for preventing cracks. Too much air in the eggs means the filling will puff up dramatically in the oven, then fall and crack as it cools. Low and slow is the rule.
Step 6 — Prepare the Water Bath Wrap the outside of your springform pan tightly in two layers of heavy-duty aluminum foil to prevent water seeping in. Pour the cheesecake filling over the pre-baked crust and smooth the top with a spatula. Place the wrapped pan inside a larger roasting pan. Pour hot water into the roasting pan until it reaches about halfway up the side of the springform pan. Carefully transfer the whole setup to the oven.
Step 7 — Bake Bake at 325°F for 50 to 60 minutes. Do not open the oven door before the 50-minute mark. When done, the edges will be set and the center will still jiggle gently — that soft wobble in the middle is exactly what you want from a perfect cheesecake filling recipe. Turn the oven off, crack the door open about an inch, and let the cheesecake rest inside for 1 full hour.
Step 8 — Cool and Chill Remove the cheesecake from the water bath and set it on a wire rack to cool completely to room temperature — about another hour. Then cover loosely and refrigerate for a minimum of 6 hours, but overnight is truly best. When you finally slice into it and see that perfect, silky, creamy cheesecake filling holding its shape beautifully on the plate, you will know every minute of waiting was absolutely worth it.