There is something extra special about a bowl of homemade frozen custard on a warm afternoon. I remember the first time I made it at home. I expected the process to be difficult because the dessert tasted so rich and smooth, but I quickly discovered that the ingredients were simple and the method was surprisingly approachable.
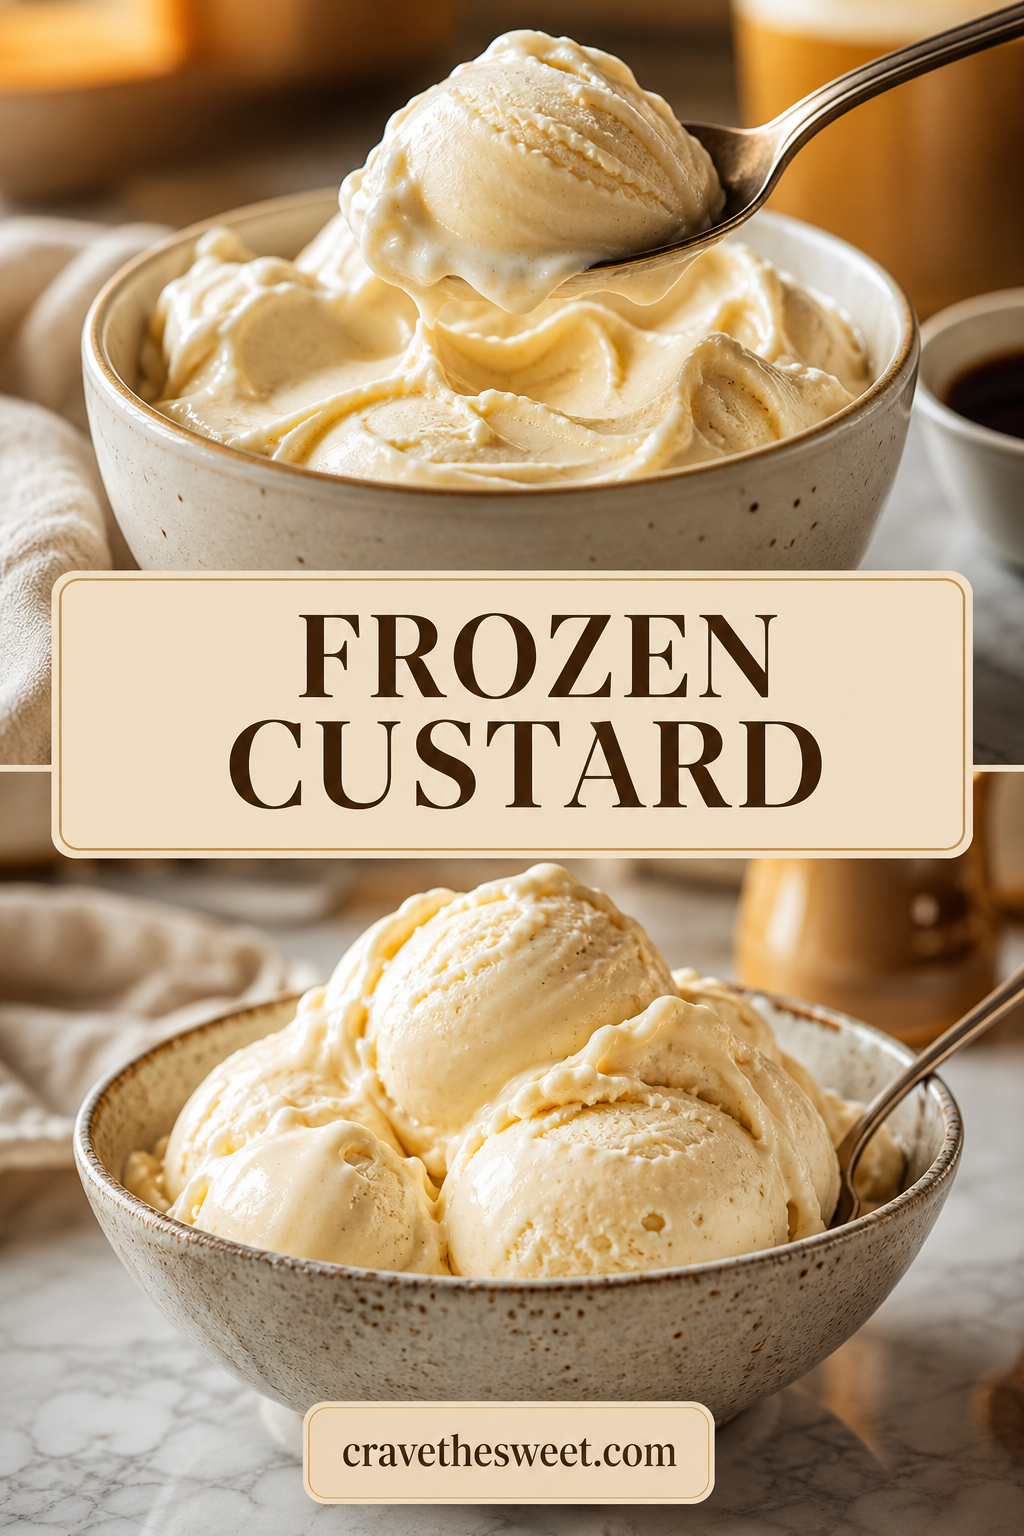
The finished dessert was creamy, cold, and wonderfully rich. It had a smooth texture that felt more luxurious than ordinary frozen desserts, with a gentle vanilla flavor that made every spoonful comforting.
This frozen custard recipe is perfect when you want to make a homemade dessert that feels special without using complicated ingredients. Once you learn the basic method, you can also experiment with chocolate, fruit, caramel, nuts, or other favorite flavors.
Why You’ll Love It
There are many reasons to love homemade frozen custard.
The texture is one of the biggest attractions. Egg yolks and dairy create a rich base that becomes wonderfully creamy when frozen. The result is smooth, thick, and satisfying.
The recipe also uses simple ingredients. You only need milk, cream, eggs, sugar, and vanilla to create a classic vanilla version.
Another benefit is that you can control the sweetness and flavor. Add more vanilla for a stronger flavor, or mix in chocolate, berries, caramel, or crushed cookies.
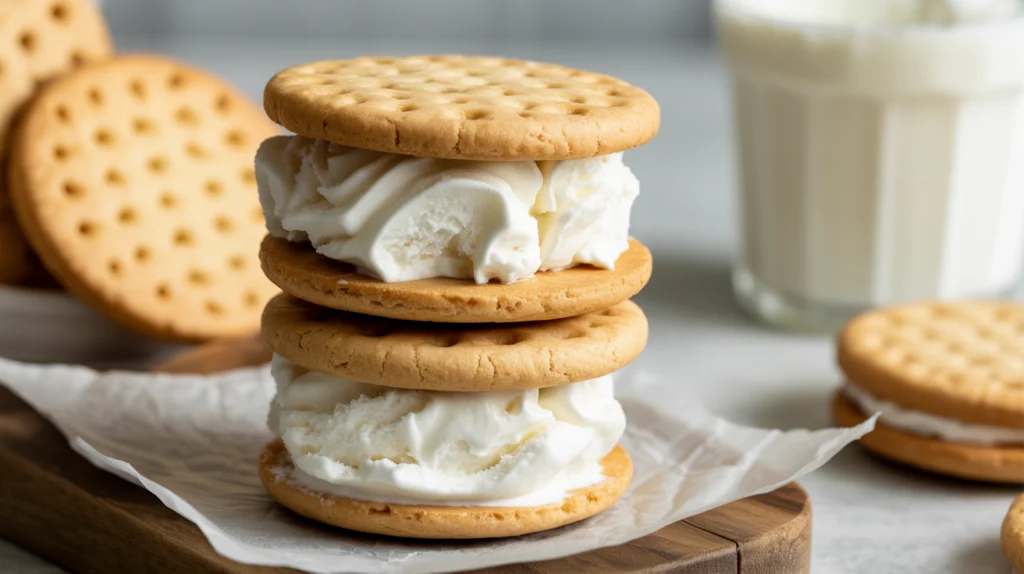
Homemade frozen custard is also a fun dessert to make for family and friends. You can serve it in bowls, cones, cups, or alongside your favorite dessert.
Best of all, you do not need to be an expert baker. The most important part is gently cooking the custard base and cooling it properly.
What Is It?
Frozen custard is a rich frozen dessert made with dairy, sugar, and egg yolks. The egg yolks give it a creamy texture and rich flavor.
Unlike a simple frozen cream mixture, frozen custard begins as a cooked custard base. The mixture is gently heated so the egg yolks thicken the dairy without scrambling.
Once the base is cooked and cooled, it is churned until thick and creamy. Churning adds air while breaking up large ice crystals, helping create a smooth texture.
Vanilla is a classic flavor, but the base can be customized in many ways.
The key to delicious frozen custard is patience. The custard base must be cooked gently and cooled thoroughly before freezing.
Common Mistakes
Making frozen custard at home is simple, but there are a few mistakes worth avoiding.
Cooking the eggs too quickly: High heat can scramble the egg yolks. Always cook the custard gently.
Skipping the straining step: Straining the cooked mixture removes tiny bits of cooked egg and helps create a smoother final dessert.
Not chilling the base: A warm custard base will not churn or freeze properly. Cool it thoroughly before processing.
Adding too much sugar: Too much sugar can make the frozen custard overly sweet and too soft.
Overcooking the custard: The mixture should thicken enough to coat a spoon. It should not boil.
Skipping churning: Churning helps create the creamy texture associated with frozen custard.
Freezing for too long without resting: Homemade frozen desserts can become very firm in the freezer. Allow the container to sit at room temperature briefly before scooping.
How to Know It’s Done
There are two stages to check when making frozen custard: cooking the base and freezing the finished dessert.
When the custard base is ready, it should be thick enough to coat the back of a spoon. Run your finger gently across the spoon. The line should remain visible.
If using a kitchen thermometer, the custard should reach approximately 170–175°F (77–79°C). Avoid allowing it to boil.
After chilling, the base should be very cold before you churn it.
During churning, the frozen custard should become thick and resemble soft-serve ice cream. It may still look slightly soft when transferred to a container, but it will firm up in the freezer.
After several hours of freezing, it should be firm enough to scoop while remaining creamy.
What to Serve With It
Frozen custard is delicious on its own, but toppings can make it even more enjoyable.
Fresh berries add a bright, slightly tart contrast to the rich vanilla base. Strawberries, raspberries, blueberries, and blackberries all work well.
Chocolate sauce is another easy choice. Add crushed chocolate cookies or chocolate chips for extra texture.
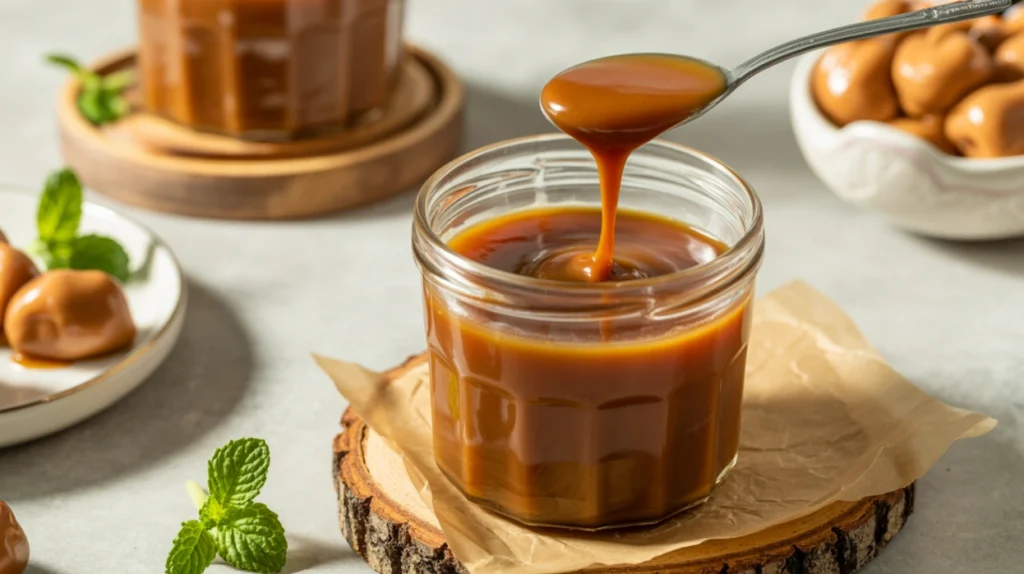
Caramel sauce pairs beautifully with vanilla frozen custard. A sprinkle of chopped nuts can add crunch.
You can also serve a scoop alongside warm brownies, chocolate cake, fruit pie, or cookies.
For a simple presentation, place the frozen custard in a chilled bowl and top it with a small amount of whipped cream.
Storage Tips
Store homemade frozen custard in a tightly sealed freezer-safe container.
Press a piece of parchment paper or plastic wrap directly against the surface before covering the container. This can help reduce ice crystals and freezer burn.
For the best texture, enjoy the dessert within one to two weeks.
Homemade frozen custard becomes quite firm after several hours in the freezer. Let it sit at room temperature for about 5–10 minutes before scooping.
Avoid repeatedly allowing the entire container to soften and refreeze. Repeated temperature changes can create ice crystals and affect the smooth texture.
For easier serving, freeze the custard in a shallow container. A thinner layer will soften more quickly and make scooping easier.
Estimated Nutrition
The nutrition will depend on the exact dairy products, sugar, and serving size used.
One serving of homemade frozen custard may contain approximately:
- Calories: 300–350
- Carbohydrates: 30–35g
- Protein: 5–7g
- Fat: 18–22g
- Saturated Fat: 10–13g
- Sugar: 28–32g
- Sodium: 60–100mg
These values are estimates and can vary according to the ingredients and portion size.
Recipe Overview
- Prep Time: 15 minutes
- Cook Time: 15 minutes
- Chill Time: 4 hours
- Churning Time: 20–30 minutes
- Total Time: About 4½ hours
- Difficulty: Easy to Intermediate
- Servings: 8
Ingredients
For this creamy frozen custard recipe, you will need:
- 2 cups heavy cream
- 1 cup whole milk
- ¾ cup granulated sugar
- 5 large egg yolks
- 2 teaspoons vanilla extract
- ¼ teaspoon salt
These ingredients create a classic vanilla frozen custard with a rich, creamy texture.
For an even stronger vanilla flavor, you can add vanilla bean seeds if you have them available.
The egg yolks are important because they help thicken the custard and contribute to its rich texture.
Step-by-Step Instructions
1. Prepare the Dairy Mixture
Pour the heavy cream and whole milk into a medium saucepan.
Add about half of the sugar and the salt.
Place the saucepan over medium heat and warm the mixture gently.
Do not allow it to boil. You only need to heat it until it is hot and begins producing a little steam.
2. Whisk the Egg Yolks
Place the egg yolks in a medium mixing bowl.
Add the remaining sugar.
Whisk continuously until the yolks become smooth and slightly lighter in color.
This step helps distribute the sugar evenly through the yolks.
3. Temper the Eggs
This is an important step.
Slowly pour a small amount of the hot milk mixture into the egg yolks while whisking constantly.
Continue adding the hot liquid gradually.
This process gently raises the temperature of the eggs without cooking them too quickly.
Once the egg mixture is warm, pour it back into the saucepan.
4. Cook the Custard
Place the saucepan over low to medium heat.
Stir constantly with a wooden spoon or heat-safe spatula.
Cook gently until the mixture thickens enough to coat the back of the spoon.
If using a thermometer, aim for approximately 170–175°F.
Do not let the mixture boil.
If it becomes too hot, the egg yolks can scramble.
5. Add Vanilla
Remove the saucepan from the heat.
Stir in the vanilla extract.
Taste carefully once the mixture has cooled slightly.
You can add a tiny pinch of salt if you want the vanilla flavor to stand out more.
6. Strain the Mixture
Place a fine-mesh strainer over a clean bowl.
Pour the warm custard through the strainer.
This step catches any small pieces of cooked egg and gives the base a smoother texture.
Do not skip this step if you want especially silky frozen custard.
7. Cool the Custard
Let the strained custard cool slightly at room temperature.
Then cover the bowl and place it in the refrigerator.
Chill for at least 4 hours.
For the best results, the custard should be completely cold before churning.
You can even chill it overnight if that is more convenient.
8. Prepare the Churner
Pour the cold custard into your ice cream maker according to the manufacturer’s instructions.
Make sure the machine is properly prepared before starting.
Churn the mixture until it becomes thick and creamy.
The exact time will vary depending on the machine.
9. Check the Texture
The frozen custard should look thick and resemble soft-serve when it is ready to leave the machine.
It should hold soft peaks rather than remain completely liquid.
Do not overfill the machine because the mixture needs room to expand slightly as it churns.
10. Transfer to a Container
Spoon the freshly churned frozen custard into a freezer-safe container.
Smooth the surface with a spatula.
Press parchment paper or plastic wrap directly onto the surface if desired.
This helps protect the custard from excess air.
11. Freeze Until Firm
Place the container in the freezer.
Freeze for at least 3–4 hours, or until the frozen custard reaches your preferred serving texture.
For a softer consistency, you can serve it shortly after churning.
For scoopable dessert-shop-style texture, allow it to freeze for several hours.
12. Let It Soften Before Serving
When ready to serve, remove the frozen custard from the freezer.
Allow it to sit at room temperature for approximately 5–10 minutes.
This gives the surface enough time to soften slightly.
Use a sturdy ice cream scoop to create smooth portions.
13. Add Your Favorite Toppings
Serve each scoop with your favorite toppings.
Try fresh berries, chocolate sauce, caramel, chopped nuts, sprinkles, crushed cookies, or whipped cream.
You can also leave it plain to enjoy the rich vanilla flavor.
Helpful Tips for the Best Results
The quality of your ingredients makes a difference in homemade frozen custard. Fresh eggs, good-quality dairy, and real vanilla create a delicious base.
Keep the heat low when cooking the eggs. Slow cooking gives you more control and reduces the chance of scrambling.
If you are worried about overcooking the custard, use a thermometer. It provides an easy way to monitor the temperature.
Chill the custard completely before churning. This is one of the most important steps for achieving a creamy texture.
Do not rush the freezing stage either. Freshly churned frozen custard is soft, but several hours in the freezer will give it a more scoopable consistency.
You can easily turn the basic vanilla recipe into other flavors. Add melted chocolate to the cooled base for chocolate frozen custard. Stir in crushed cookies during the final minutes of churning, or add a fruit puree for a fresh fruit version.
For a nutty variation, swirl in peanut butter or chopped toasted nuts after churning.
If you love caramel, drizzle cooled caramel sauce into the container as you transfer the custard, then gently swirl it with a knife.
For a festive dessert, top each serving with colorful sprinkles and whipped cream.
The best thing about homemade frozen custard is that the basic recipe gives you plenty of room to experiment. Once you are comfortable making the custard base, you can create different flavors for different occasions.
This creamy dessert is especially enjoyable on warm days, but there is never really a bad time for a scoop. The rich texture, smooth vanilla flavor, and endless topping possibilities make it a dessert the whole family can enjoy.
With a little patience and careful cooking, you can make frozen custard at home that is wonderfully creamy and satisfying. Serve it fresh from the freezer with your favorite toppings, or enjoy a simple scoop on its own for an easy homemade treat.