
Summer afternoons at my grandma’s house always ended the same way — with a big bowl of her famous home made ice cream. She didn’t have a fancy machine or fancy ingredients. Just a few simple things from the fridge, a metal bowl, and a whole lot of love. When I grew up and moved into my own place, I was determined to recreate that magic. After a few tries and a couple of hilarious fails (one batch tasted like frozen milk with sadness), I finally nailed it. And now I want to share everything I learned with you.
Why You’ll Love This Home Made Ice Cream
There’s something special about making ice cream at home. You control exactly what goes in it — no weird preservatives, no mystery ingredients. You can make it as sweet or as light as you like, and you can switch up the flavors endlessly. Kids absolutely love helping with this recipe, and honestly, so will you. Whether it’s a hot July afternoon or you just need a cozy treat after dinner, home made ice cream hits different when you made it yourself.
It’s also surprisingly easy. You don’t need an ice cream machine, you don’t need cooking experience, and you don’t need to spend a lot of money. This is feel-good cooking at its finest.
What Exactly Is Home Made Ice Cream?
Home made ice cream is a frozen dessert made by churning or whipping a cream-based mixture until it becomes thick, smooth, and cold. Traditional versions use an ice cream machine, but plenty of no-churn methods work just as well — sometimes even better. The basic idea is simple: mix dairy, sugar, and flavor, then freeze until scoopable.
The most popular no-churn method uses whipped heavy cream folded into sweetened condensed milk. The air whipped into the cream gives it that light, fluffy texture you’d expect from a proper scoop, without any special equipment. It sets beautifully in the freezer and scoops clean every time.
Common Mistakes to Avoid
Even a simple recipe like this has a few traps. Here’s what goes wrong and how to fix it:
Not whipping the cream enough. Under-whipped cream leads to a dense, icy result. You want stiff peaks — the cream should hold its shape when you lift the beaters.
Opening the freezer too often. Every time you crack that door, you let in warm air. This creates ice crystals and ruins the smooth texture. Set it and forget it for at least six hours.
Skipping the vanilla. Even if you’re making a flavored version, a splash of vanilla extract adds depth. Don’t skip it.
Using low-fat dairy. This recipe needs full-fat heavy cream. Low-fat alternatives won’t whip properly and will give you a watery, icy mess instead of creamy home made ice cream.
Adding warm mix-ins. If you’re folding in chocolate chips, fruit, or cookie pieces, make sure they’re room temperature or cold. Warm additions deflate the whipped cream.
How to Know It’s Done
Your home made ice cream is ready when it’s firm enough to scoop but not rock solid. After six hours, test it with a spoon — it should hold a clean shape when scooped. If it’s still too soft, give it another hour or two. The perfect batch looks creamy, not icy, and scoops smoothly without crumbling.
If your ice cream looks a little frosty on top, that’s just surface freezing. Scoop past it and you’ll hit the creamy layer underneath.
What to Serve With Your Home Made Ice Cream
This is where things get really fun. A scoop of classic vanilla home made ice cream pairs beautifully with:
- Warm brownies or chocolate cake
- Fresh berries or sliced peaches
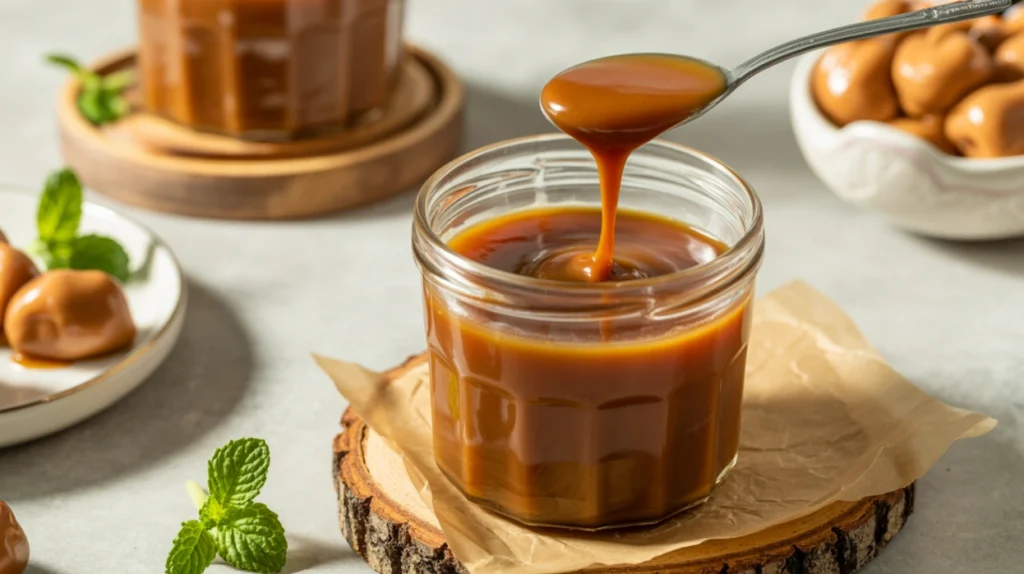
- A drizzle of honey or caramel sauce
- Crushed graham crackers for a little crunch
- A sprinkle of sea salt if you’re feeling fancy
- Hot fudge and a maraschino cherry for a classic sundae
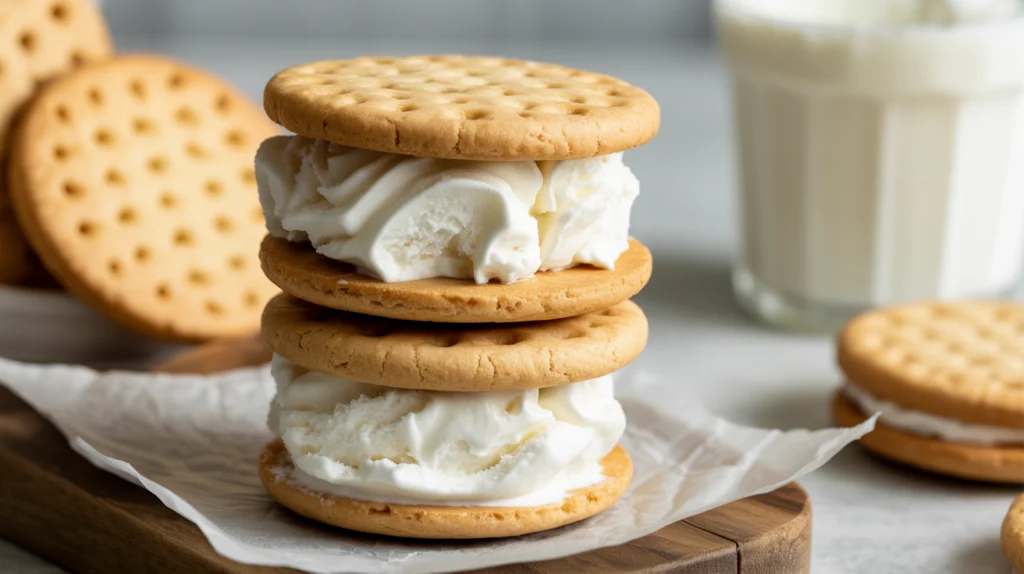
You can also sandwich it between two cookies for a homemade ice cream sandwich — a crowd favorite at any backyard cookout.
Storage Tips
Cover your container tightly with plastic wrap pressed directly onto the surface of the ice cream before putting the lid on. This prevents ice crystals from forming. Your home made ice cream will keep in the freezer for up to two weeks, though it rarely lasts that long.
If it gets too hard to scoop after sitting in the freezer, just let it sit on the counter for five to ten minutes. It’ll soften right up without melting.
Estimated Nutrition (Per Serving)
Based on the classic vanilla version, one serving (roughly ½ cup) contains approximately:
- Calories: 280
- Total Fat: 20g
- Saturated Fat: 13g
- Carbohydrates: 22g
- Sugar: 20g
- Protein: 3g
These numbers will vary based on your mix-ins and any adjustments you make to the base recipe.
Recipe Overview
- Prep Time: 15 minutes
- Freeze Time: 6–8 hours (or overnight)
- Total Time: 6 hours 15 minutes
- Difficulty: Easy
- Servings: 8
Ingredients
- 2 cups heavy whipping cream (cold)
- 1 can (14 oz) sweetened condensed milk
- 2 teaspoons pure vanilla extract
- A pinch of salt
- Optional mix-ins: ½ cup chocolate chips, crushed cookies, or fresh fruit
Step-by-Step Instructions
Step 1 — Chill your bowl. Place a large mixing bowl and your beaters in the freezer for about 10 minutes. Cold equipment helps the cream whip faster and better.
Step 2 — Whip the cream. Pour the cold heavy cream into your chilled bowl. Using a hand mixer or stand mixer, beat on medium-high speed until stiff peaks form. This takes about 3 to 4 minutes. Don’t rush it — properly whipped cream is the secret to great home made ice cream.
Step 3 — Make the sweet base. In a separate bowl, stir together the sweetened condensed milk, vanilla extract, and pinch of salt until combined.
Step 4 — Fold together. Gently pour the condensed milk mixture into the whipped cream. Using a rubber spatula, fold the two together with slow, sweeping strokes. Be gentle — you want to keep as much air in the cream as possible. Stop folding as soon as everything is just combined.
Step 5 — Add mix-ins. If you’re adding chocolate chips, fruit, or anything else, fold them in now with just a few more strokes.
Step 6 — Freeze. Pour the mixture into a freezer-safe loaf pan or container. Smooth the top with your spatula. Press a sheet of plastic wrap directly onto the surface. Cover with a lid or foil.
Step 7 — Wait. Freeze for at least 6 hours, or overnight for best results. The hardest part of making home made ice cream is honestly just waiting.
Step 8 — Scoop and enjoy. When ready, let it sit at room temperature for 5 minutes, then scoop into bowls or cones. Top with your favorite toppings and enjoy every single bite.
Making home made ice cream from scratch is one of those kitchen projects that feels way fancier than it actually is. Once you try it, you’ll never want to go back to store-bought. Give it a go this weekend — you might just start a new family tradition.